一直以來 Postman 都是我們調用 REST API 的首選,但經過了幾次專案的協作,總是覺得它的功能沒有那麼到位,於是我轉向別的解決方案 Jetbrains 的 Http Client 就是我這一次的標的

開發環境
- Rider 2022.3.2
- 內建 Http Client
請求
兩種建立 Http Client 檔案的方式
建立臨時 Http Client 檔案
有時候需要臨時使用,不需要納入版控
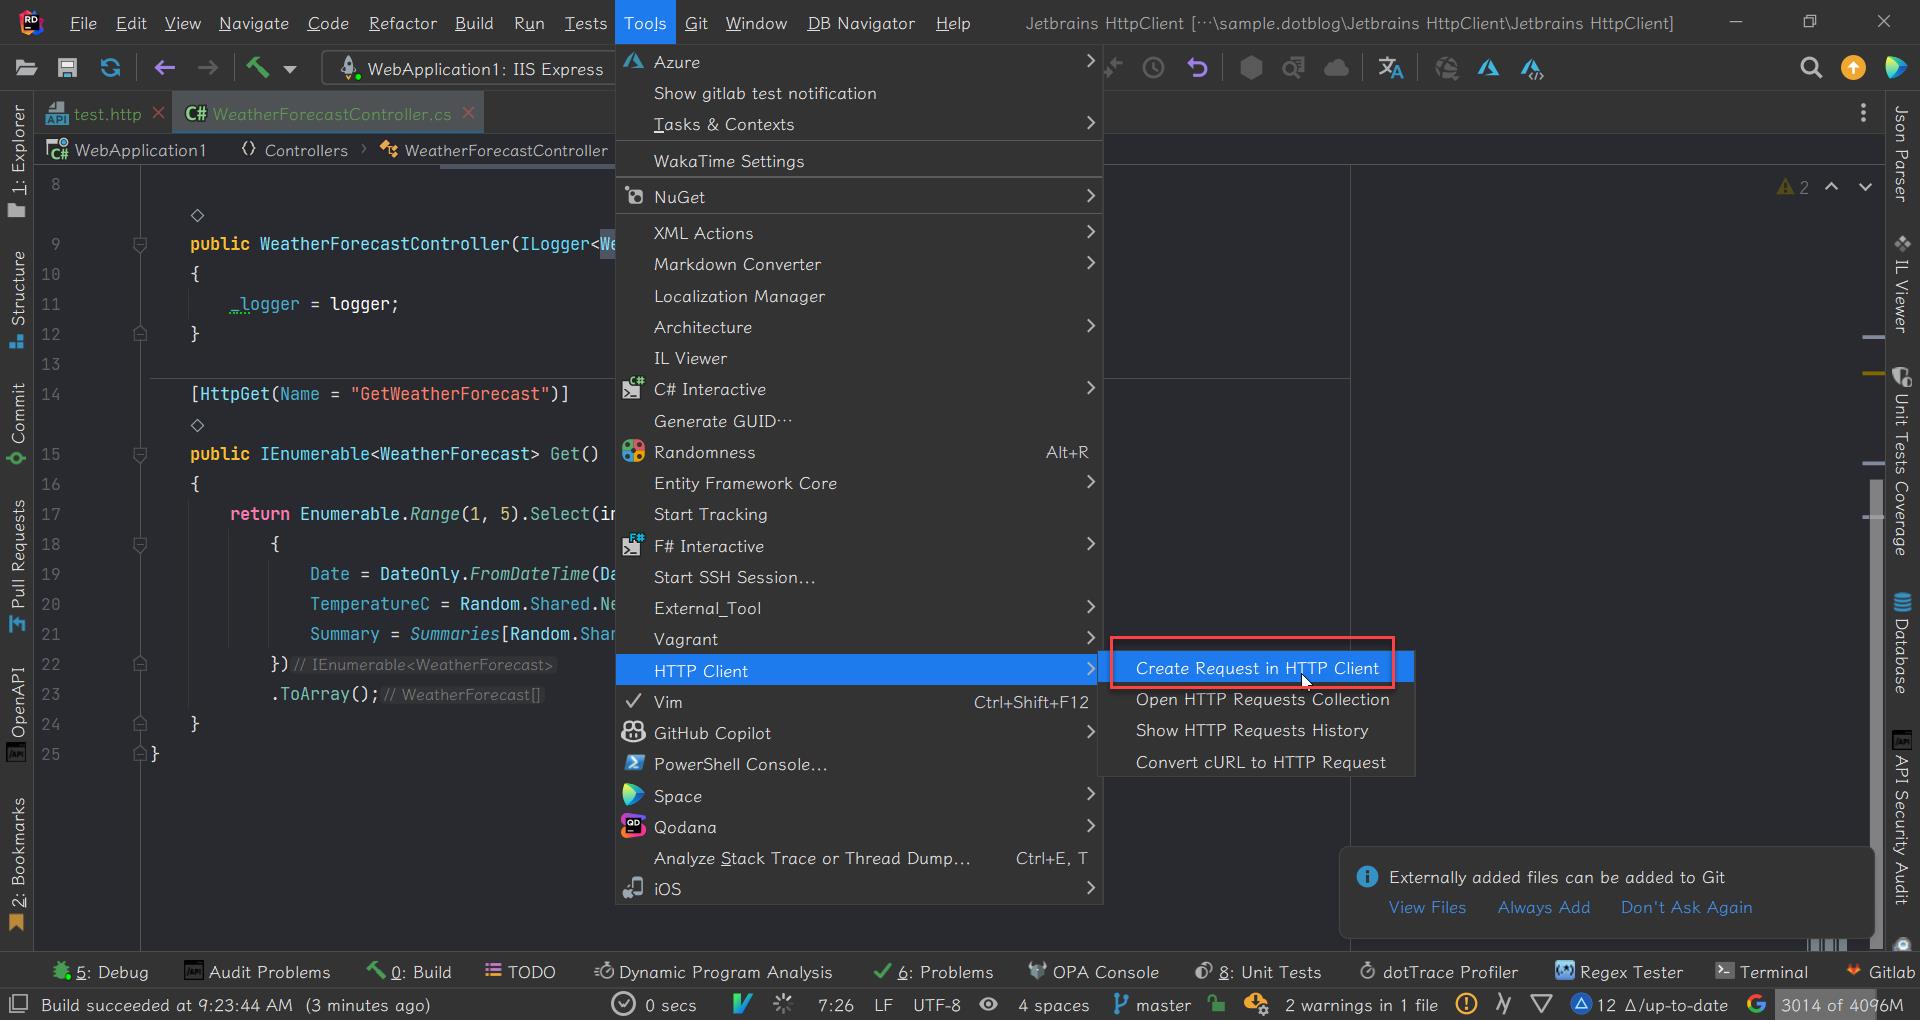
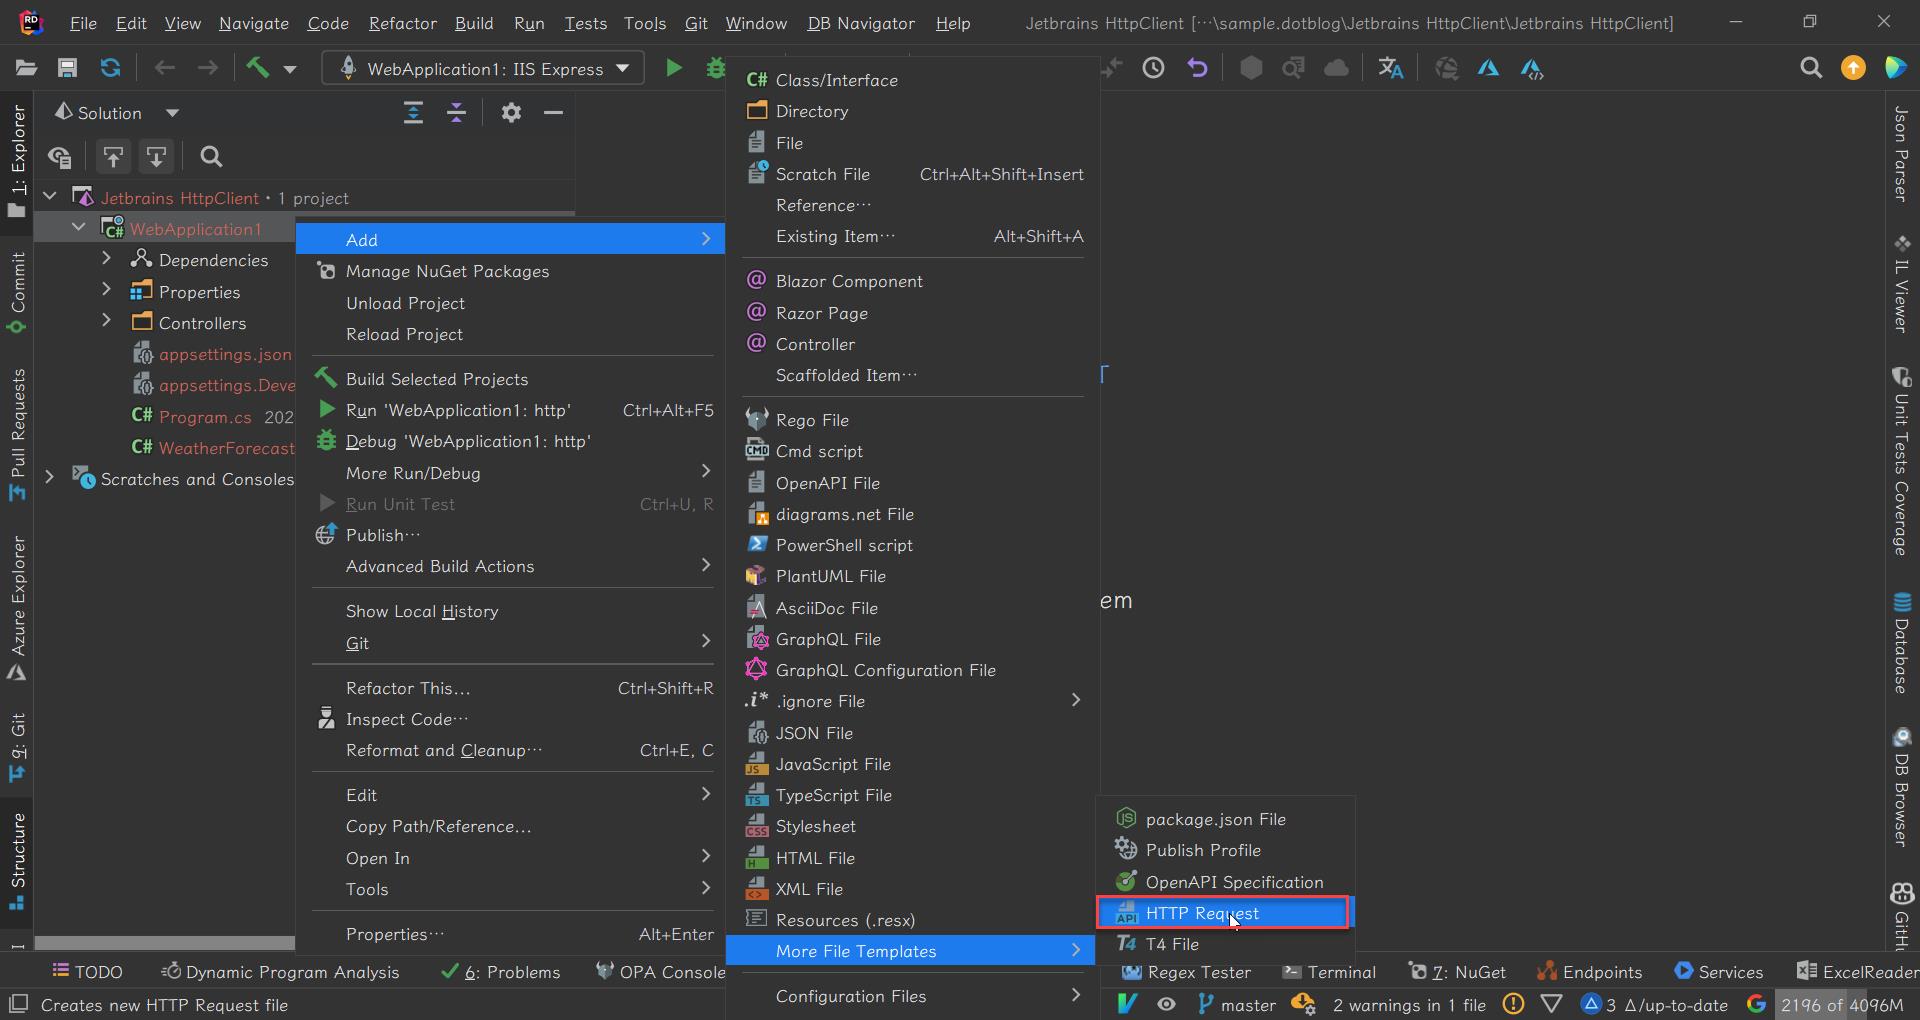
建立實體 Http Client 檔案
可以跟專案綁在一塊,納入版控,存檔時以 .http 或 .rest 為副檔名
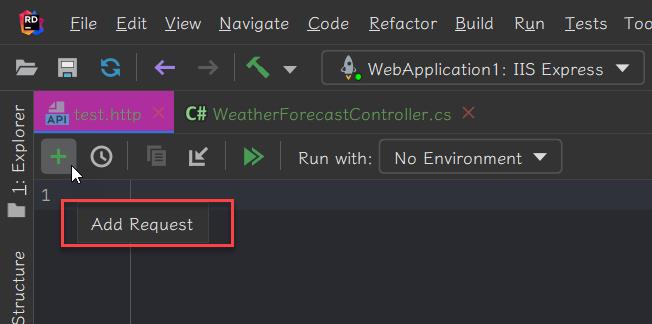
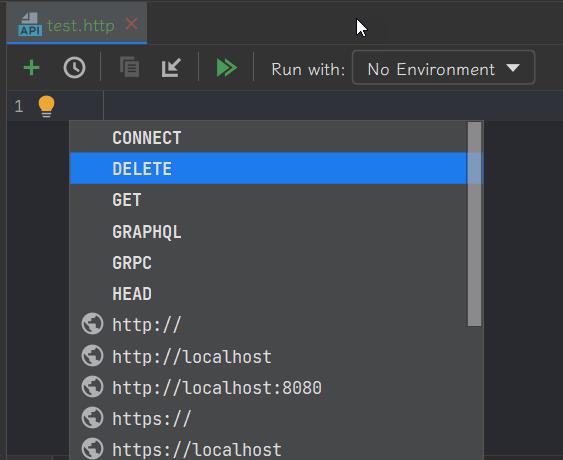
如何建立請求
工具列上的 Add Request
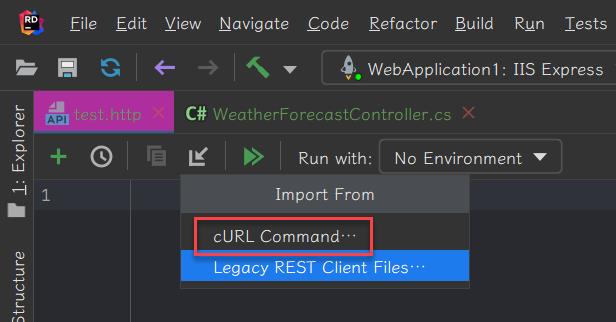
匯入 cURL Command
可以在 Posman 匯出 cURL Command 再匯入 Jetbrains Http Client
Ctrl + J 熱鍵
查看有哪指令
多個請求
一個檔案可以有多個請求,請求彼此之間用 3 個 # 隔開
從請求移至原始碼
請求的端點位置如果跟 .https 同一個方案,可以按 F12,移至原始碼,例如,我在 Rider 就會移到 Controller 的 Actuon
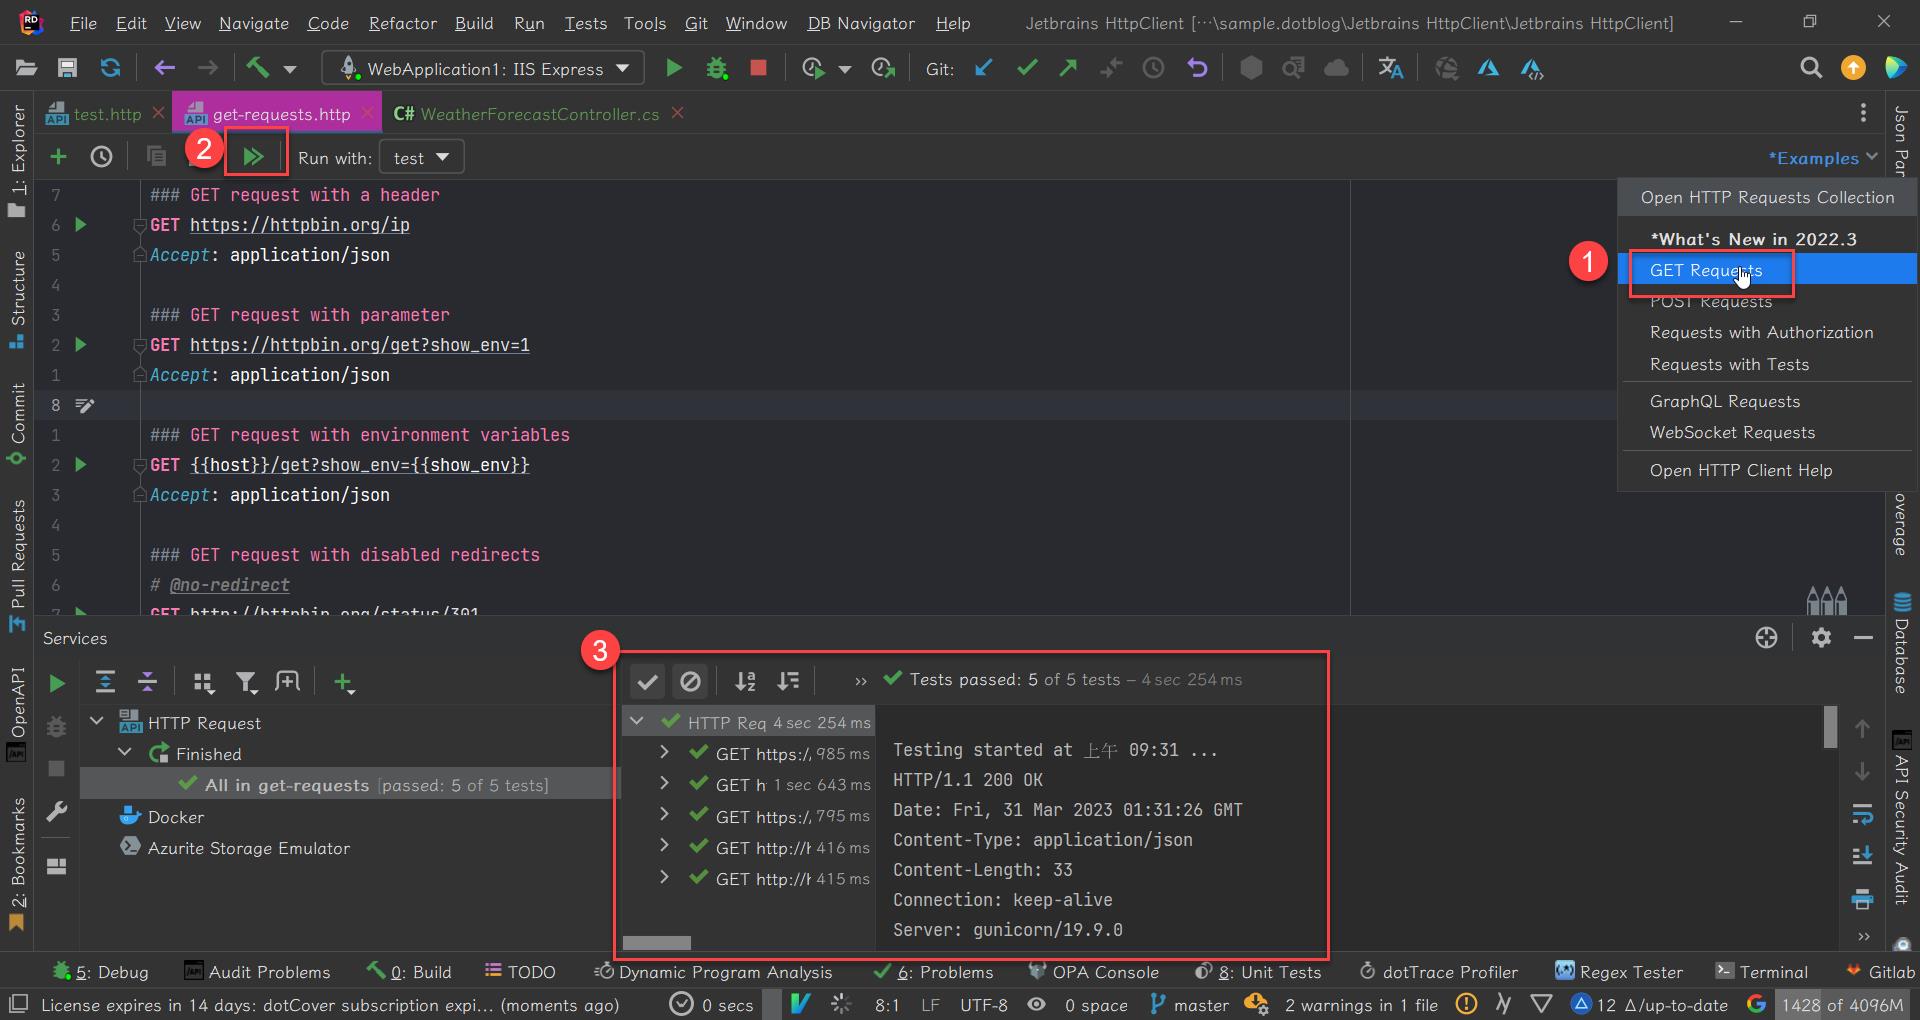
Example
提供了許多的範例讓我們可以快速地上手
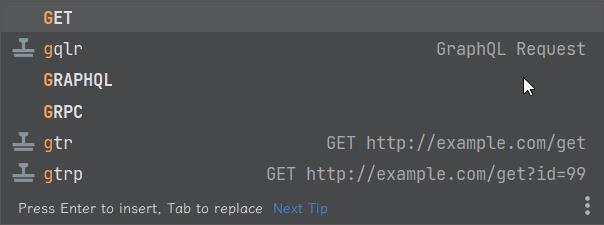
Live Template
用片段程式碼可以加速編寫
Code Generate
如果有 OpenApi 的文檔也可以透過其他套件幫我們快速產生 Jetbrains Http Client
安裝
npm install @openapitools/openapi-generator-cli -g
openapi-generator-cli version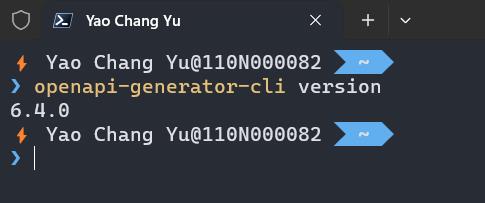
產生 .http 檔案
openapi-generator-cli generate -i https://api.opendota.com/api -g jetbrains-http-client -o dotaClient
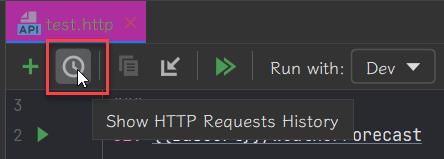
請求歷程
每一次的請求都會把結果存放下來,檔案路徑在 .idea 資料夾下
請求變數
宣告
有三種變數
環境變數:在外部檔案定義,讓不同的 .http 使用,參考 environment variables
動態變數:每一次執行請求時動態產生的數值,可以說是內建的方法,參考 dynamic variables
在 .http 宣告:一種是請求送出前(Per-request) request.variables.set,另外一種是得到響應結果後指定變數 client.global.set,範例如下
< {%
   request.variables.set("firstname", "John")
%}
GET http://example.org/{{firstname}}
> {%
client.global.set("id", response.body.id);
%}
更多的 global 方法可以參考 global variables storage
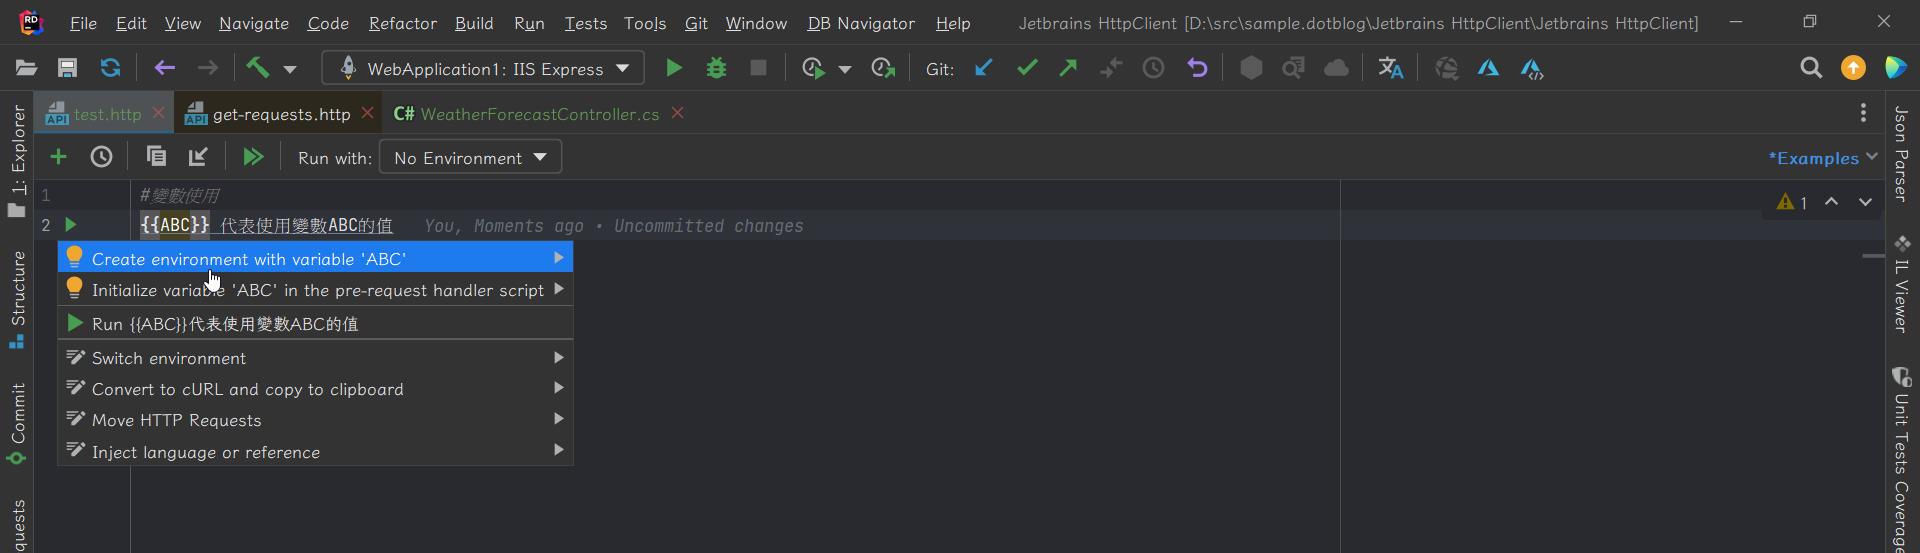
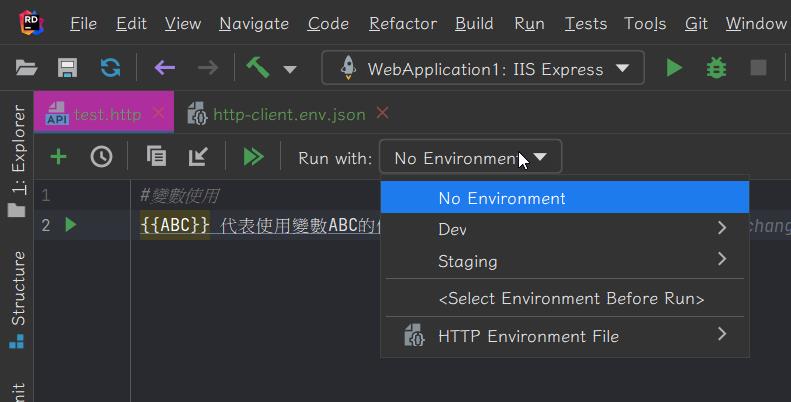
使用變數
{{ABC}} 代表使用變數ABC的值
若變數不存在,按下 Alt + Enter,即可將變數加到環境變數檔案,執行時可以決定要使用哪一個環境設定
定義環境變數
公開檔案
這會將環境變數加到 http-client.env.json 文件中並納入版控中。
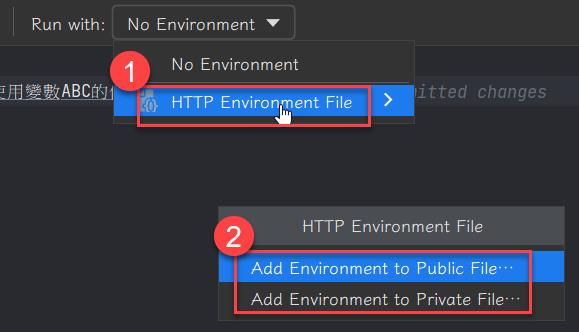
私有檔案
將機敏性資料的環境變數加到 http-client.private.env.json 文件中,http-client.private.env.json 中的變數值會覆蓋 http-client.env.json 的變數值
例如 http-client.env.json 檔案有以下內容
{
  "Dev": {
    "BaseUrl": "https://localhost:44347/"
  },
  "Staging": {
    "BaseUrl": "https://staging.example.com/"
  }
}
在 HttpClient 就能夠挑選需要哪一個環境
Pre-request 變數
送出請求前宣告變數,除了把不存在的變數放到環境變數之外,也可以寫在 .http 檔案內
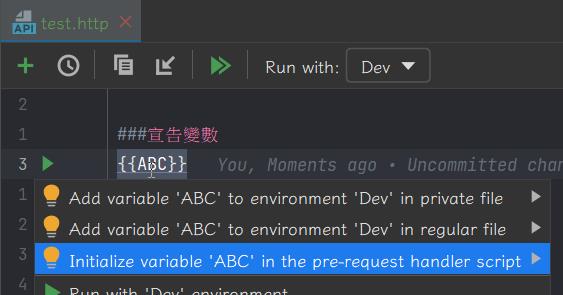
###宣告變數
< {%
    request.variables.set("ABC", "123")
%}
動態變數
每次執行請求時,會動態產生一個值,他們以 $ 開頭
我常用的是 $random.integer、$random.uuid,其餘的請參考以下連結
Exploring the HTTP request syntax | IntelliJ IDEA Documentation (jetbrains.com)
範例如下
GET http://localhost/api/get?id={{$uuid}}
回應
Response 處理的腳本是用 JavaScript ECMAScript 5.1 編寫,幫助我們接續的處理和驗證(Assert),主要有兩個 lib 處理
- client:保留 HttpClient session 的資料,例如全域變數,變數的生命週期保留直到 IDE 關閉。
- response:處理響應結果,例如狀態碼(Status Code)、類型(Content Type)、內文(Body)
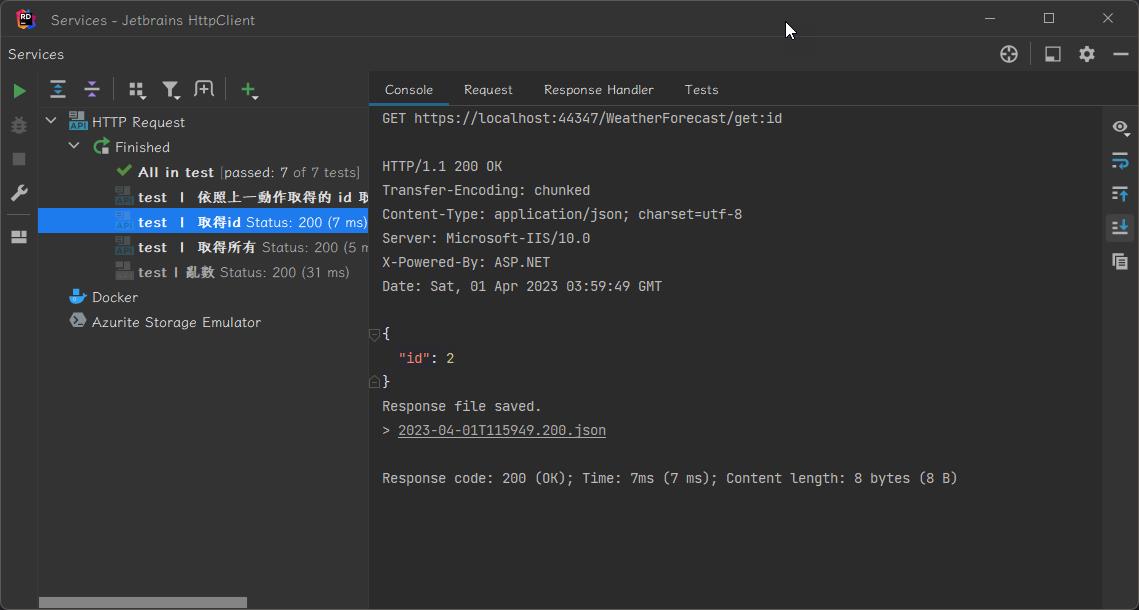
我最常用的就是驗證 Response 的內容以及在不同 API 端點的資料傳遞,如以下範例,
當我呼叫 {{BaseUrl}}/WeatherForecast/get:id取得 id 後,再把 id 傳給 {{BaseUrl}}/WeatherForecast/{{id}}
### 取得id
GET {{BaseUrl}}/WeatherForecast/get:id
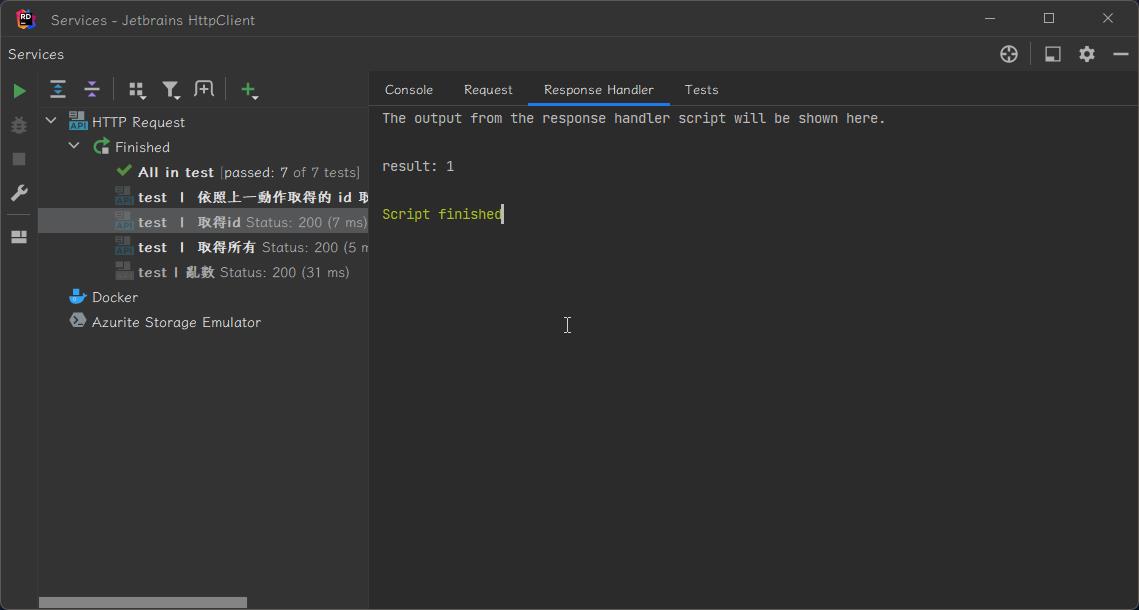
> {%
client.global.set("id", response.body.id);
client.log("result: " + response.body.id);
client.test("Request executed successfully", function () {
client.log(response.body.id);
client.assert(response.status === 200, "Response status is not 200");
});
%}
### 依照上一動作取得的 id 取得資料
GET {{BaseUrl}}/WeatherForecast/{{id}}
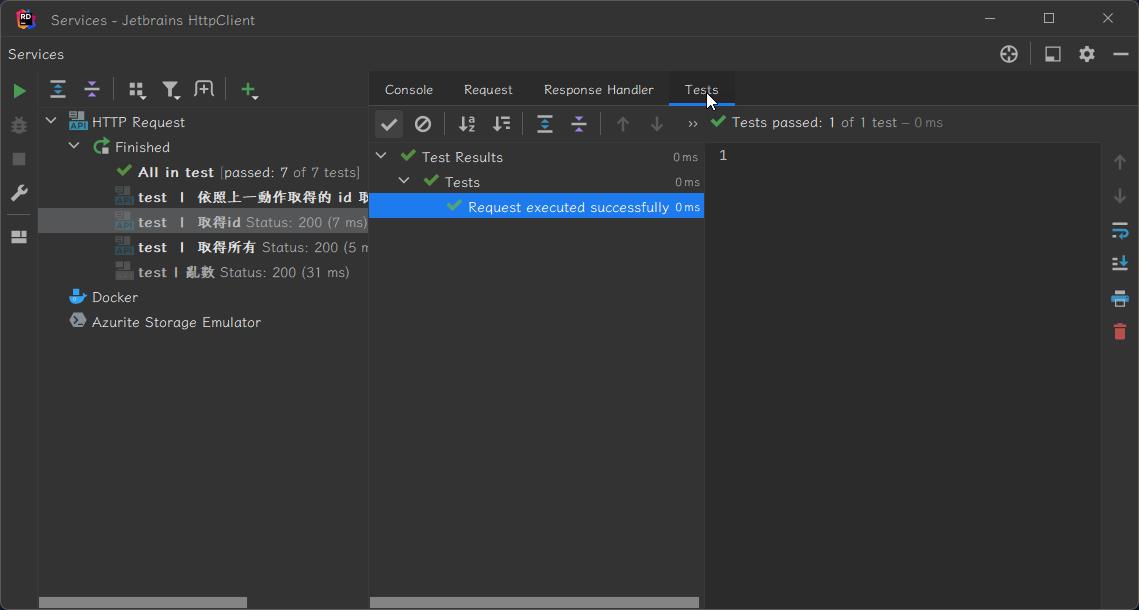
執行結果如下圖:
client.log("result: " + response.body.id); 執行結果如下圖:
測試結果如下圖:
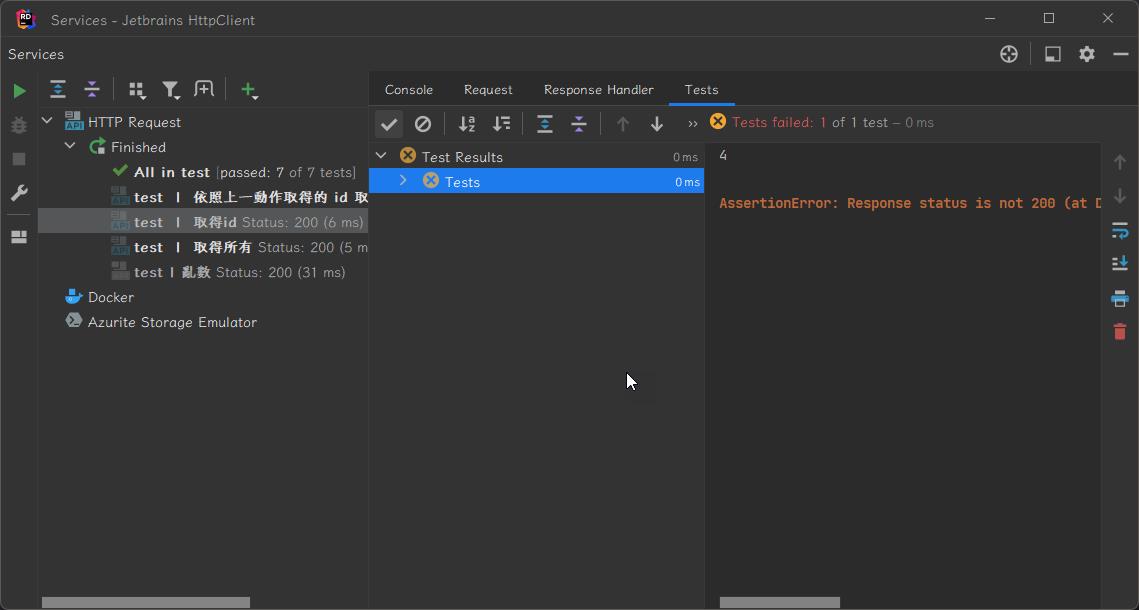
若測試失敗效果如下圖:
整合到 CI
Windows
安裝 cli
scoop install liberica17-jre

scoop install ijhttp
安裝後就可以使用了
ijhttp --env-file http-client.env.json --env QA-TW Item.http
Docker
他也有提供 docker,真的香
docker run --rm -i -t -v D:\src:/workdir jetbrains/intellij-http-client -e QA-TW -v http-client.env.json -D Item.http
更多的參考以下
HTTP Client CLI – Run Requests and Tests on CI | The IntelliJ IDEA Blog (jetbrains.com)
HTTP Client CLI | IntelliJ IDEA Documentation (jetbrains.com)
專案位置
參考
- HTTP Client | IntelliJ IDEA Documentation (jetbrains.com)
- Usage | OpenAPI Generator (openapi-generator.tech)
- OpenAPITools/openapi-generator: OpenAPI Generator allows generation of API client libraries (SDK generation), server stubs, documentation and configuration automatically given an OpenAPI Spec (v2, v3) (github.com)
- HTTP Client CLI – Run Requests and Tests on CI | The IntelliJ IDEA Blog (jetbrains.com)
若有謬誤,煩請告知,新手發帖請多包涵

Microsoft MVP Award 2010~2017 C# 第四季
Microsoft MVP Award 2018~2025 .NET
