最近發現 Cypress 的 test runner 操作介面大改版,想順便記錄一下自己是如何 setup Cypress
專案目前是搭配 Vite 框架來使用 Cypress
Cypress 安裝的版本為 10.3.0
1. 安裝 Cypress
npm install cypress --save-dev
2. 新增指令
到 package.json 新增以下兩個指令
"scripts": {
  "cy:run": "cypress run",
  "cy:open": "cypress open"
}
3. 開啟 Cypress test runner
npm run cy:open
成功安裝好 Cypress,就會看到此畫面
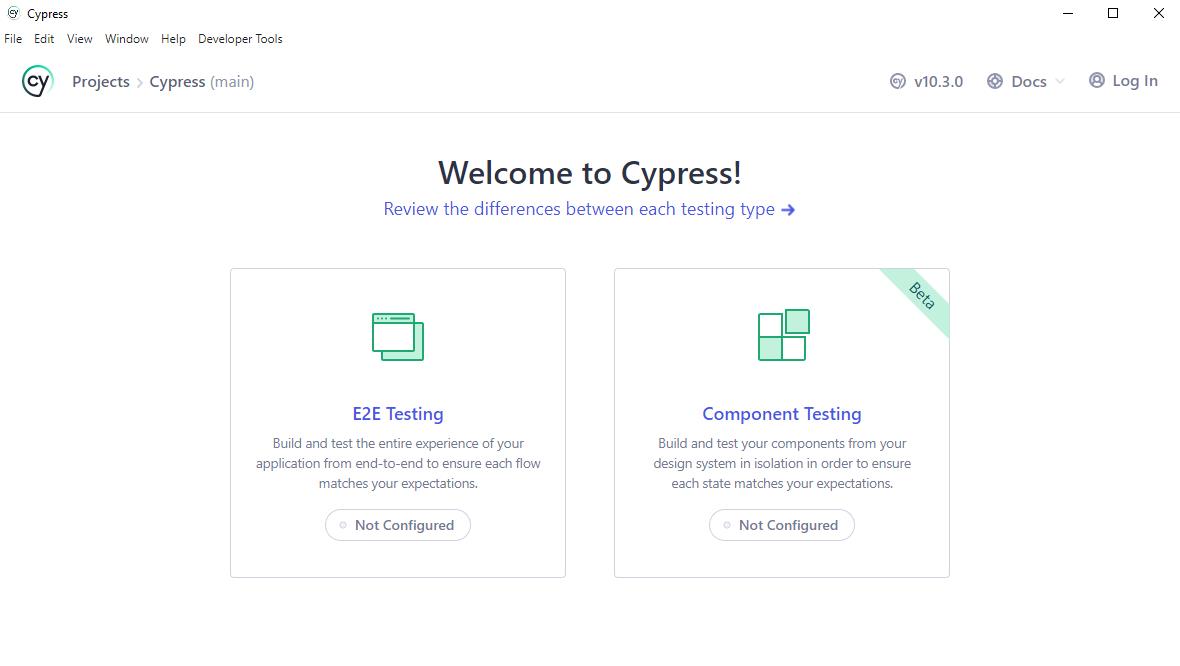
4. 選擇 testing type
我是選擇 E2E Testing
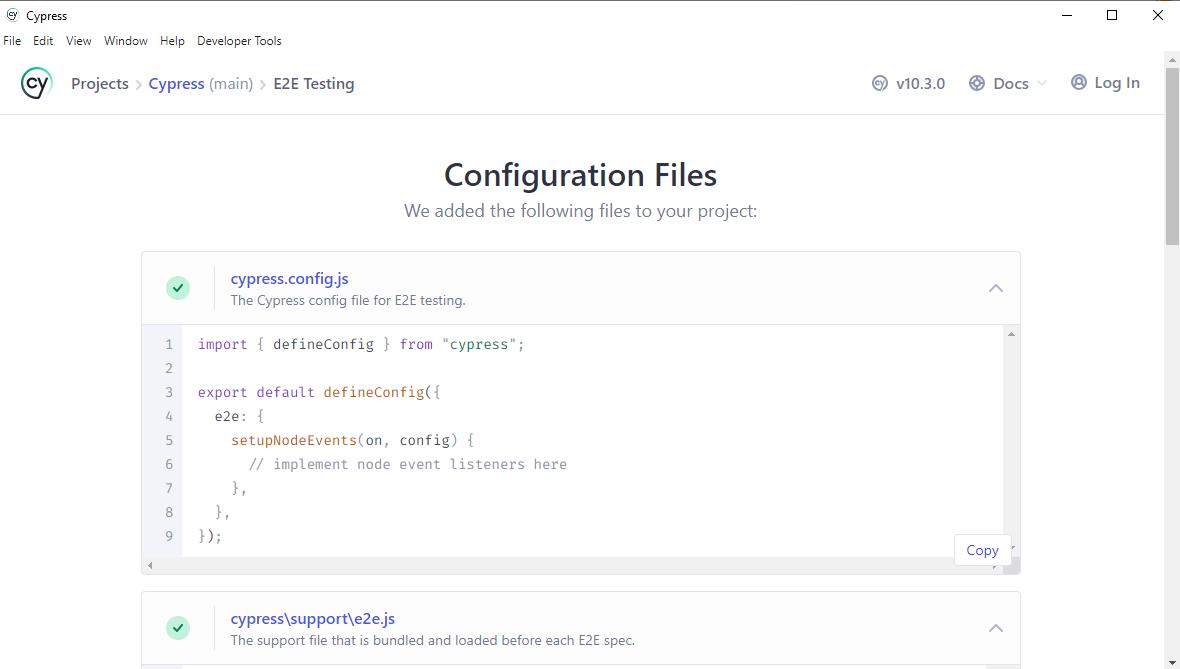
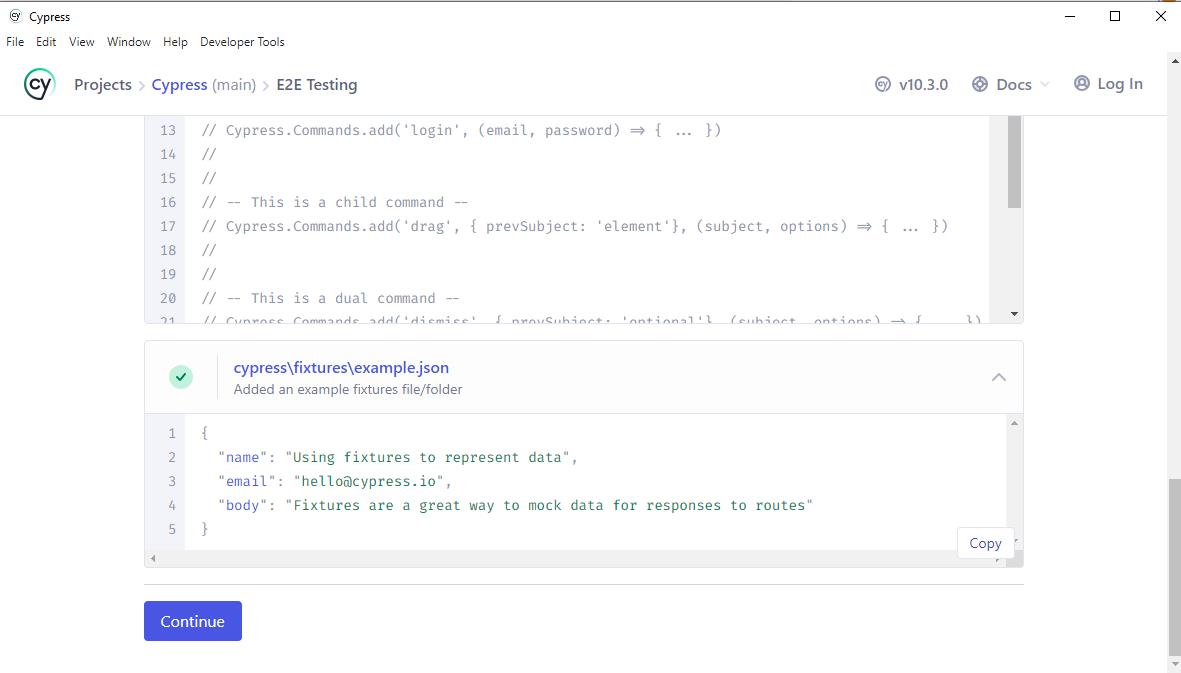
會自動幫你加上以下的檔案,拉到最下面後,按下 Continue
5. 選擇要使用哪種瀏覽器跑測試
預設是使用 Chrome,然後點選 Start E2E Testing in Chrome

就會抵達這個畫面,一開始是沒有任何測試的
這一版也不會 default 幫你裝上 Cypress 的範例測試 (如果想知道如何擁有範例測試,文章最後有補充)
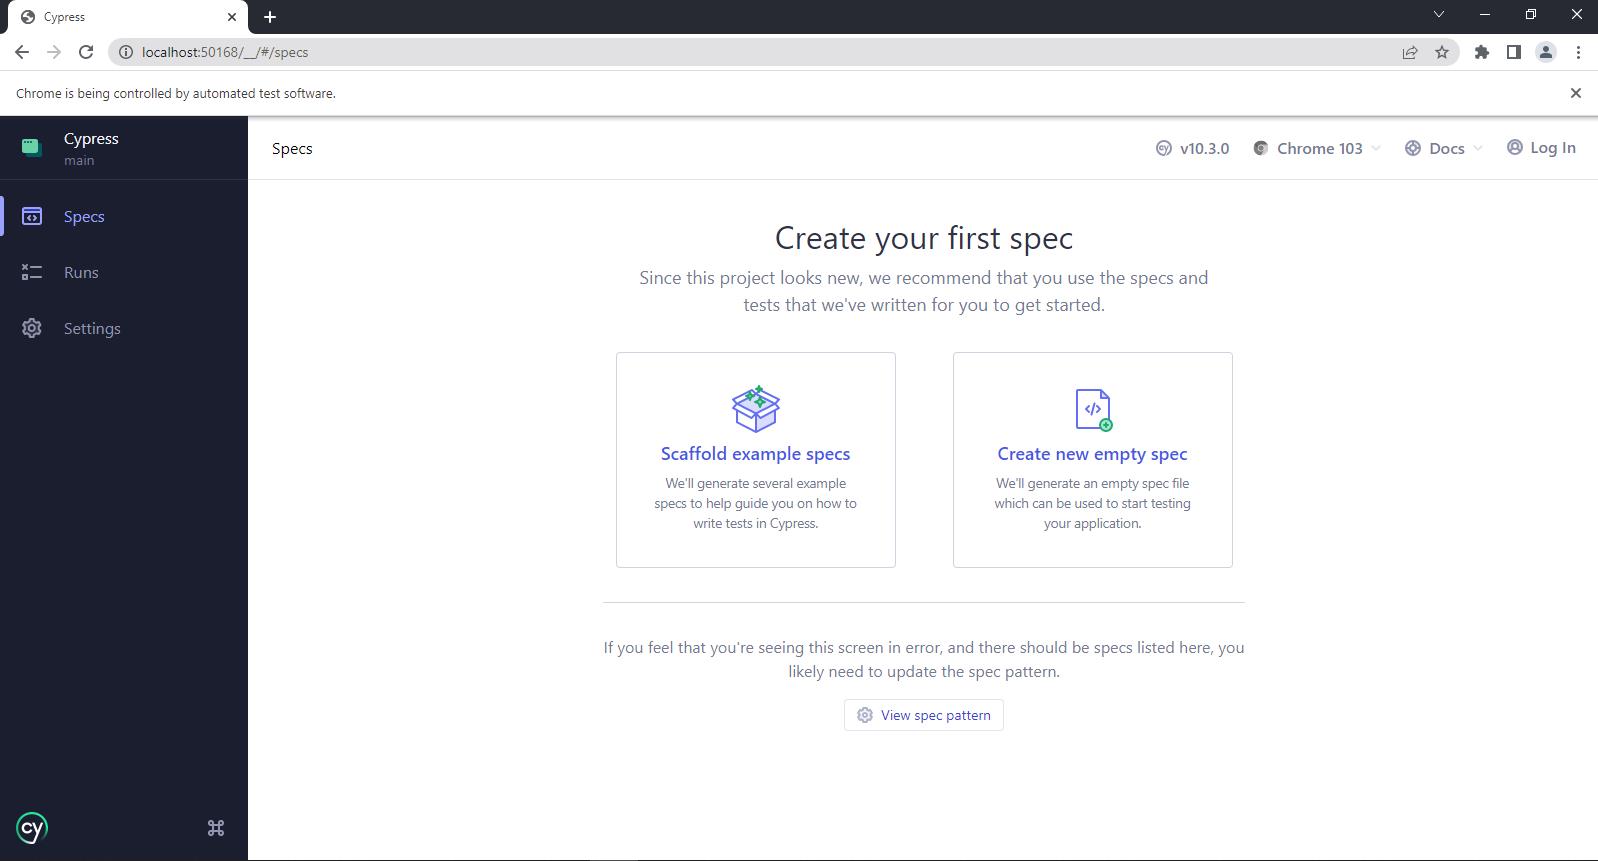
6. 新增第一個測試
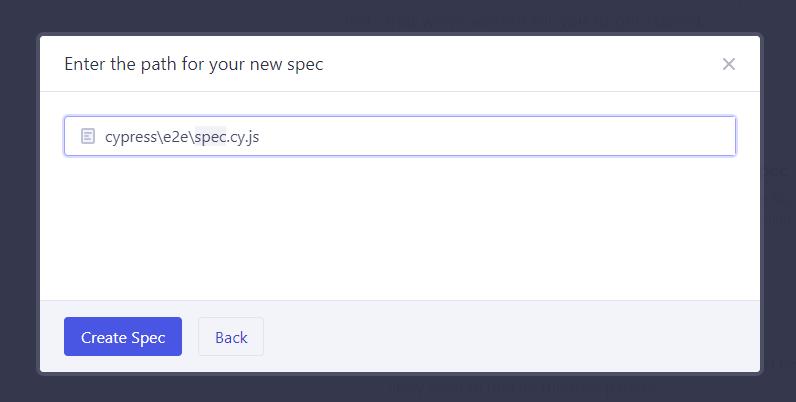
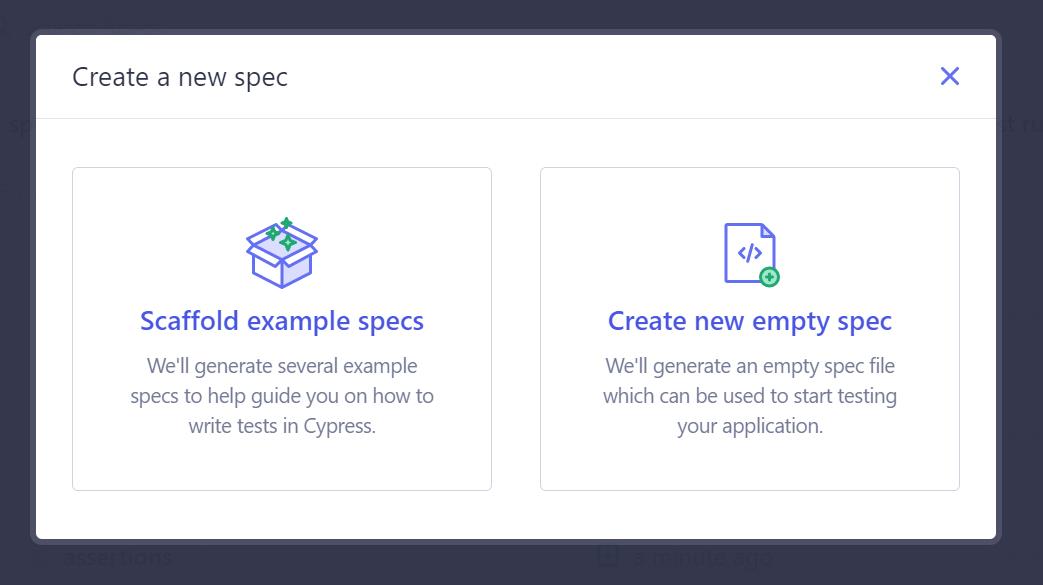
點選 Create new empty spec 後,會出現這個視窗
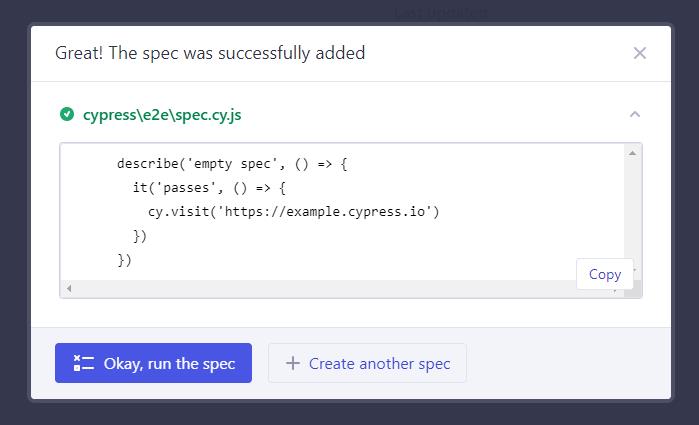
點選 Create Spec 後,會出現這個視窗,這時候測試的檔案已經建立完成
點選 Okay,就會幫你運行這個測試
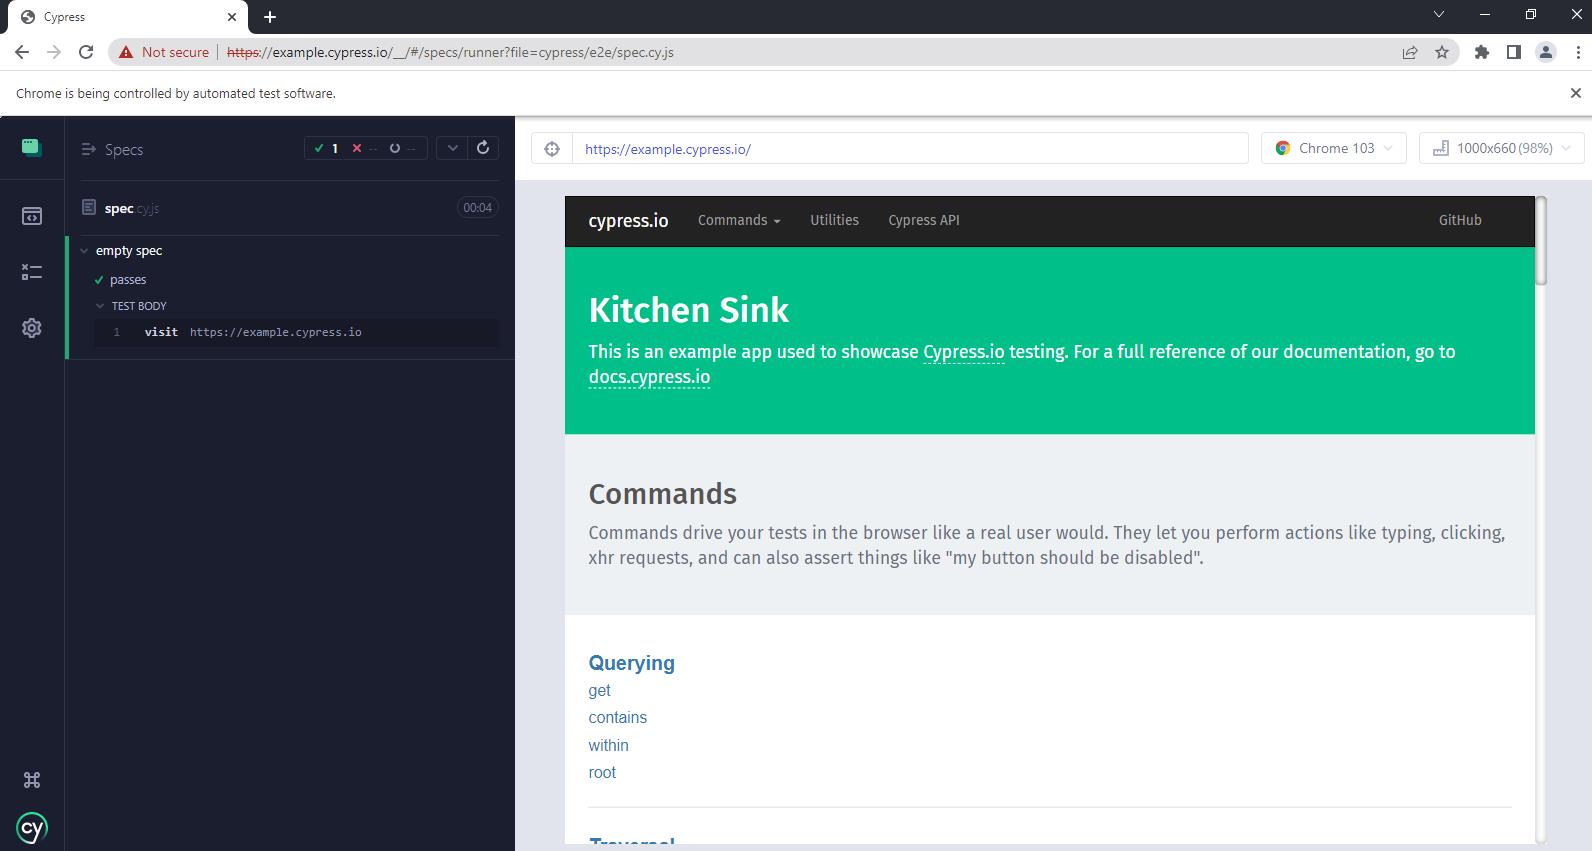
測試運行畫面
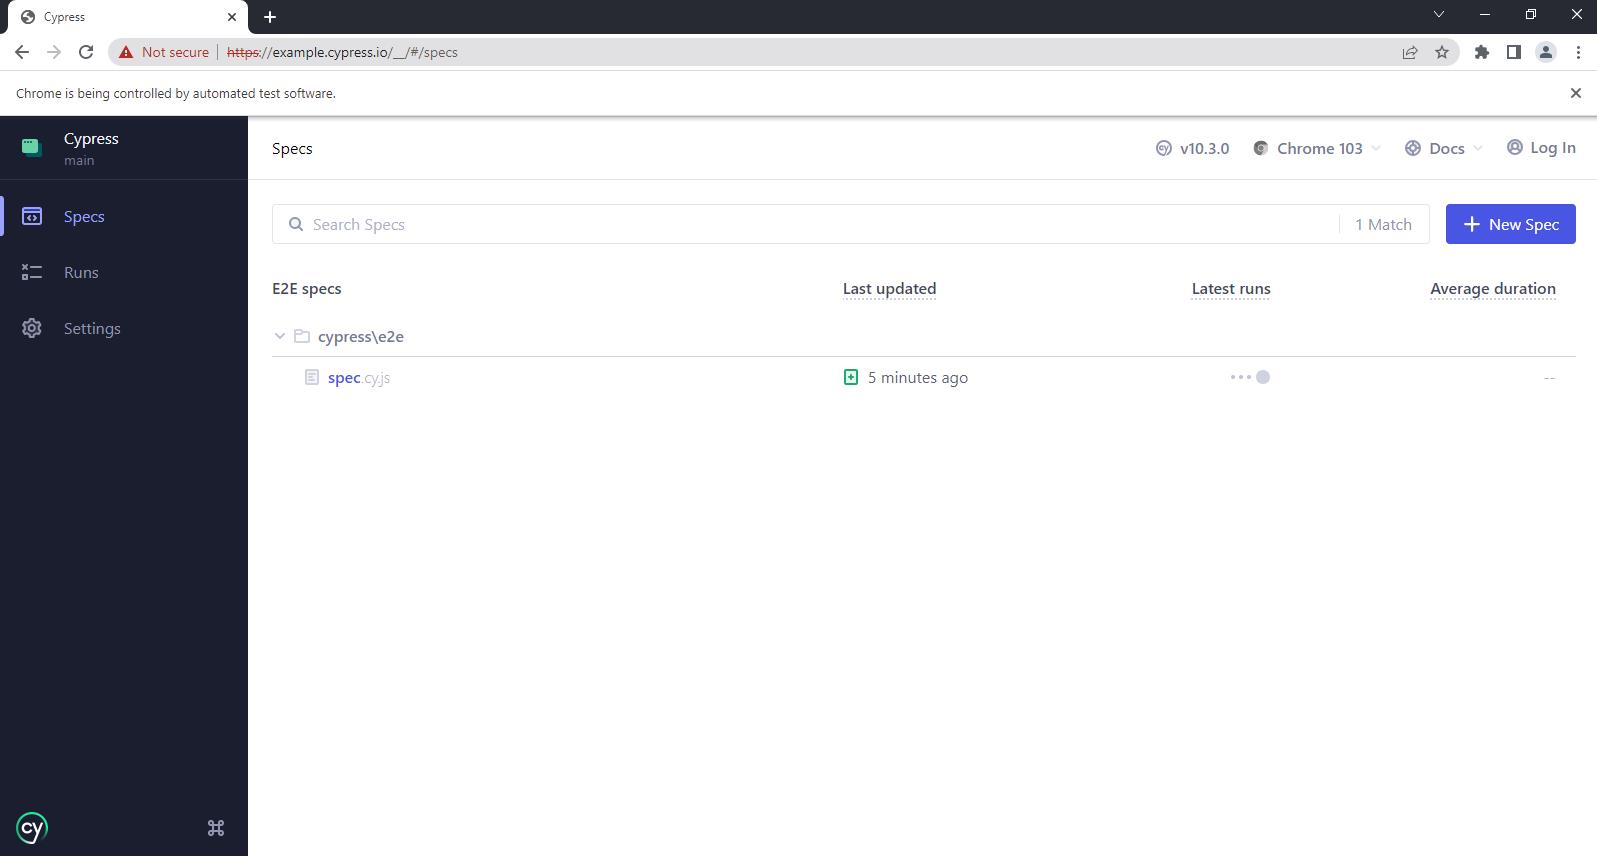
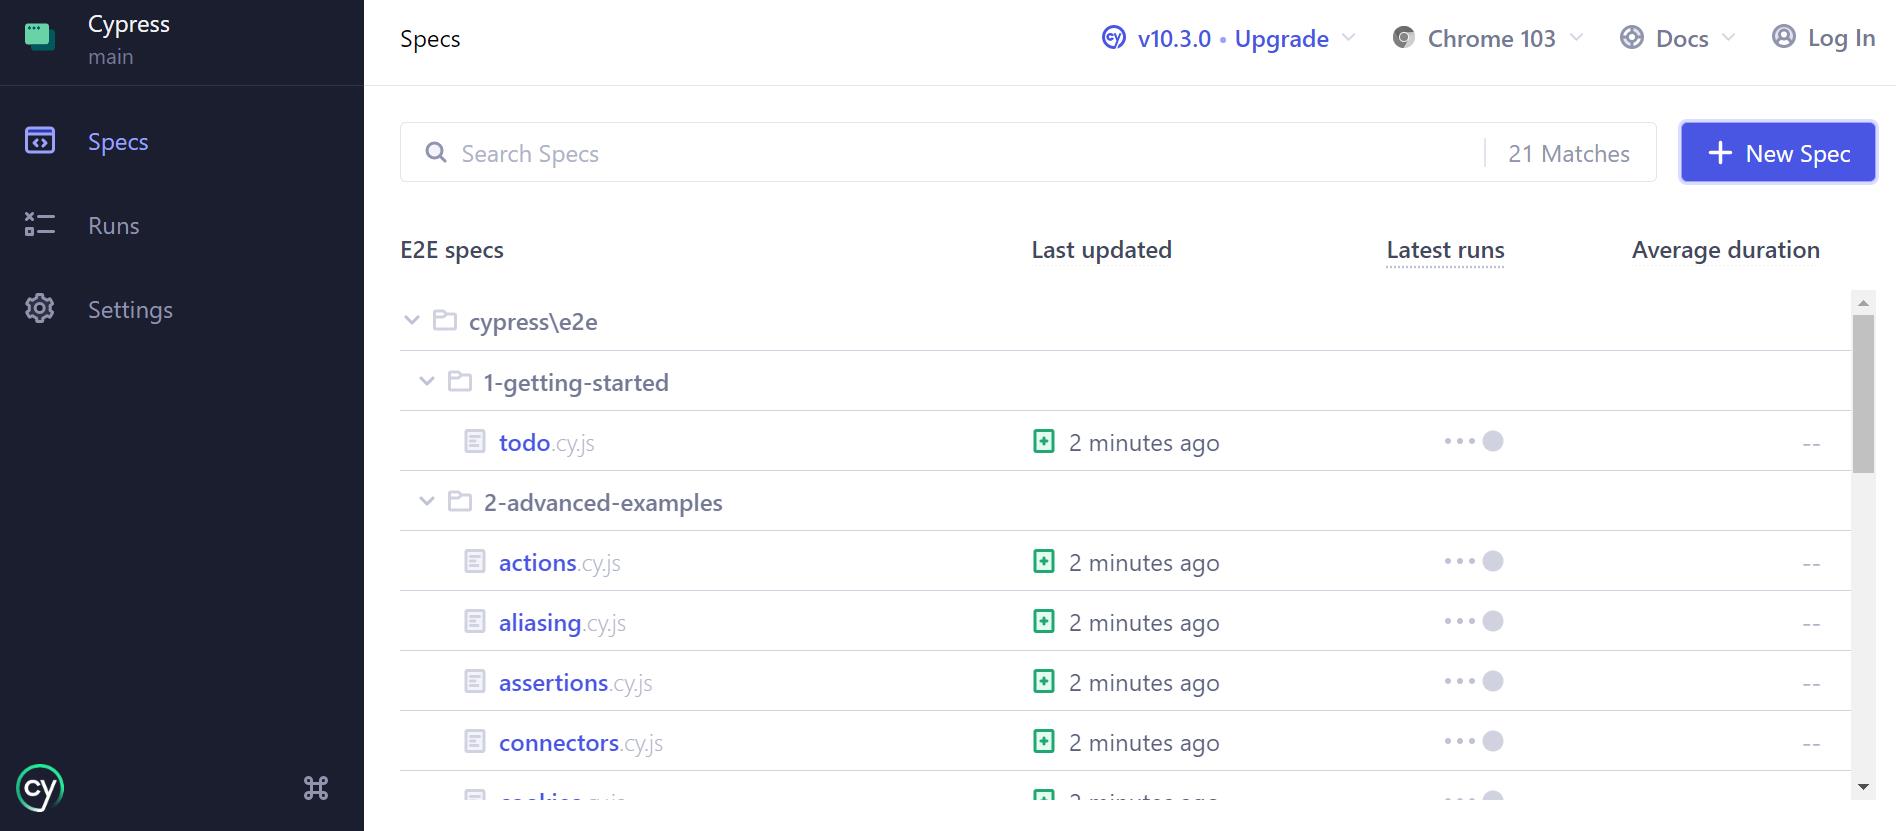
透過畫面左手邊 menu 的 Spec,可以看到所有的測試列表
補充:
如果在這邊選擇了 Scaffold example specs 這個選項,那 Cypress 就會自動幫你建立好範例測試的檔案

在測試列表中,就可以看到很多測試了
參考:
Cypress 10.3.0: Speed up testing workflows with improved visibility into your test results