最近家裡網站有一個需求,希望檢視(View)動態依照Controller名稱調整Layout。
解釋也是Developer但現在是主管的老婆聽,因為只能說1分鐘,筆記重點先:
Layout page可以提供所有頁面共用的外觀設計,很接近ASP.NET Web Form中的Master Page,但只有view的部分。
為了測試,前5個步驟先建立一個MVC的環境
- 2個Controller
- 2個對應Index view
- 1個預設Layout Page(任意新增View時會新增出來)
- 1個特殊Layout Page
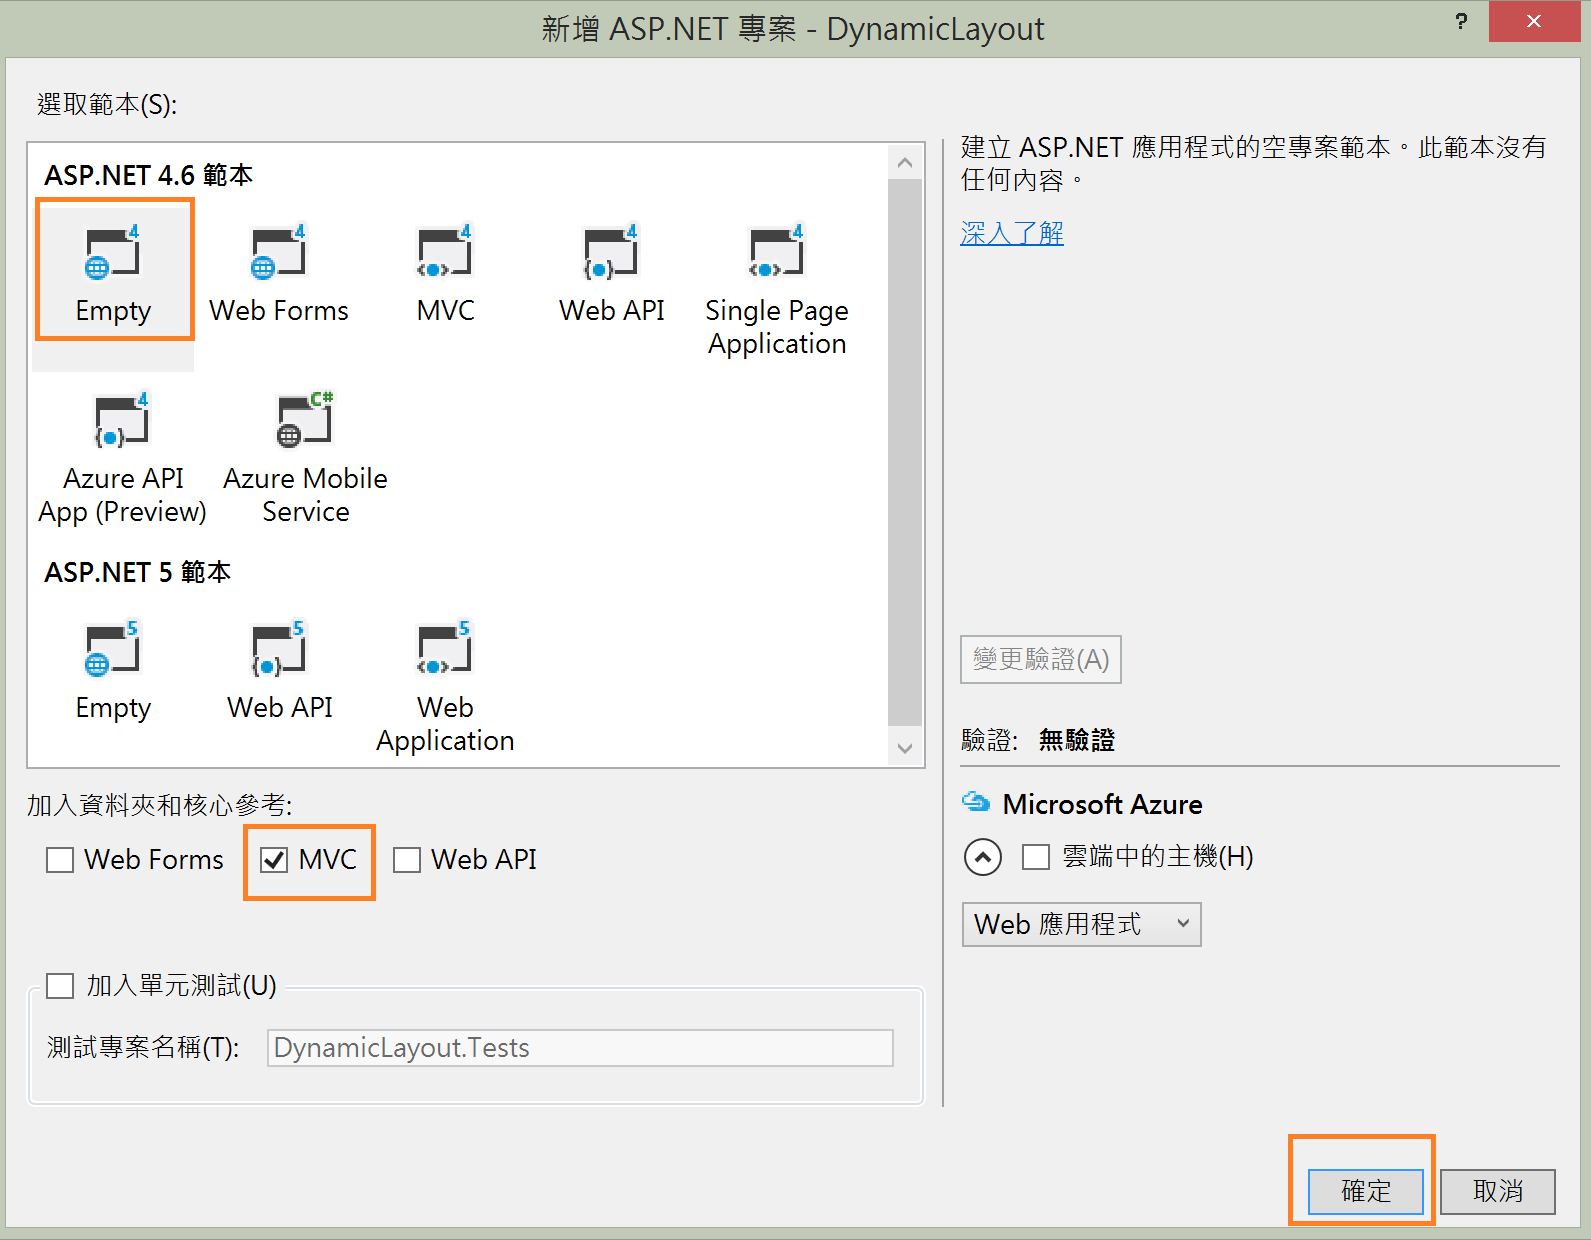
1.先建立一個ASP.NET專案
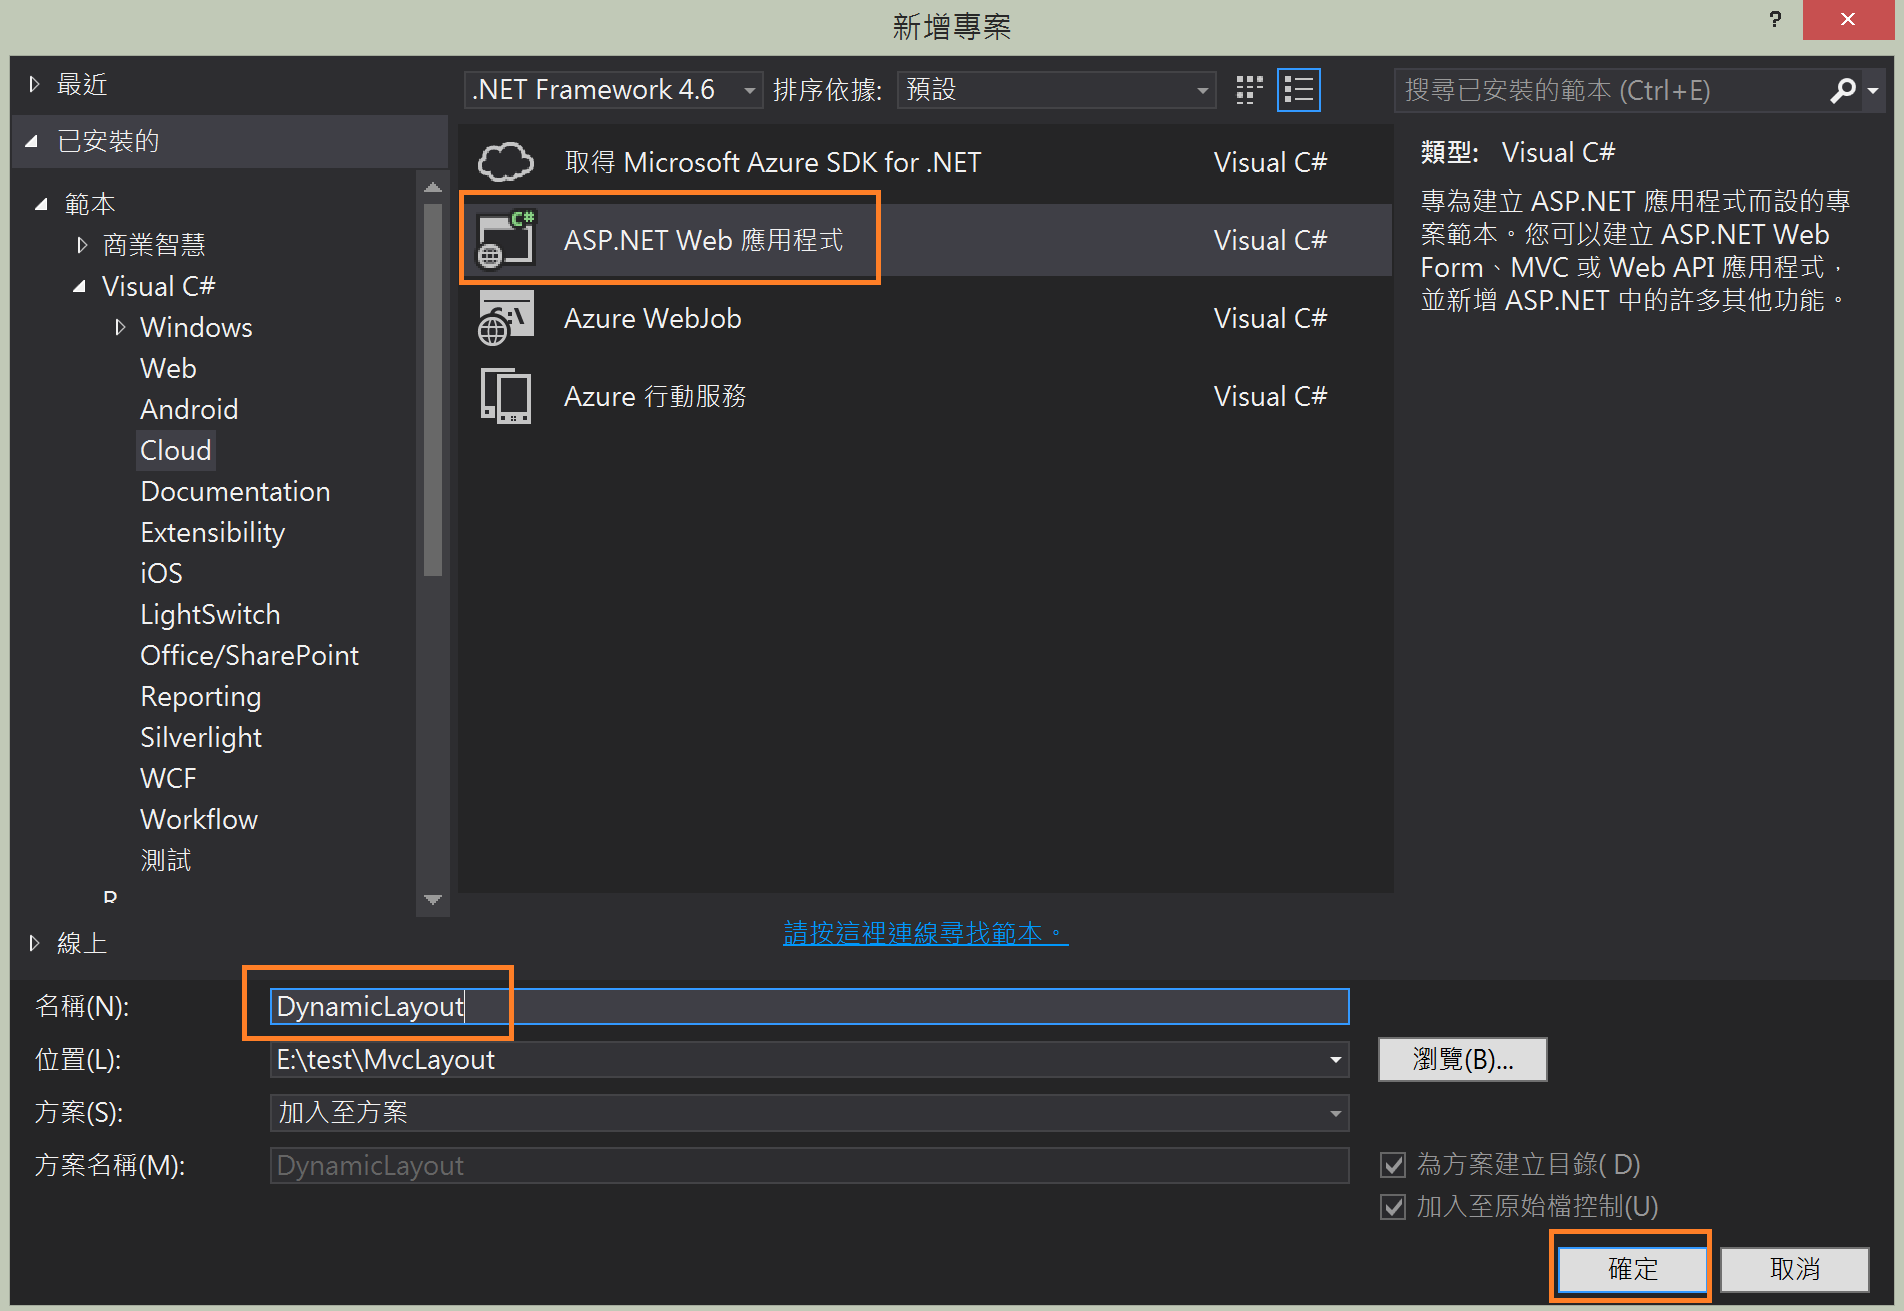
選Empty網站
2.新增兩個Controller
- VIPController
- CustomerController
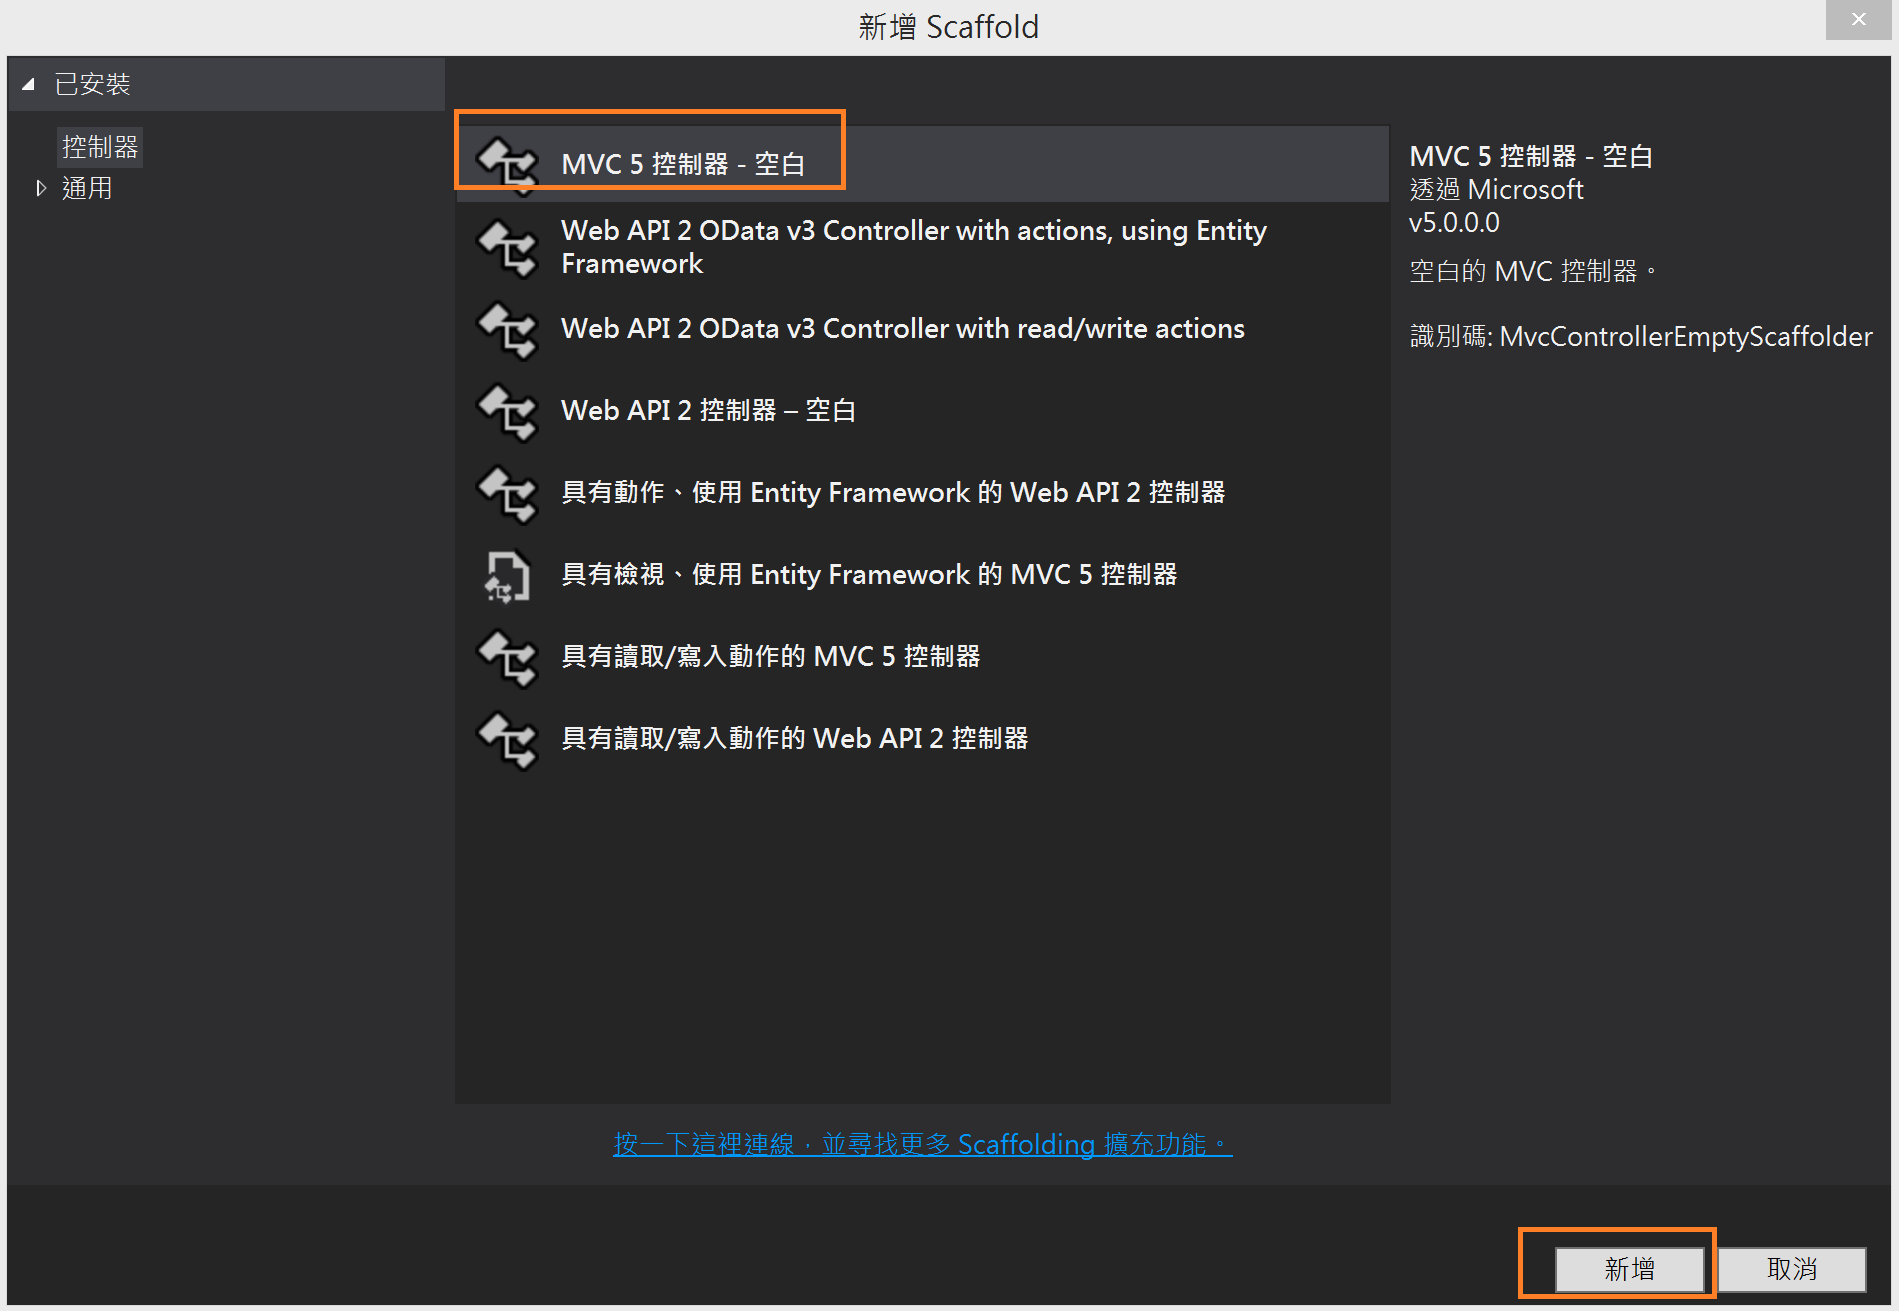


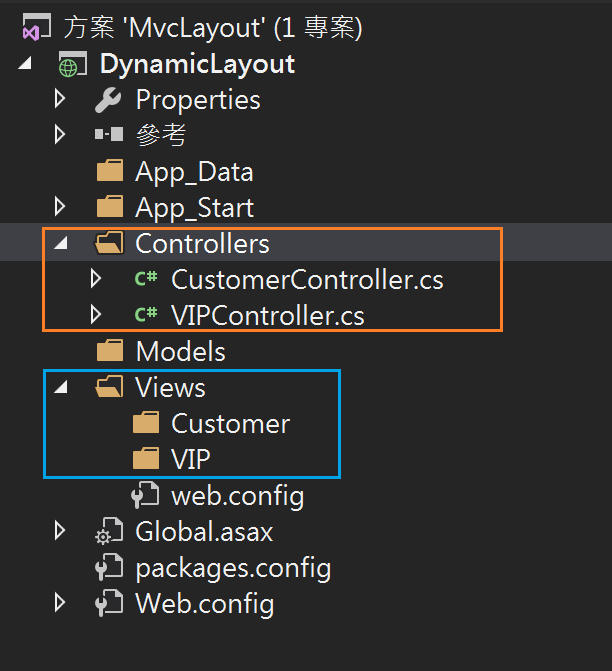
VipController.cs
public class VIPController : Controller
{
    // GET: VIP
    public ActionResult Index()
    {
        return View();
    }
}
CustomerControler.cs
public class CustomerController : Controller
{
    // GET: Customer
    public ActionResult Index()
    {
        return View();
    }
}
3.任意新增一個View(假設這裡我們加入一個login)
View資料夾右鍵新增[檢視]
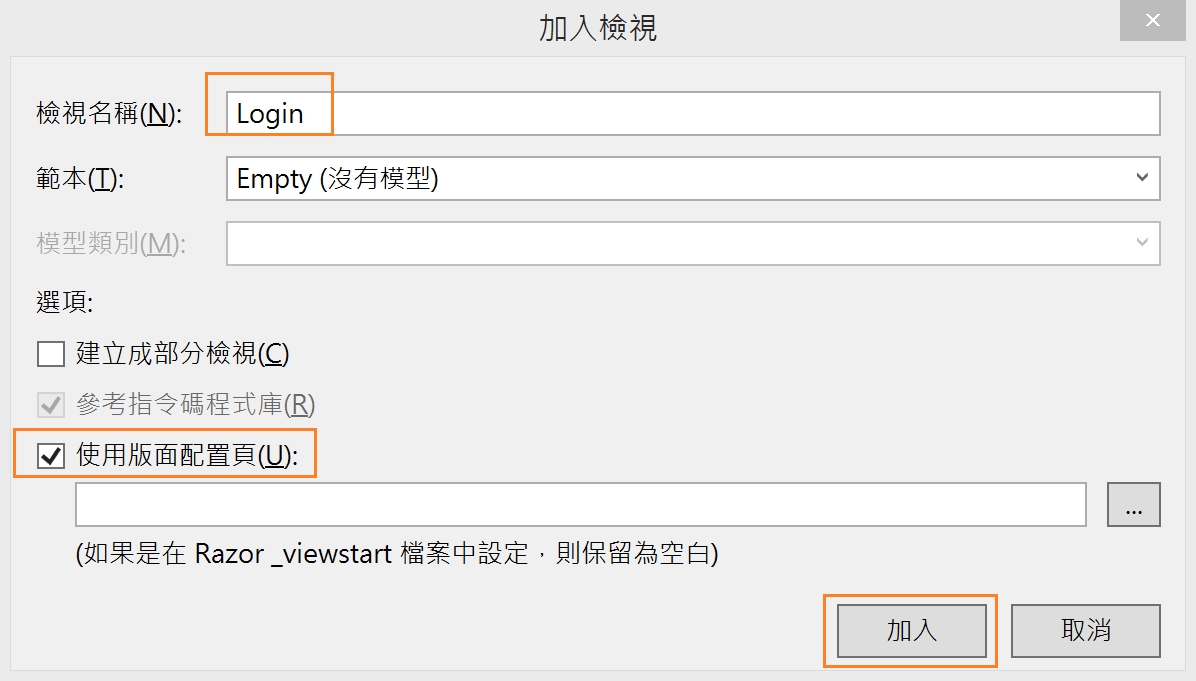
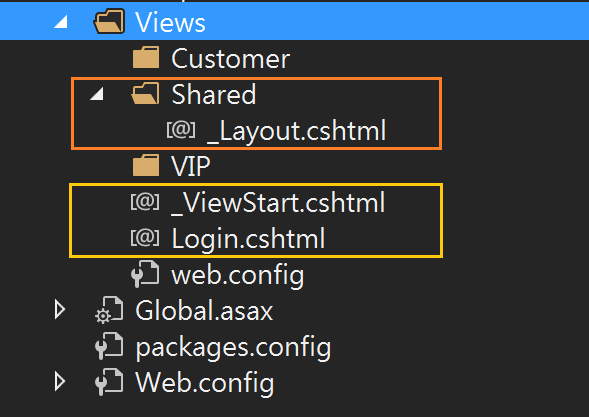
此時Visual Studio會同時新增
- Shared資料夾
- _Layout.cshtml
- _ViewStart.cshtml
- Login.cstml
4.再新增一個Layout page _VipLayout.cstml
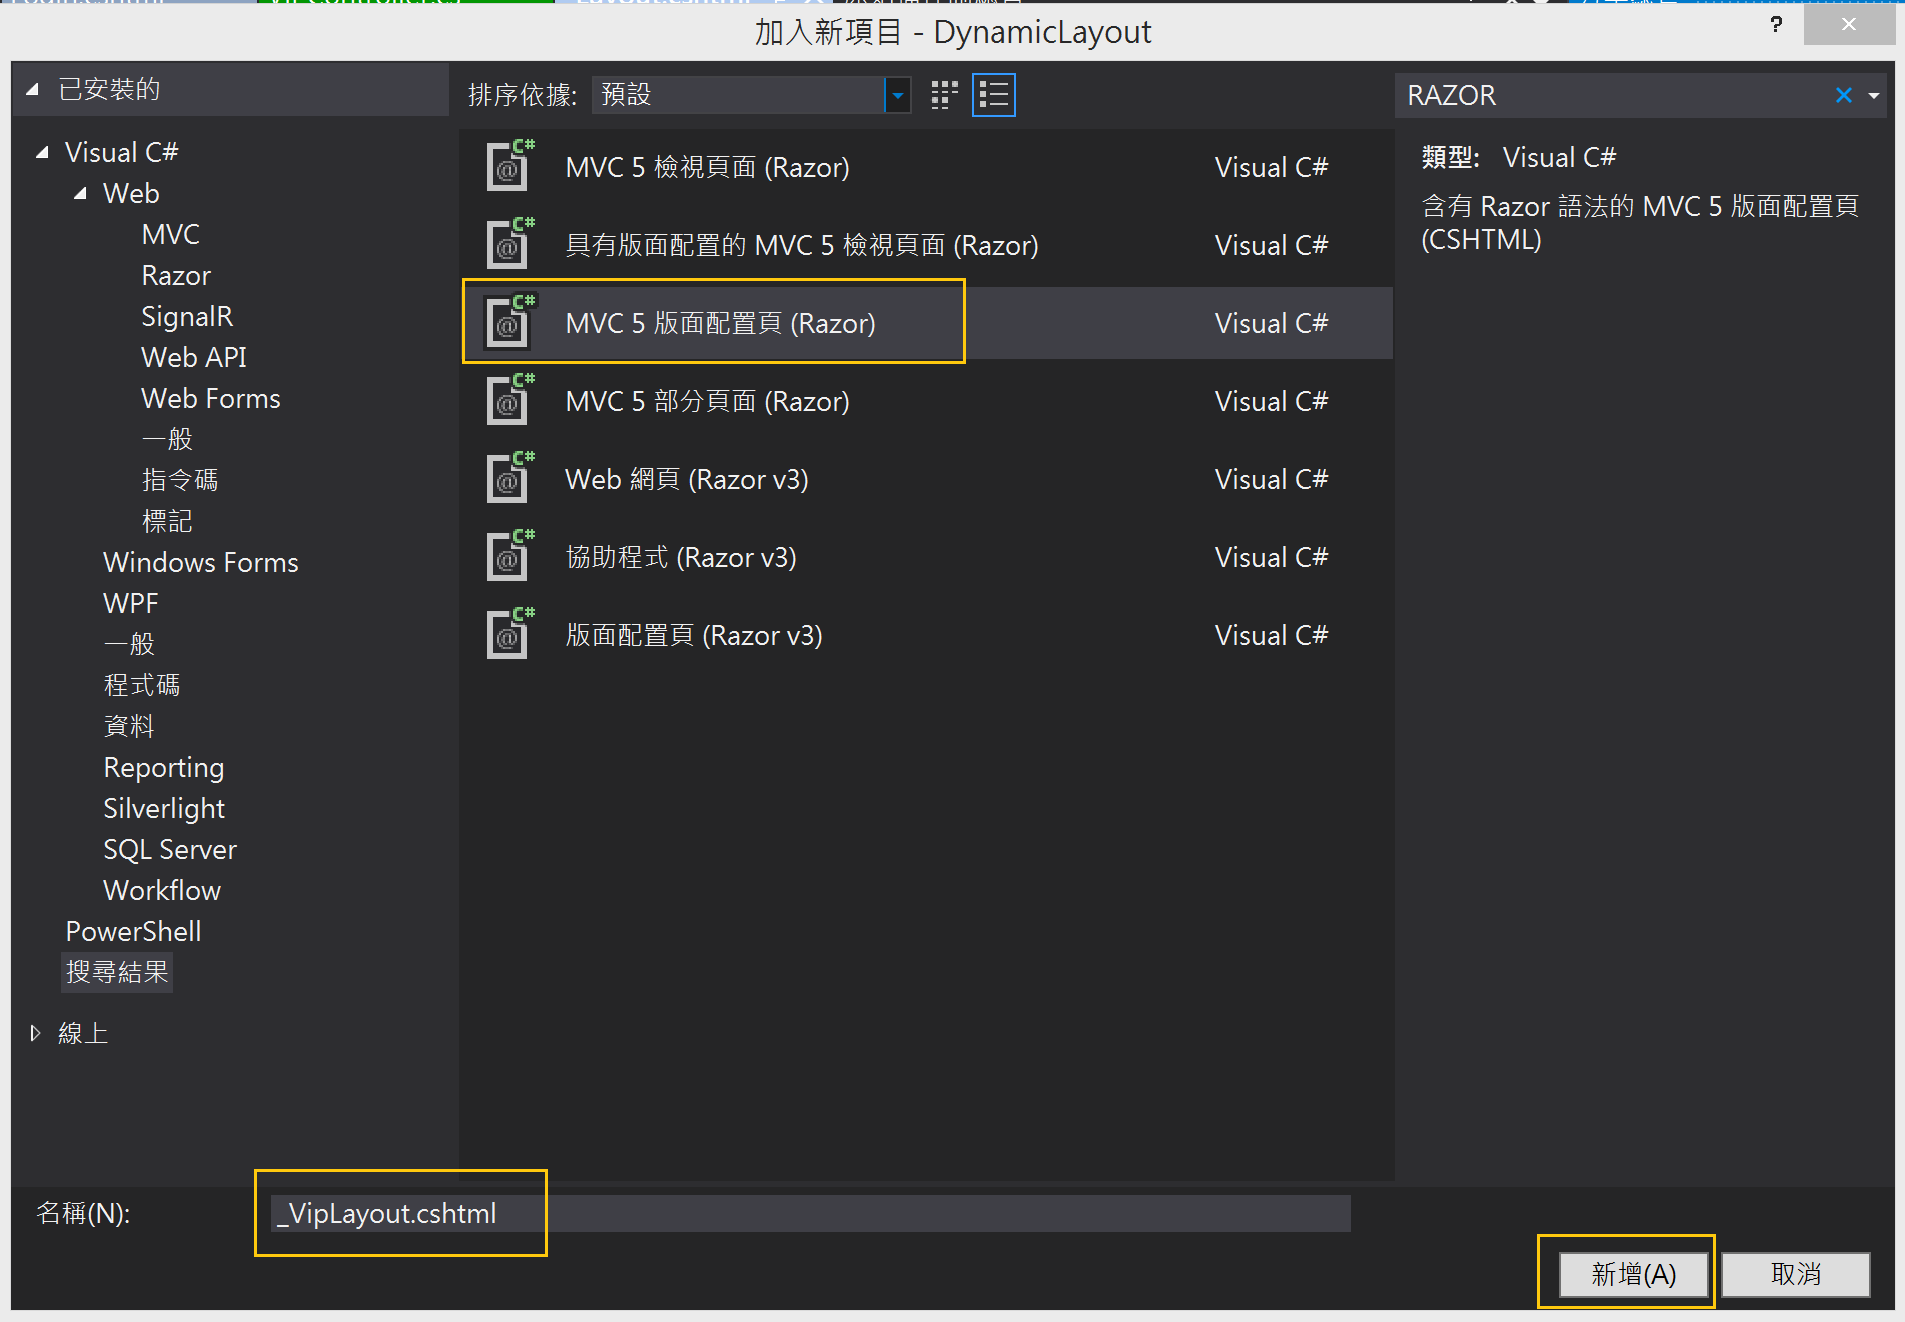
修改內容 加<h1>Vip Layout</h1>
<head>
    <meta name="viewport" content="width=device-width" />
    <title>@ViewBag.Title</title>
</head>
<body>
    <h1>Vip Layout</h1>
    <div>
        @RenderBody()
    </div>
</body>
</html>
5.分別對兩個Controller各加入一個index view。
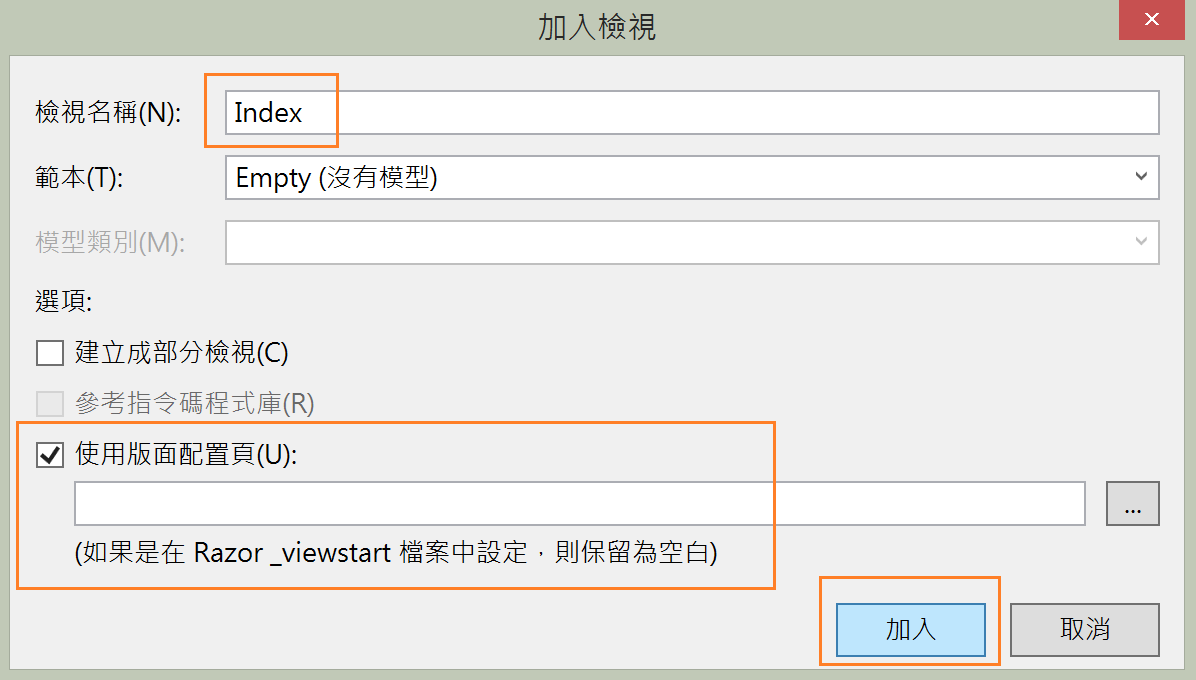
調整customer資料夾內的index.cshtml內容,加入Customer Index文字。
@{
    ViewBag.Title = "Index";
}

<h2>Customer Index</h2>
Vip資料夾內的index.cshtml也是
@{
    ViewBag.Title = "Index";
}

<h2>Vip Index</h2>
6.關鍵來了,打開_ViewStart.cshtml,因為他每次都會執行到,試著改變Layout內容值。
輸入以下程式碼:
依Controller名稱決定載入的Layout:
@{
    string ControllerName = Convert.ToString(HttpContext.Current.Request.RequestContext.RouteData.Values["Controller"]);
    switch (ControllerName.ToUpper())
    {
        case "VIP":
            Layout = "~/Views/Shared/_VipLayout.cshtml";
            break;
        default:
            Layout = "~/Views/Shared/_Layout.cshtml";
            break;
    }
}
7.分別執行兩個Customer及vip Url
Customer會套預設的_Layout
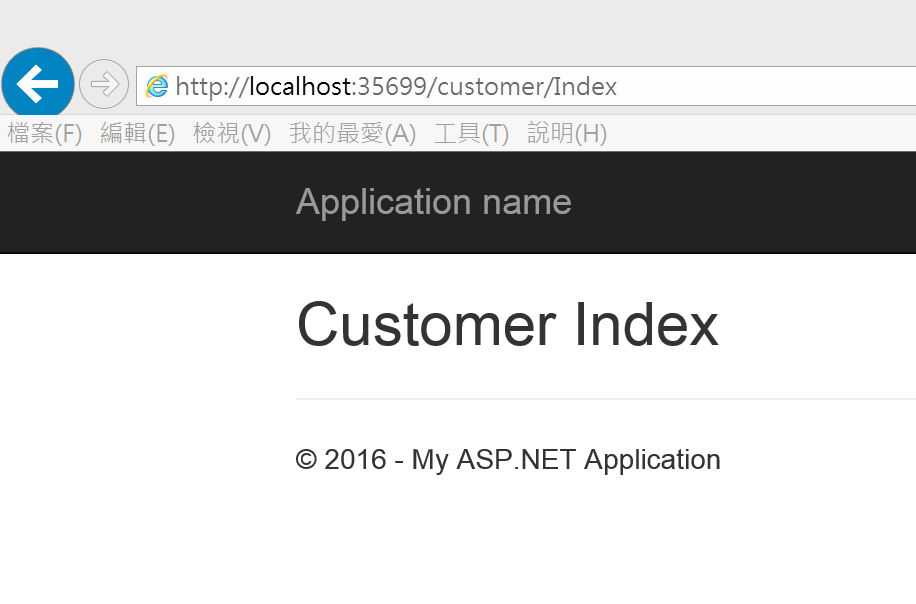
Vip則是套vip的_VipLayout
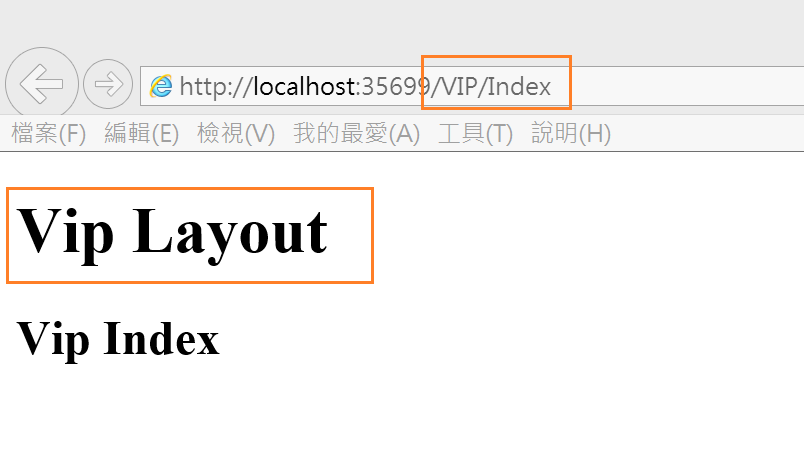
動態決定Layout成功!可以不用一個view一個view做苦工。
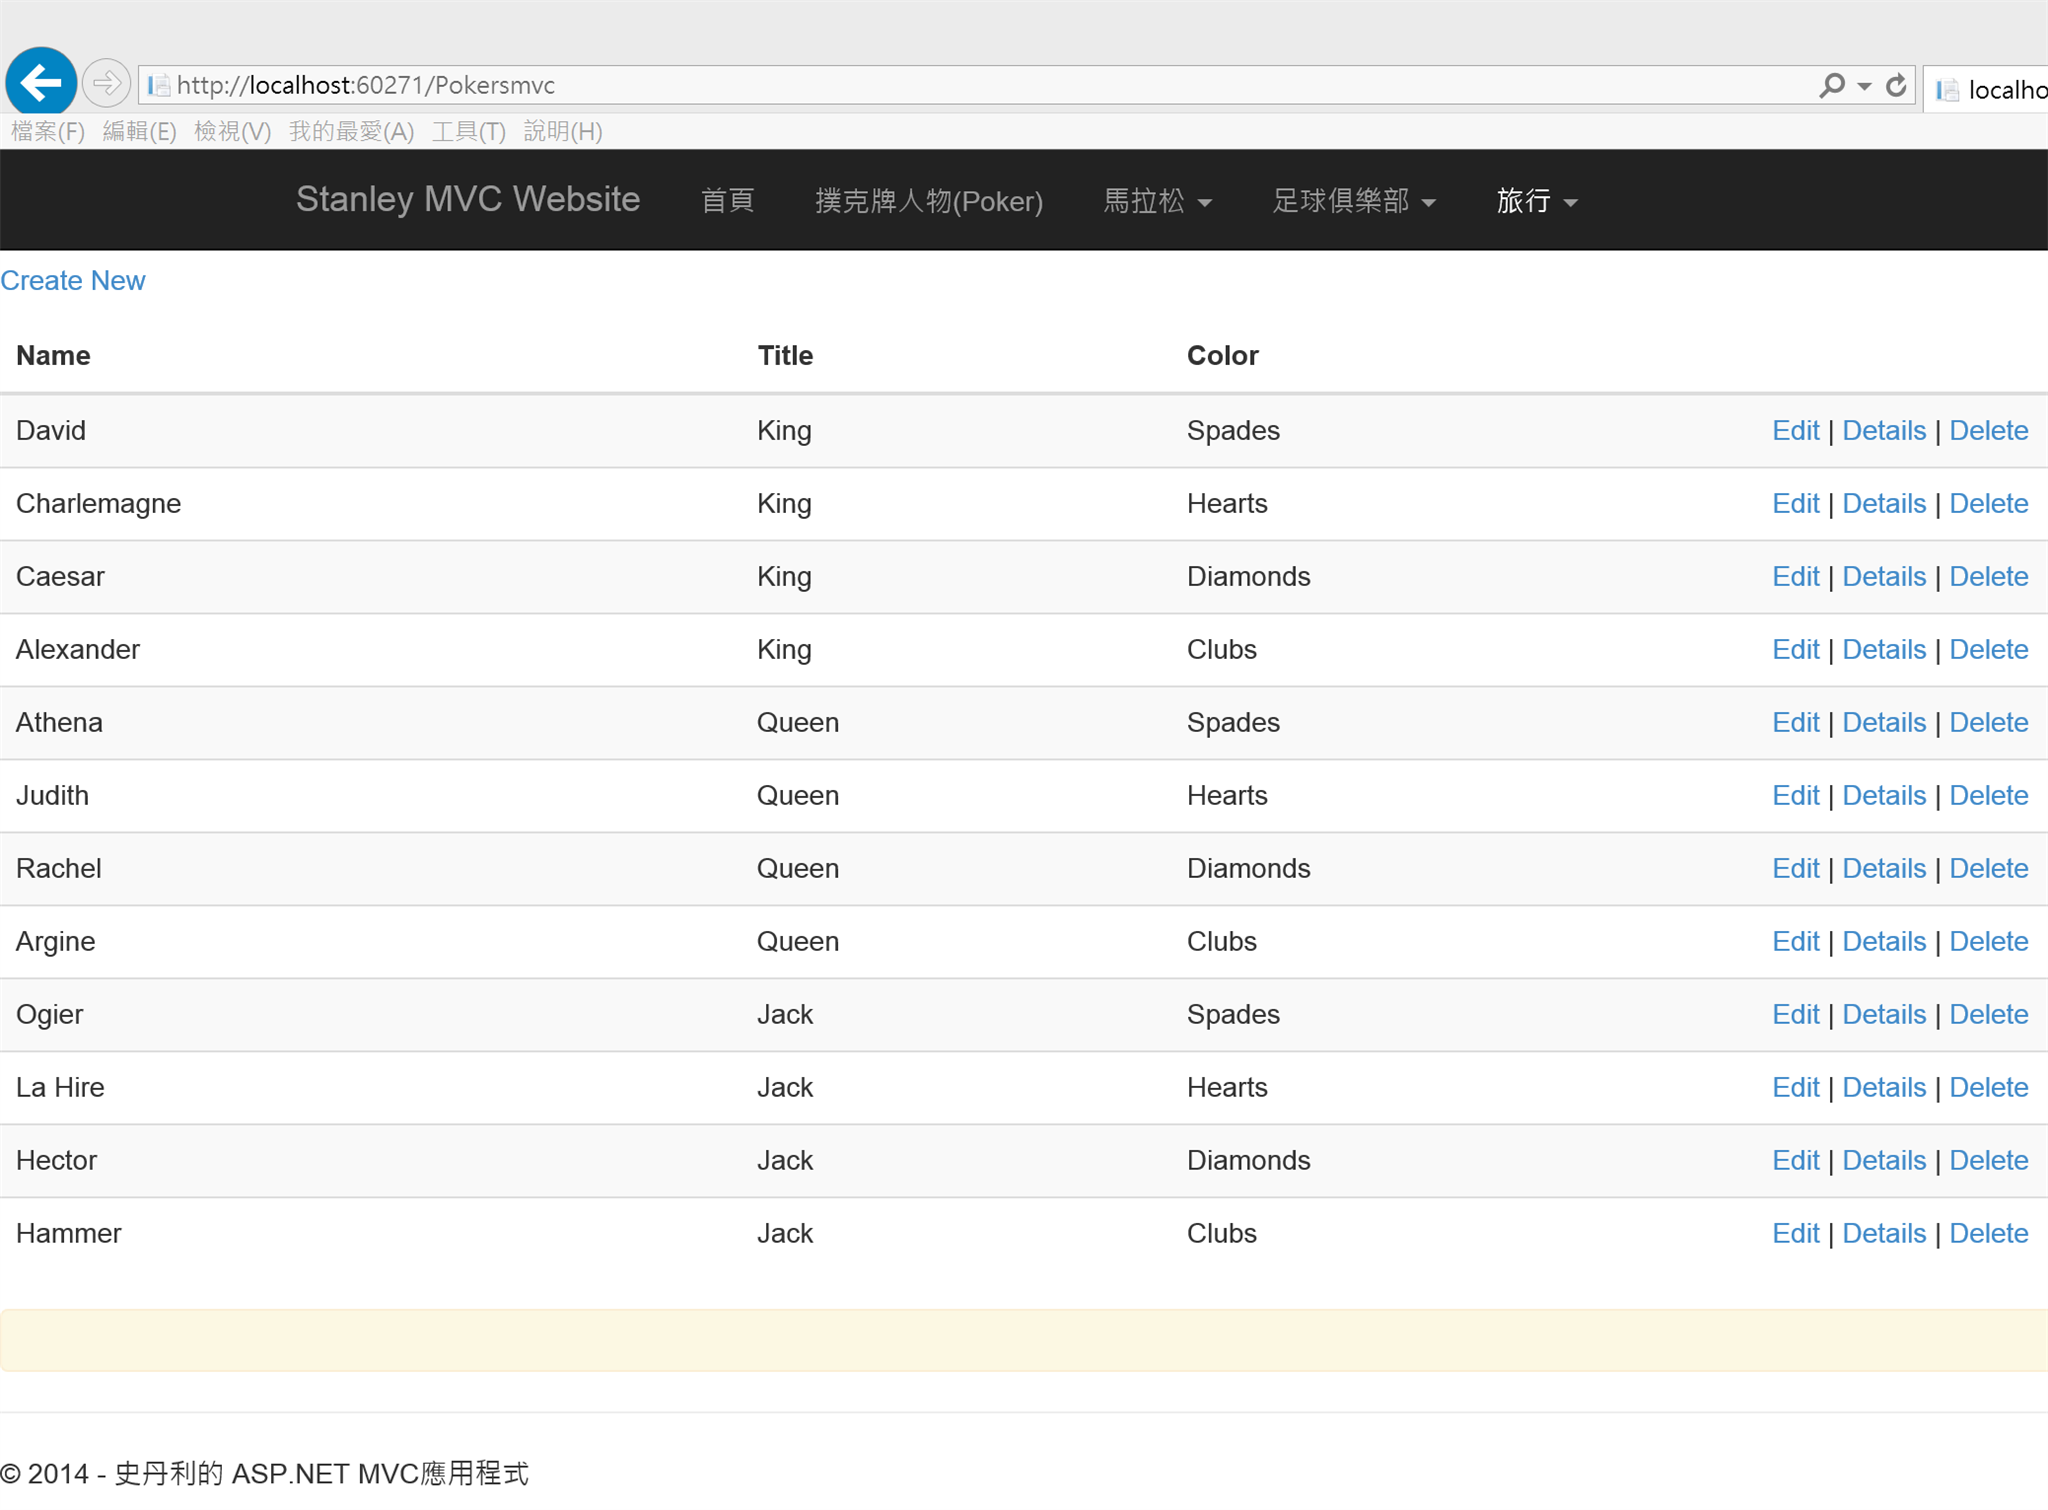
預設套版面配置:
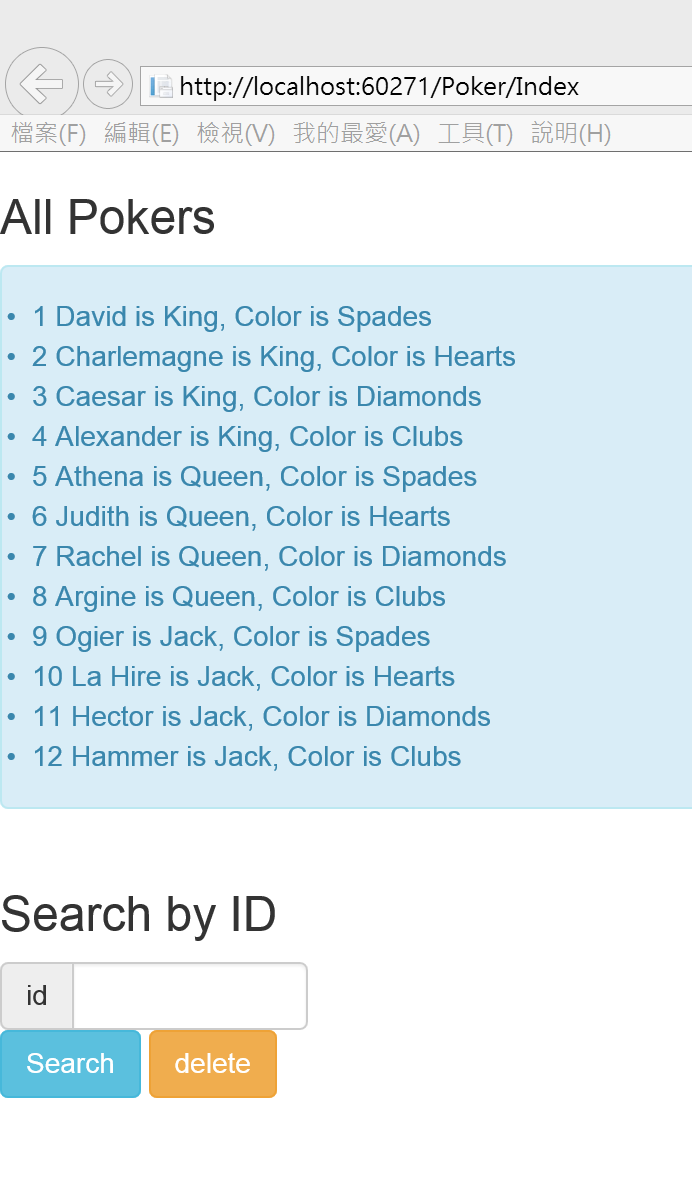
指定幾個Controller不套:
參考:
Building Applications with ASP.NET MVC 4 - ASP.NET, MVC, _ViewStart.cshtml