Add ripple and wave effect on button like Google Material Design
前言
Ripple、Wave這種Google網站專門的前端特效(當使用者點擊某個HTML Element的回饋),我還真不知道中文該怎麼叫它,乾脆以英文原名Ripple稱呼好了
本文介紹的套件名稱就叫 Waves (作者fians)
GitHub:https://github.com/fians/Waves
安裝&使用方法
先到此網址:https://github.com/fians/Waves/releases 下載 Source code (zip)
本文下載的版本是v0.7.6
.zip解壓完成,把以下三個檔案放到自己的工作目錄
基本程式碼如下,它並不需要jQuery
<!DOCTYPE html>
<html>
<head>
    <meta charset="utf-8" />
    <title>Ripple Demo</title>

    <!--引用CSS-->
    <link href="Content/lib/Waves-0.7.6/dist/waves.css" rel="stylesheet" />
</head>
<body>

    <a href="#" class="myLink">超連結</a>
    <hr />
    <button type="button" class="myButton">按鈕</button>
    <hr />
    <img src="Content/img/cat.png" class="myImg" />

    <!--引用JS-->
    <script src="Content/lib/Waves-0.7.6/dist/waves.js"></script>
    <!--初始化並執行 Ripple 效果(使用者點擊的回饋效果)-->
    <script type="text/javascript">
        Waves.attach('.myLink', []);//超連結
        Waves.attach('.myButton', []);//按鈕
        Waves.attach('.myImg', []);//圖片
        Waves.init();
    </script>
</body>
</html>
執行結果
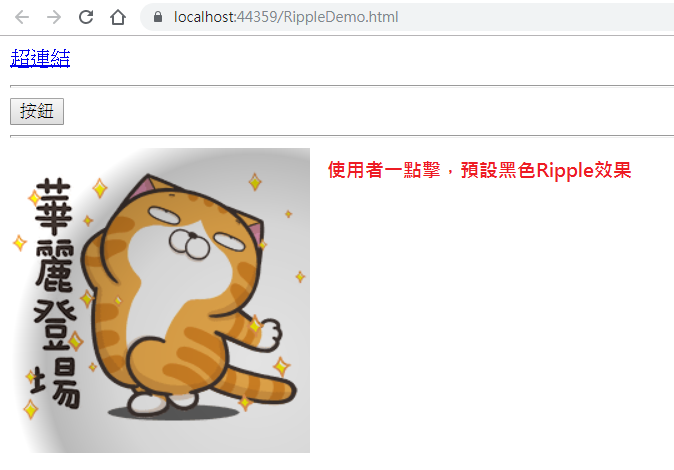
如果不喜歡預設黑色的話,程式碼在 Waves.attach 時,第二個陣列參數可以加入 waves-light 的 CSS class就會變成白色
        Waves.attach('.myLink',  ['waves-light']);//超連結
        Waves.attach('.myButton',  ['waves-light']);//按鈕
        Waves.attach('.myImg',  ['waves-light']);//圖片
第二個陣列參數可以加入以下CSS class,.waves-button會讓HTML Element變成按鈕,類似Bootstrap的「.btn .btn-primary」,這個要親自試過才知道合不合自己胃口
.waves-float 則是當使用者點擊時會有 box-shadow 陰影效果
.waves-circle讓HTML Element變成圓形,我覺得派不上用場
.waves-block,只是加上 display:block 而已,可能要和 HTML Self-Closing Tags 搭配使用,原因待會說明

你也可以自訂CSS Class名稱然後加入第二個陣列參數,如下
<!DOCTYPE html>
<html>
<head>
    <meta charset="utf-8" />
    <title>Ripple Demo</title>

    <!--引用CSS-->
    <link href="Content/lib/Waves-0.7.6/dist/waves.css" rel="stylesheet" />
    <style type="text/css">
        .myLinkCustom{

            margin:20px;
        }
        .myButtonCustom{
            margin:20px;
        }
        .myInputContainer{
            margin:20px;
        }
        .myImgContainer{
            margin:20px;
        }
    </style>
</head>
<body>

    <a href="#" class="myLink">超連結</a>
    <hr />
    <button type="button" class="myButton">按鈕</button>
    <hr />
    <input type="button" class="myInput" value="按鈕" />
    <hr />
    <img src="Content/img/cat.png" class="myImg" />

    <!--引用JS-->
    <script src="Content/lib/Waves-0.7.6/dist/waves.js"></script>
    <!--初始化並執行 Ripple 效果(使用者點擊的回饋效果)-->
    <script type="text/javascript">
        Waves.attach('.myLink', ['waves-button', 'waves-float', 'myLinkCustom']);//超連結
        Waves.attach('.myButton', ['waves-button', 'waves-float', 'myButtonCustom']);//按鈕
        Waves.attach('.myInput', ['waves-button', 'waves-float', 'myInputContainer']);//按鈕
        Waves.attach('.myImg', ['waves-button', 'waves-float', 'myImgContainer']);//圖片
        Waves.init();
    </script>
</body>
</html>
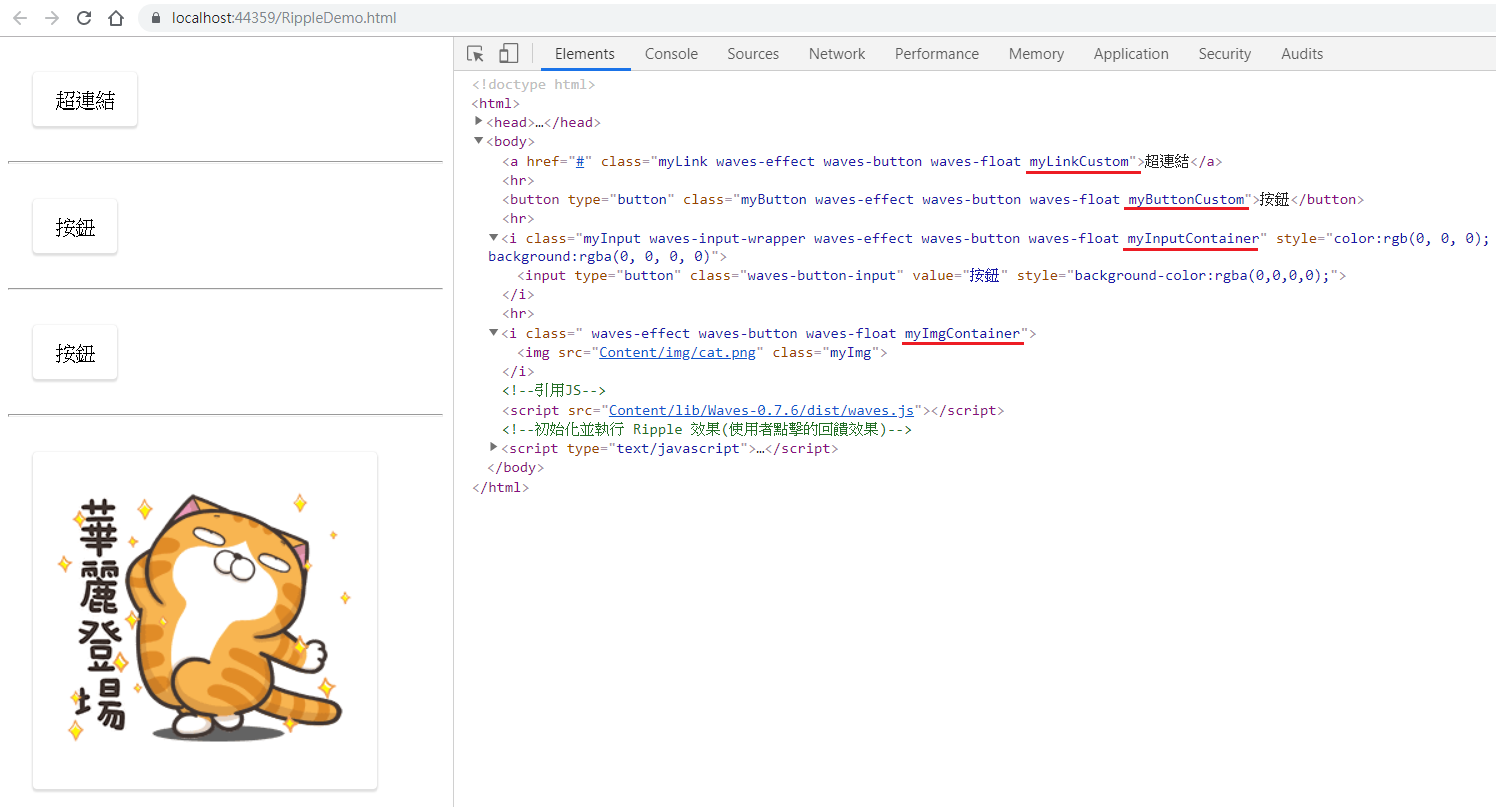
產生出來的HTML程式碼要小心,對於 Self-Closing Tags,第二個陣列參數加入的CSS Class會出現在<i> 這個父容器,<i> 是套件自動產生出來的
看自己排版需求,針對 Self-Closing Tags:<input />、<img />
由於會自動產生<i>標籤,你有可能要對第二個陣列參數傳遞 waves-block 的CSS Class,來讓<i>這個父容器變成 display:block
否則預設套件為<i>標籤自動加上CSS Class waves-effect 是 display: inline-block;
注意事項
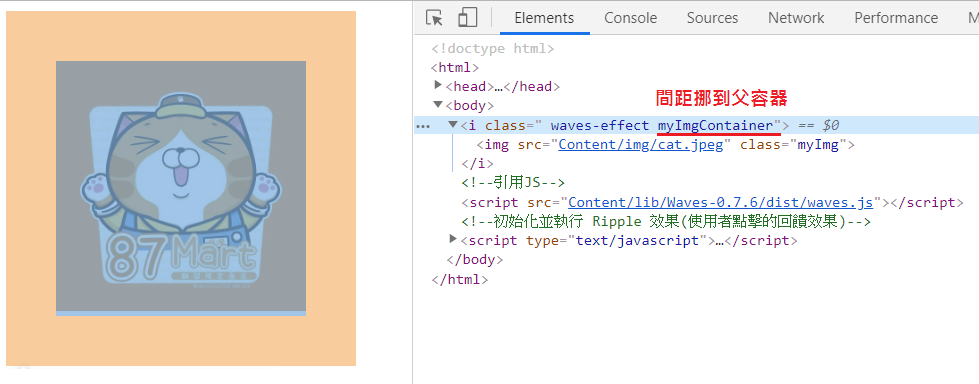
如果你對<input />、<img />有margin、padding的排版需求,在套用此套件時要小心Ripple範圍會涵蓋margin、padding,原因就是因為上述自動產生的 <i> Tag
以下是錯誤的程式碼
<!DOCTYPE html>
<html>
<head>
    <meta charset="utf-8" />
    <title>Ripple Demo</title>

    <!--引用CSS-->
    <link href="Content/lib/Waves-0.7.6/dist/waves.css" rel="stylesheet" />
    <style type="text/css">
        .myImg
        {
         width:200px;
         margin:40px; /*外間距*/
        }
    </style>
</head>
<body>

    <img src="Content/img/cat.jpeg" class="myImg" />

    <!--引用JS-->
    <script src="Content/lib/Waves-0.7.6/dist/waves.js"></script>
    <!--初始化並執行 Ripple 效果(使用者點擊的回饋效果)-->
    <script type="text/javascript">

        Waves.attach('.myImg', []);//圖片
        Waves.init();
    </script>
</body>
</html>
執行結果↓

要解決此問題↑
Step 1:新增一個CSS Class,把原本<img />、<input />的margin、padding,移到新的CSS Class
Step 2:把新的CSS Class傳入 Waves.attach( )的第二個陣列參數
修正後程式碼如下
<!DOCTYPE html>
<html>
<head>
    <meta charset="utf-8" />
    <title>Ripple Demo</title>

    <!--引用CSS-->
    <link href="Content/lib/Waves-0.7.6/dist/waves.css" rel="stylesheet" />
    <style type="text/css">
        .myImg
        {
         width:200px;
        }
        .myImgContainer{
            margin:40px; /*外間距,給自動產生出來的<i>使用*/
        }
    </style>
</head>
<body>

    <img src="Content/img/cat.jpeg" class="myImg" />

    <!--引用JS-->
    <script src="Content/lib/Waves-0.7.6/dist/waves.js"></script>
    <!--初始化並執行 Ripple 效果(使用者點擊的回饋效果)-->
    <script type="text/javascript">

        Waves.attach('.myImg', ['myImgContainer']);//圖片
        Waves.init();
    </script>
</body>
</html>
修正後的執行結果↓
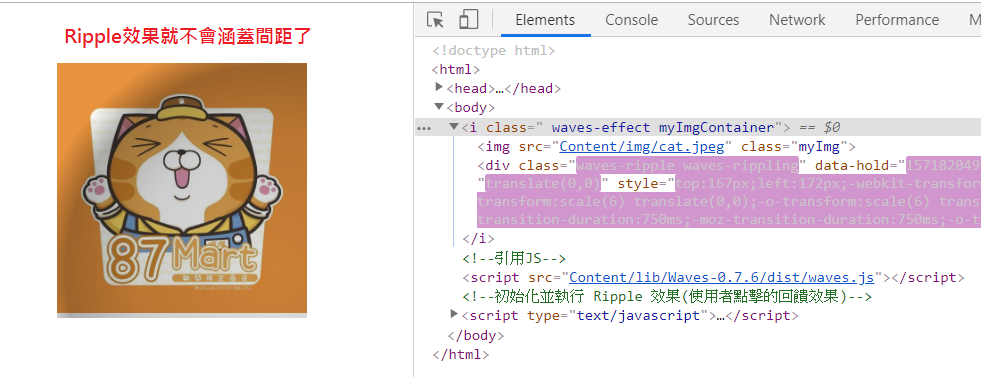
最後該注意的是 Waves.attach(),第一個參數是選取器,類似jQuery,第二個陣列參數是CSS Class名,不用多加上一個點「.」
Waves.attach('.myImg', ['myImgContainer']);//圖片
其他用法,請見官網文件吧~