[WEB API]使用ITextSharp將PDF印上浮水印,提供下載
前言
其實這種需求在銀行業還蠻常見的,因為個資問題,可能會怕人把文件隨便外流出去,所以當你下載某個檔案的時候,就印上你的姓名甚至部門,一旦在市面上看到文件,就可以追蹤法律職責的問題,但其實這一套就是為了製作pdf而生的,所以你可以完全用這個搭配上你能抓到的所有資料或者圖片,然後用程式碼自動產生一份pdf出來,不過在本篇文章只會介紹一下如何印上logo而已,其餘進階議題就留給讀者自行研究了,ITextSharp的說明文件的網頁實在不是那麼好找,所以在此也附上連結,如果需要進一步去使用的話,就好好看著官網學習吧(http://developers.itextpdf.com/content/itext-7-jump-start-tutorial-net/itext-7-jump-start-tutorial-net-version)
導覽
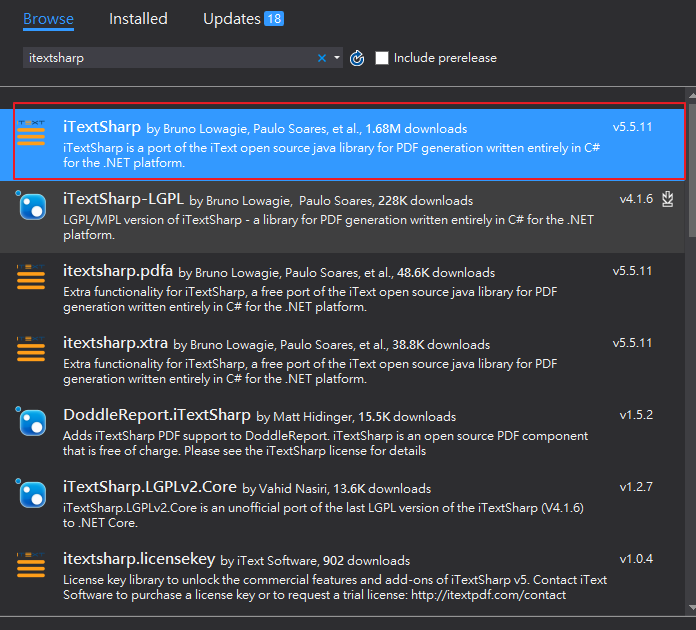
開啟nuget下載ITextSharp,你可以只選擇pdfa,不過為了以防我要使用到某種情境卻沒有支援,所以我還是建議直接下載最完整的吧
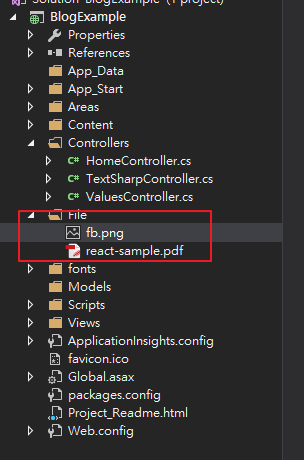
先準備一份pdf還有logo吧
接下來就可以開始寫C#的程式碼了,我會把比較不太好懂的屬性寫上註解,這邊為了文章排版方便,所以全部放在一起,方便在文章好閱讀,但是在ide上請自行好好重構,印上圖片最主要是依賴在
 public HttpResponseMessage Get()
        {
            HttpResponseMessage response = new HttpResponseMessage(HttpStatusCode.OK);
            using (MemoryStream myMemoryStream = new MemoryStream())
            {
                var path = HttpContext.Current.Server.MapPath("/File/react-sample.pdf");

                using (PdfReader pdfReader = new PdfReader(path))
                {
                    using (PdfStamper stamp = new PdfStamper(pdfReader, myMemoryStream))
                    {
                        BaseFont bfChinese = BaseFont.CreateFont(@"C:\WINDOWS\Fonts\kaiu.ttf", BaseFont.IDENTITY_H, BaseFont.NOT_EMBEDDED);
                        PdfGState gstate = new PdfGState()
                        {
                            FillOpacity = 0.6f,
                            StrokeOpacity = 0.6f
                        };

                        for (int page = 1; page <= pdfReader.NumberOfPages; page++)
                        {
                            PdfContentByte pdfPageContents = stamp.GetOverContent(page);
                            pdfPageContents.SetGState(gstate); //塞入我們設定的透明度
                            string imageUrl = HttpContext.Current.Server.MapPath("/File/fb.png");
                            iTextSharp.text.Image img = iTextSharp.text.Image.GetInstance(imageUrl);
                            img.ScalePercent(35f);  //縮放比例
                            img.RotationDegrees = 45; //旋轉角度
                            img.SetAbsolutePosition(100,100); //設定圖片每頁的絕對位置
                            PdfContentByte waterMark = stamp.GetOverContent(page);
                            waterMark.AddImage(img); //把圖片印上去
                        }
                    }
                }

                response.Content = new ByteArrayContent(myMemoryStream.ToArray());
                response.Content.Headers.ContentDisposition = new ContentDispositionHeaderValue("attachment");
                response.Content.Headers.ContentDisposition.FileName = HttpUtility.UrlPathEncode("react-example.pdf");
                response.Content.Headers.ContentType = new MediaTypeHeaderValue("application/pdf");
                response.StatusCode = HttpStatusCode.OK;
            }

            return response;
        }
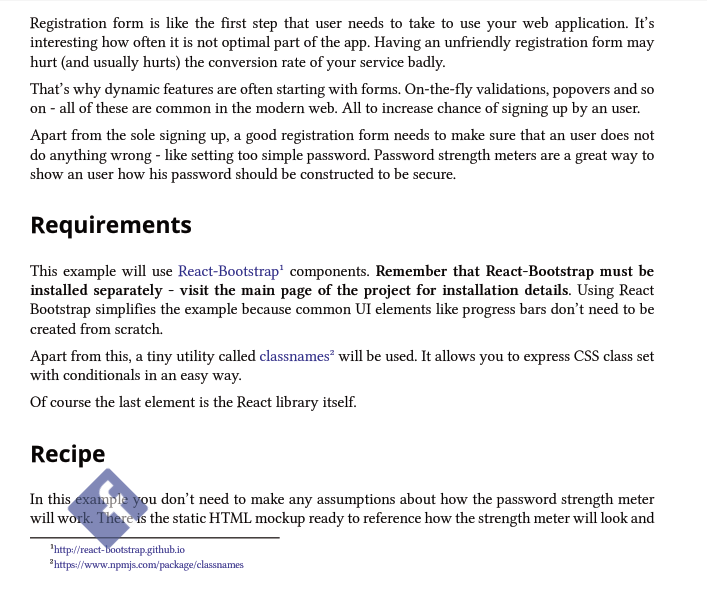
檔案下載之後可以看到已印上fb的logo了
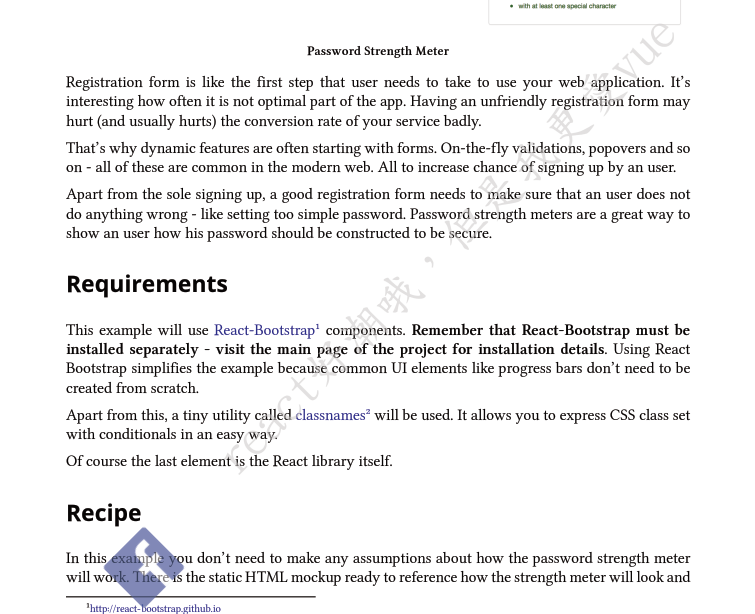
上面已經印上logo了,如果我們想要印上姓名怎麼做呢,接著請再參考程式碼做法
        public HttpResponseMessage Get()
        {
            HttpResponseMessage response = new HttpResponseMessage(HttpStatusCode.OK);
            using (MemoryStream myMemoryStream = new MemoryStream())
            {
                var path = HttpContext.Current.Server.MapPath("/File/react-sample.pdf");

                using (PdfReader pdfReader = new PdfReader(path))
                {
                    using (PdfStamper stamp = new PdfStamper(pdfReader, myMemoryStream))
                    {
                        BaseFont bfChinese = BaseFont.CreateFont(@"C:\WINDOWS\Fonts\kaiu.ttf", BaseFont.IDENTITY_H, BaseFont.NOT_EMBEDDED);
                        PdfGState gstate = new PdfGState()
                        {
                            FillOpacity = 0.6f,
                            StrokeOpacity = 0.6f
                        };

                        for (int page = 1; page <= pdfReader.NumberOfPages; page++)
                        {
                            PdfContentByte pdfPageContents = stamp.GetOverContent(page);
                            pdfPageContents.SetGState(gstate);
                            string imageUrl = HttpContext.Current.Server.MapPath("/File/fb.png");
                            iTextSharp.text.Image img = iTextSharp.text.Image.GetInstance(imageUrl);
                            img.ScalePercent(35f);
                            img.RotationDegrees = 45;
                            img.SetAbsolutePosition(100,100);
                            PdfContentByte waterMark = stamp.GetOverContent(page);
                            waterMark.AddImage(img);

                            // 加入所需文字和一些設定
                            float fontSize = 36;
                            float adjustTxtLineHeight = fontSize - 4;
                            float txtMarginTop = 5;
                            pdfPageContents.BeginText();
                            pdfPageContents.SetFontAndSize(bfChinese, fontSize);
                            pdfPageContents.SetRGBColorFill(210, 210, 210);
                            pdfPageContents.SetGState(gstate);

                            pdfPageContents.ShowTextAligned(PdfContentByte.ALIGN_LEFT, "react好潮哦,但是我更愛vue", 200, 200, 45);
                        }
                    }
                }

                response.Content = new ByteArrayContent(myMemoryStream.ToArray());
                response.Content.Headers.ContentDisposition = new ContentDispositionHeaderValue("attachment");
                response.Content.Headers.ContentDisposition.FileName = HttpUtility.UrlPathEncode("react-example.pdf");
                response.Content.Headers.ContentType = new MediaTypeHeaderValue("application/pdf");
                response.StatusCode = HttpStatusCode.OK;
            }

            return response;
        }
結果
其實ITextSharp能做的事情非常多,而且做一樣的事情又有很多方式可以完成,其實本身也蠻複雜的,有興趣的讀者就再自行研究了,筆者在此就不獻醜了。

