[Angular2官方tutorial學習01]ng new,ng serve,建立第一個component,pipe格式化字串,form與ngmodel,FormsModule,app.module,AppModule
@首先請先安裝nodejs,到官網直接下載並安裝即可,安裝完畢nodejs以後,cmd便有npm指令可使用來安裝其他套件囉
@然後請於cmd執行下列指令,將Angular安裝起來,-g表示是全域安裝
npm install -g @angular/cli
@接著於cmd執行下列指令用來產生我們的第一個angluar app,輸入之後會跳出許多選項要您確認,請一律選擇預設的選項即可
ng new my-angular-app
@於cmd執行下列指令以開啟angular的網頁服務,記得ng serve指令是必須先cd切換到專案資料夾裡面才執行喔
open選項則是自動打開網頁瀏覽器
cd my-app
ng serve --open
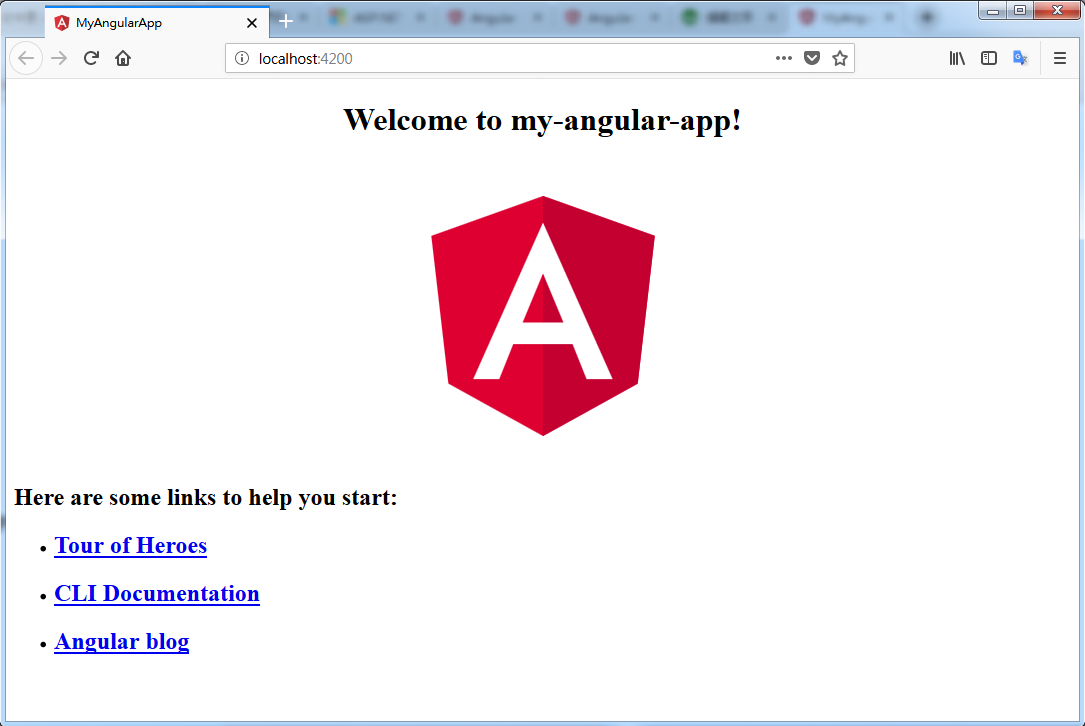
@看到下列畫面,表示已成功建立初步的angular專案囉
@打開src\app\app.component.ts,並將title變數修改為如下內容:
@Component({
  selector: 'app-root',
  templateUrl: './app.component.html',
  styleUrls: ['./app.component.css']
})
export class AppComponent {
  title = 'My First Angular App!';
}
並且打開src\app\app.component.css,加入下面的簡單的css
src\app\app.component.css
@回頭看瀏覽器內容,可以發現已經修改部分的畫面囉!
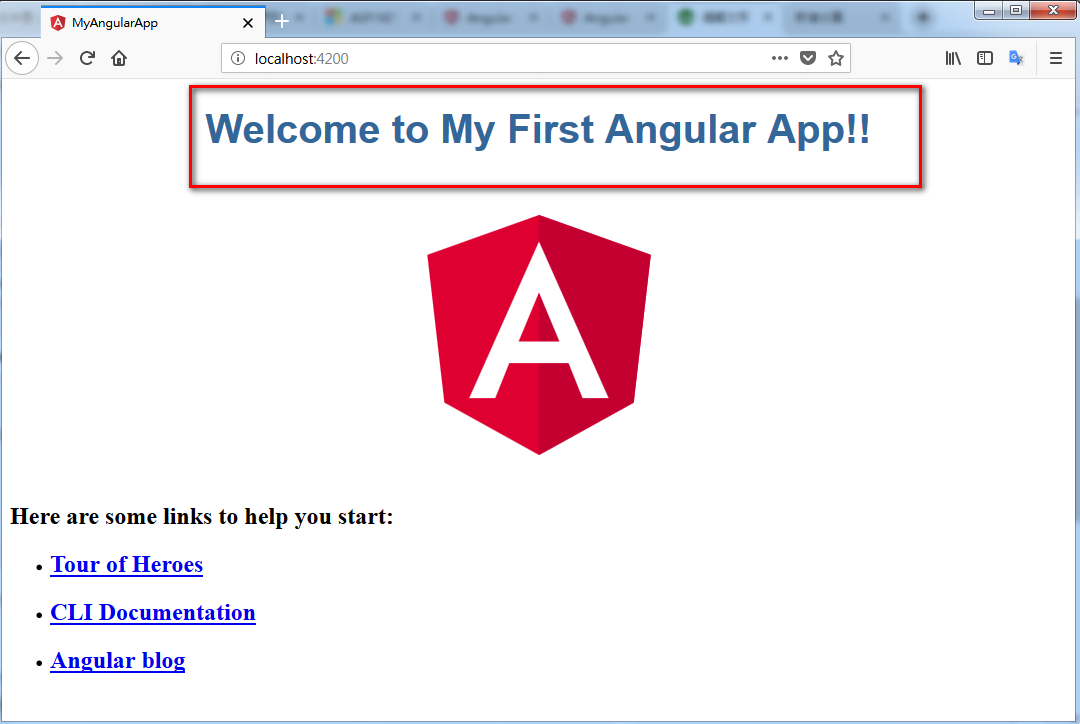
恭喜你!完成了Hello World!
@接下來進入官方的另外一個例子,請輸入以下指令建立另外一個專案,按下enter輸入指令之後,會跳出許多的選項供您選擇,直接按下enter選擇預設的選項即可
ng new angular-tour-of-heroes
@執行下面跟剛才的hello world類似的指令,將網頁伺服器服務啟動:
cd angular-tour-of-heroes
ng serve --open
當然此時您會看到跟剛才hello world一樣的畫面
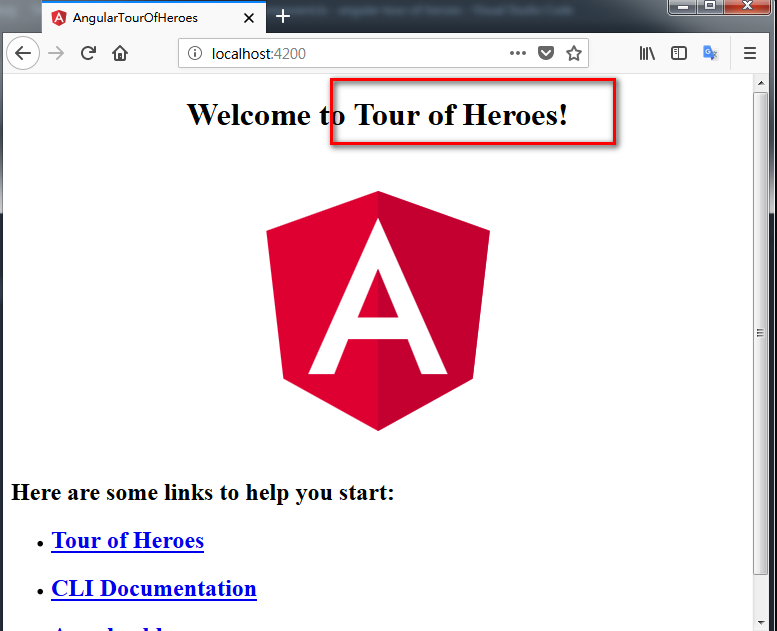
@接著打開src\app\app.component.ts,修改title變數的內容如下:
title = 'Tour of Heroes';
可以看到網頁內容被修改了
在angular裡面,.ts檔案寫的是typescript語法,語法相當類似javascript,而.ts扮演的角色就很像是 asp.net裡面的server端程式碼c#或是vb
@接著修改src\app\app.component.html的Welcome OOXX那一行如下
<h1>{{title}}</h1>
可以發現網頁的內容自動重整了,而且Welcome的字樣被我們改掉了
{{我是變數}}像是這樣的表示方法,在angular就表示在html裡面顯示這個變數的value喔
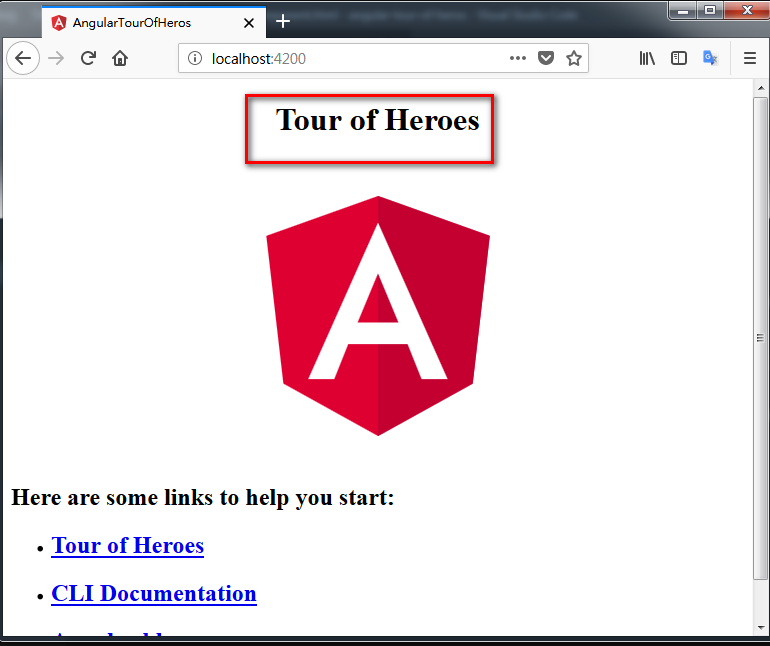
@接著請再試著修改src\app\app.component.css,原本內容是空的,加入下列內容
/* Application-wide Styles */
h1 {
  color: #369;
  font-family: Arial, Helvetica, sans-serif;
  font-size: 250%;
}
h2, h3 {
  color: #444;
  font-family: Arial, Helvetica, sans-serif;
  font-weight: lighter;
}
body {
  margin: 2em;
}
body, input[text], button {
  color: #888;
  font-family: Cambria, Georgia;
}
/* everywhere else */
* {
  font-family: Arial, Helvetica, sans-serif;
}
想當然,標題的文字顏色也隨著變動了

到目前為止,我們都在修改根目錄的這個AppComponent,接下來將會進行新增別的Component
@於cmd輸入下列指令以新增一個新的component
ng generate component heroes
ps.如果覺得指令太過冗長,可以改成如下
ng g c heroes
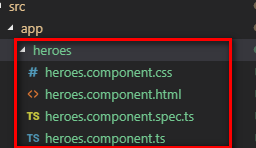
可以看到我們在src資料夾底下多了heros資料夾以及相關的heros的這些檔案
@在src\app\heroes\heroes.component.ts裡面出現了heros的componet的初始程式碼
selecttor就是當你要在html裡面使用這個component的時候,只要這樣寫即可:<app-heros></app-heros>
templateUrl就是這個Component的html原始碼,可隨自己高興定義此Component的排版
styleUrls當然就是這個component專屬的css囉,可隨自己高興定義此component的css
import { Component, OnInit } from '@angular/core';

@Component({
  selector: 'app-heroes',
  templateUrl: './heroes.component.html',
  styleUrls: ['./heroes.component.css']
})
export class HeroesComponent implements OnInit {

  constructor() { }

  ngOnInit() {
  }

}
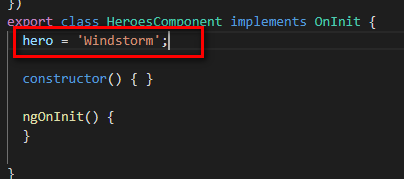
接著加入下列這行到HeroesComponent裡面
hero = 'Windstorm';
最後看起來會像是這樣
@接著請打開src\app\heroes\heroes.component.html,初始的內容請全部刪除之後,改成下面這樣
如此一來便可以在html裡面顯示hero這個變數的值了
{{hero}}
@下一步就是將我們定義好的HerosComponent應用到根目錄的AppComponent,請打開src\app\app.component.html,並且將原本的內容
<h1>
{{title}}
</h1>
改成下面這樣
<h1>{{title}}</h1>
<app-heroes></app-heroes>
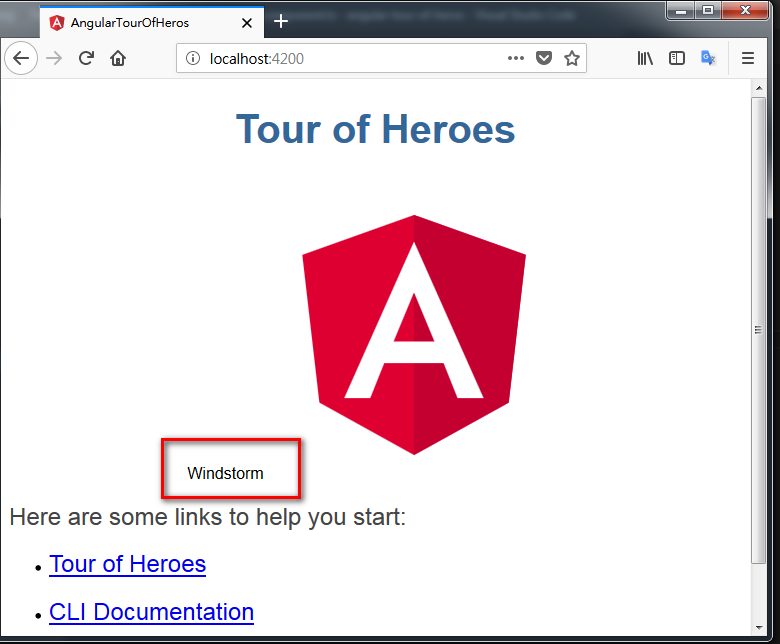
如此一來便可以順利的將剛才定義好的hero變數顯示在畫面上
@然後請新增一個src/app/hero.ts檔案,內容如下
export class Hero {
  id: number;
  name: string;
}
這樣子將會宣告一個Hero的資料結構為id:number以及name:string的class類別
@有了Hero這個class,回頭去打開src/app/heroes/heroes.component.ts,將Hero這個class套用在heroes.component.ts,請看下面程式碼的註解就有說明套用的地方
import { Component, OnInit } from '@angular/core';
//加入了這個import
import { Hero } from '../hero';

@Component({
  selector: 'app-heroes',
  templateUrl: './heroes.component.html',
  styleUrls: ['./heroes.component.css']
})
export class HeroesComponent implements OnInit {
  //hero = 'Windstorm';
  //hero原本只是字串變數,現在變成一個資料結構
  hero: Hero = {
    id: 1,
    name: 'Windstorm'
  };

  constructor() { }

  ngOnInit() {
  }

}
@接著回頭打開src\app\heroes\heroes.component.html,並把原本的{{hero}}改成如下
<h2>{{hero.name}} Details</h2>
<div><span>id: </span>{{hero.id}}</div>
<div><span>name: </span>{{hero.name}}</div>
畢竟hero已經不再是單純的一個字串變數,因此才會改成像是上面一樣,以物件的方式去存取hero這個物件,此時瀏覽器的畫面已經變成這樣
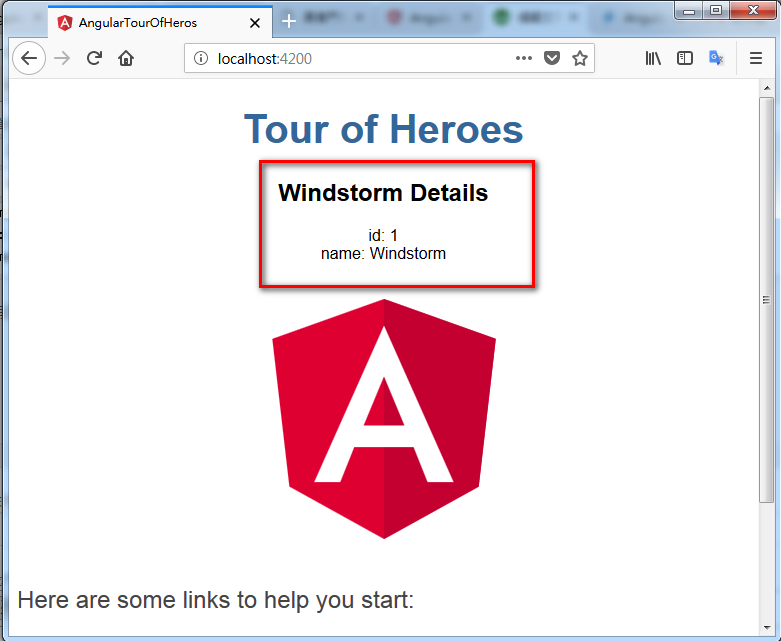
接著我們把上面的<h2>{{hero.name}} Details</h2>改成如下
<h2>{{hero.name | uppercase}} Details</h2>
可以發現name變數被改成大寫了
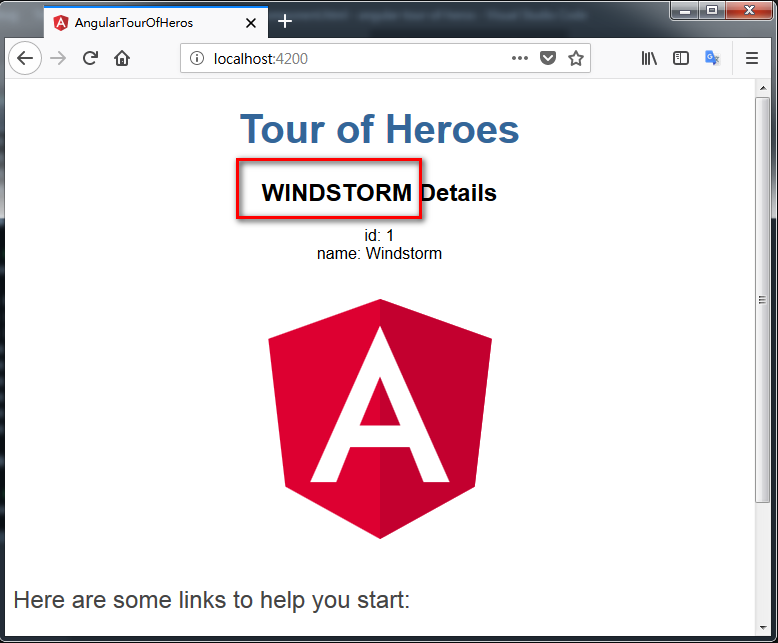
這個 | 符號,在angular叫做Pipes的用法,是angular內建的html格式化功能,像是格式化date的字串或是格式化時分秒或是字串轉大寫或是金額數字千分號……等等
@接下來我們要以form的形式來顯示Hero資料,畢竟~資料總是必需要在form裡面才能作編輯,才能送出submit
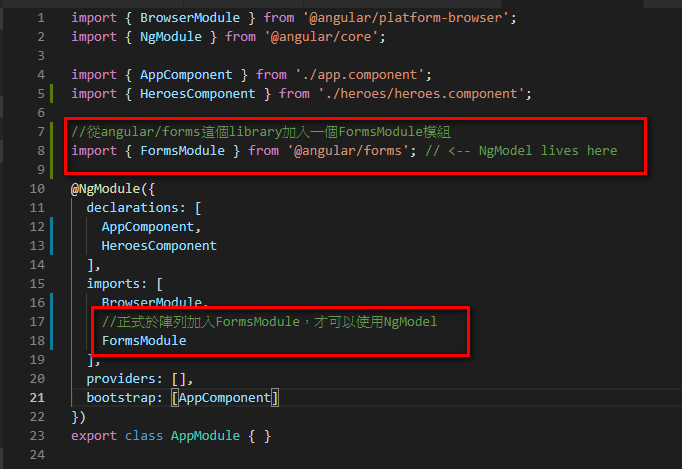
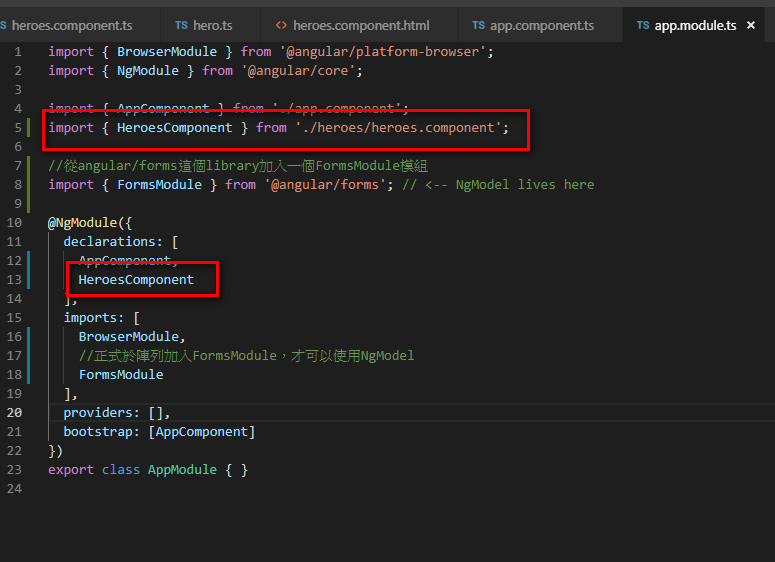
@然後於src\app\app.module.ts裡面加入下面內容,等等在html裡面使用關鍵字ngOOXX的時候,才不會顯示為錯誤,這個動作算是加入一個新的ngModule模組,這個模組的名稱叫做FormsModule
ps. app.module.ts就是AppModule概念,該檔案裡面就是紀錄著目前專案裡面有用到什麼模組,這個檔案在上面執行angular cli指令: ng g c OOXX的時候,會被建立出來
import { FormsModule } from '@angular/forms'; // <-- NgModel lives here
然後把FormsModule加入到imports的[]陣列裡面,這樣子將可以順利的使用ngModel關鍵字
imports: [
  BrowserModule,
  FormsModule
],
整個有改過的地方,以下圖的紅色框框顯示
最後把src/app/heroes/heroes.component.html的整個內容取代成下面這樣,
<div>
  <label>name:
    <input [(ngModel)]="hero.name" placeholder="name">
  </label>
</div>
此時打開瀏覽器,就可以看到我們第一個包含input type=textbox的form完成囉!
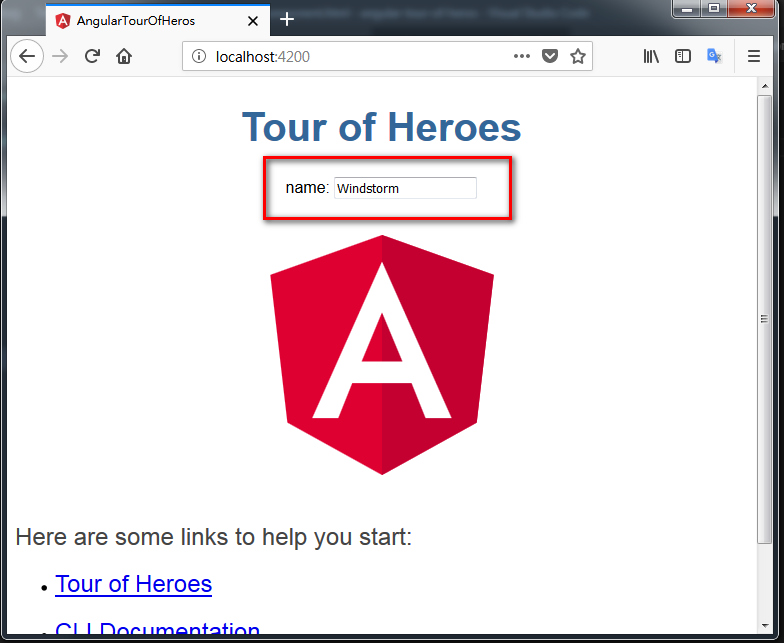
ps.如果你打開網頁瀏覽器的debbuger看html原始碼的話,會是類似下面這樣喔
<label _ngcontent-c1="">name:
<input _ngcontent-c1="" placeholder="name" ng-reflect-model="Windstorm" class="ng-pristine ng-valid ng-touched"></label>
@補充一下,在利用ng g c指令產生HeroesComponent的時候,其實Angular CLI有自動在src\app\app.module.ts幫你加入import HeroesComponent喔
所以我們剛剛上面有一些步驟有使用到HeroesComponent才會正常運作
參考資料:
Getting started - angular.io
https://angular.io/guide/quickstart