既然都安裝好 Unity Editor 了,那就來介紹一下如何建立一個基本的 Unity 3D 專案,並在本機電腦上執行該專案建置執行該應用。

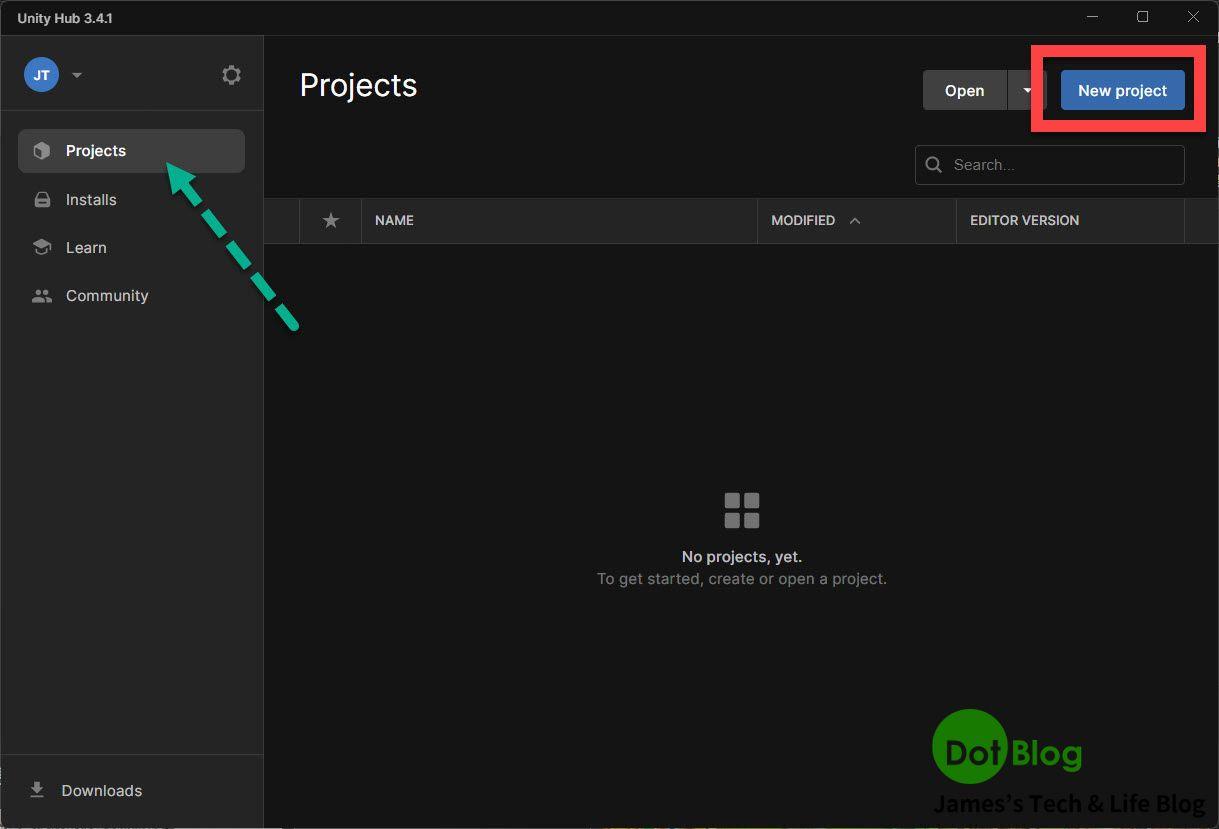
首先,在 Unity Editor 當中,找到 "Projects" (專案) 選單,再點選所出現的畫面右上角的 "New Project" (新增專案)。
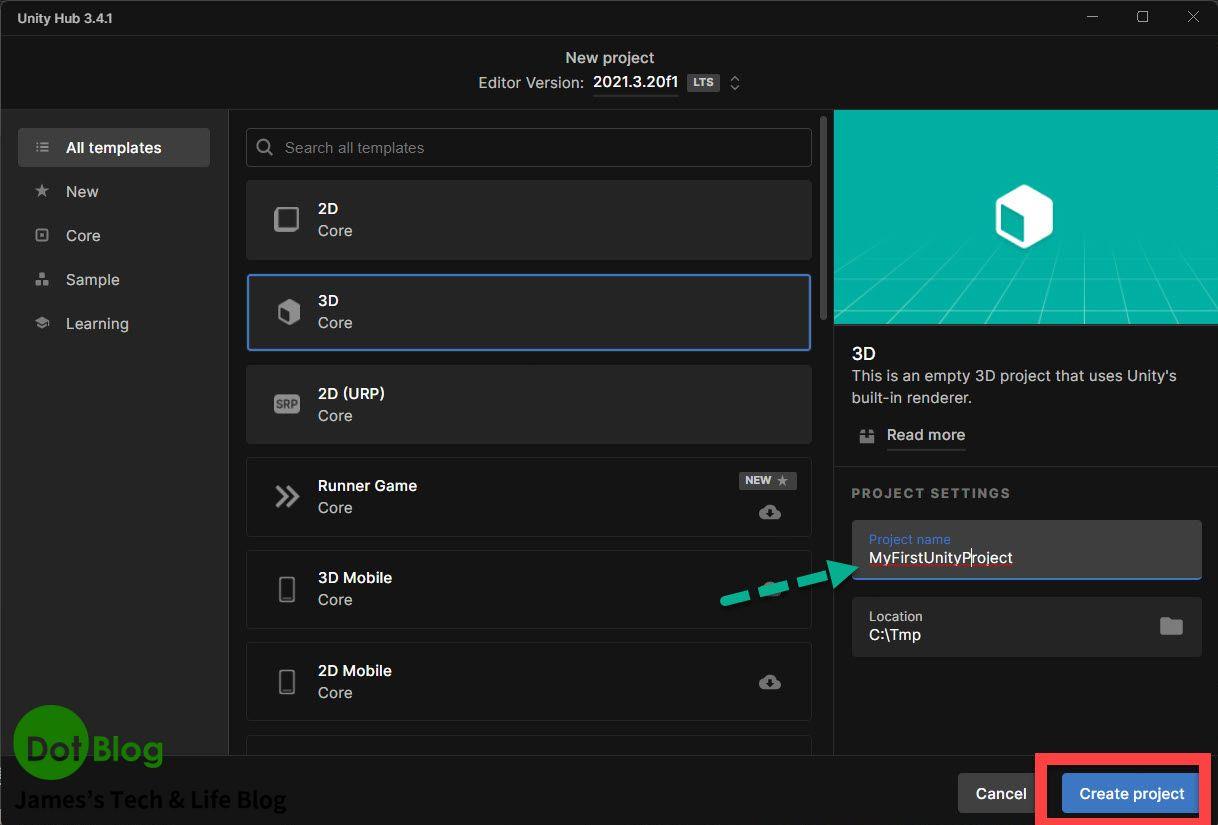
在出現的 "New project" 視窗當中,選取 "Core" (核心) 的範本分類,再點選其中的 "3D" 範本。接著在視窗右側會出現 "Project Settings",並確認要建立的專案的檔案路徑是否會位在自己電腦當中適合的資料夾位置。

再來給此專案一個專案名稱,完成後就點選 "Create Project" (建立專案)。
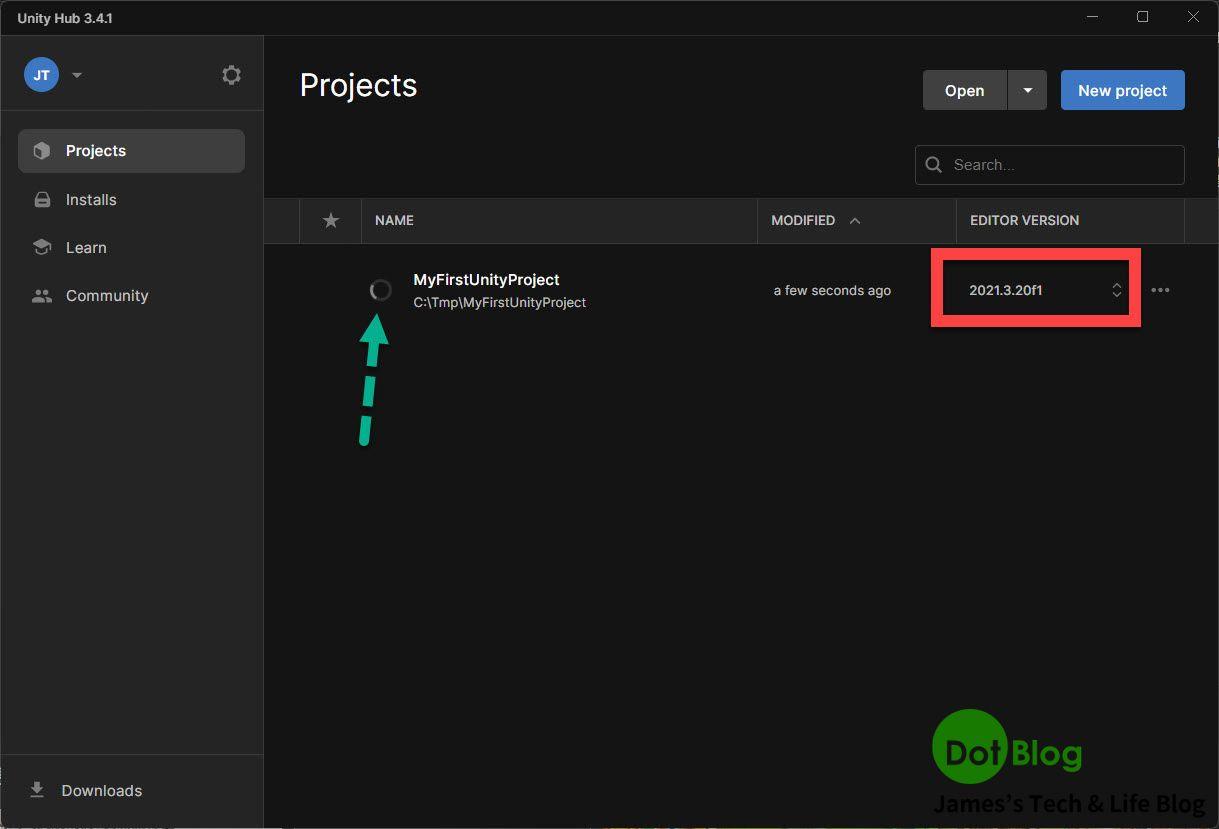
接著畫面會跳出 "Unity Hub" 看到正在建立專案的動畫,建立到一定的進度時 Unity Editor 會跳出來繼續載入專案。
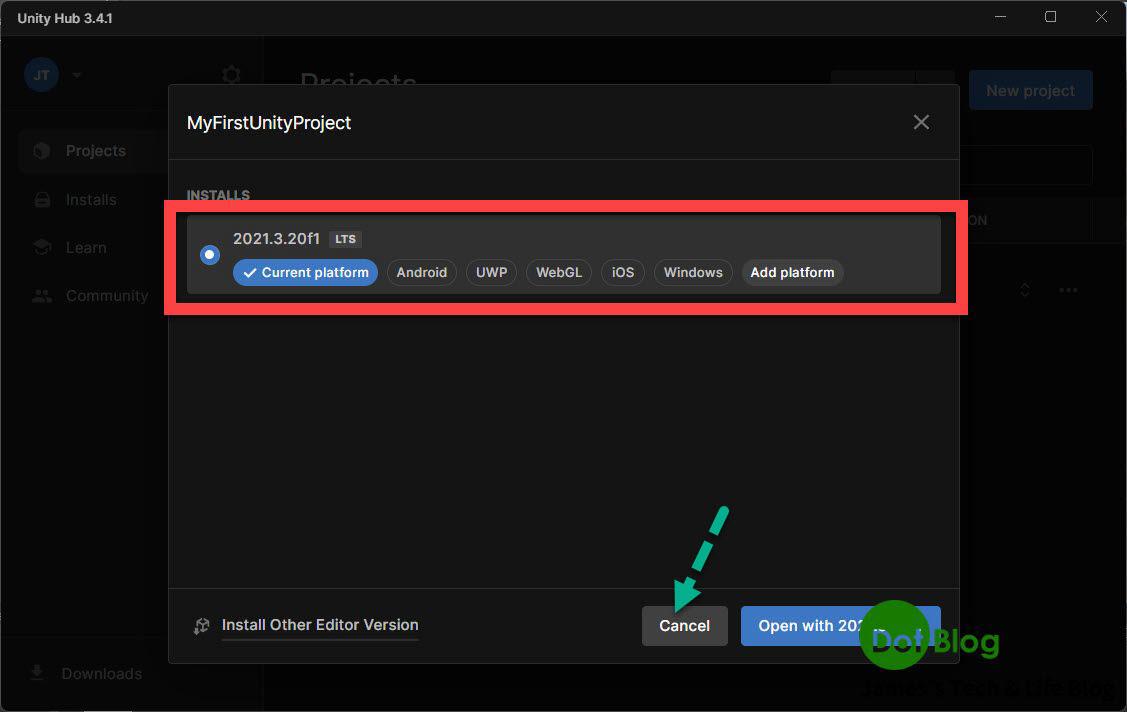
如果等待的時候很無聊,可以在 Unity Hub 中的該專案點選所要使用的 Unity Editor 版本,會跳出下面畫面做一些版本上的改變,不過在這邊就不改變,看完確認後就直接點選 "Cancel" (取消)。
Unity Editor 跳出來接手載入專案。

完全載入後,就會出現如下畫面:

接下來的目標很簡單,就在這個專案當中放置一個 Unity 3D 的物件,並且在這台電腦上完成建置執行。
放置 Unity 3D 物件到此 "Scene" (場景) 的方式有兩種。
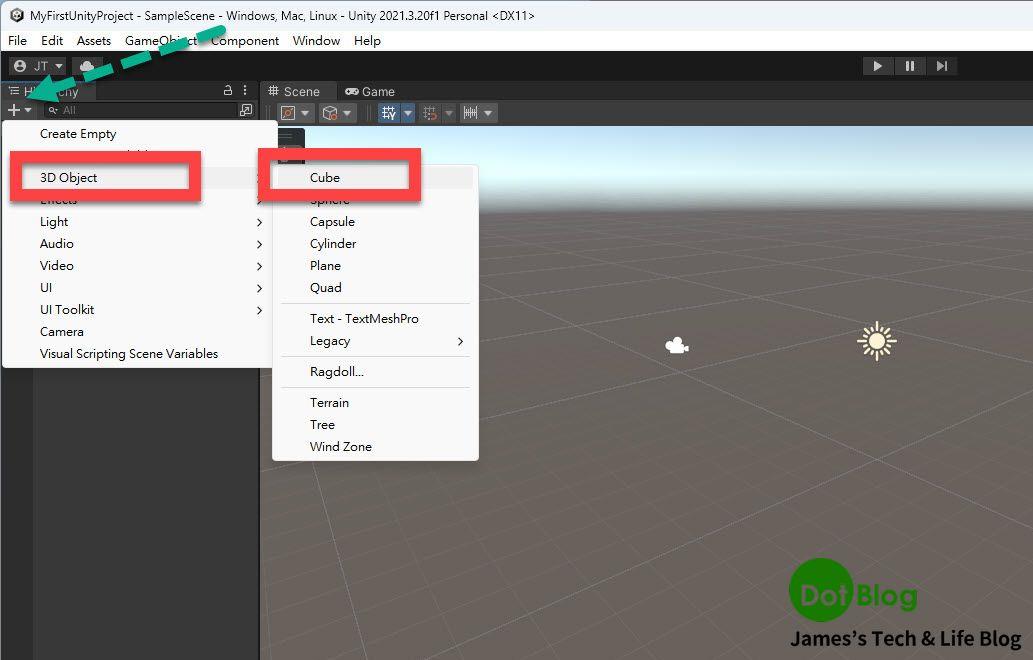
第一種方式:可以透過左邊 "Hierarchy" (階層) 窗格當中的 "+" 來完成。
第二種方式:可以透過 選單列的 "GameObject" 來完成。
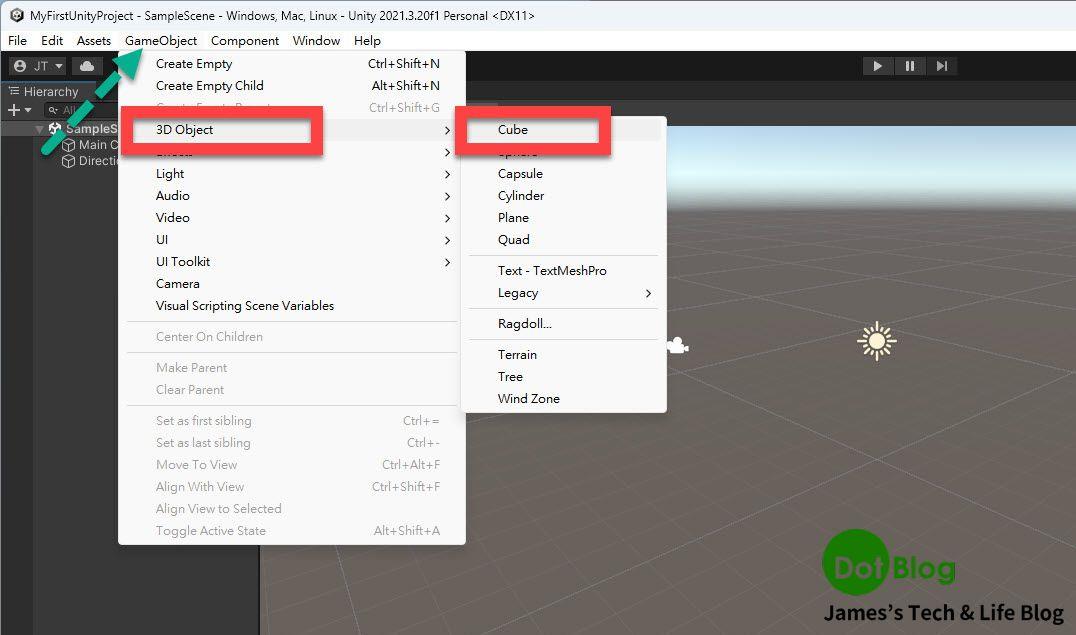
總之,就是放一個 "Cube" (立方體) 到 "Scene" (場景)當中。

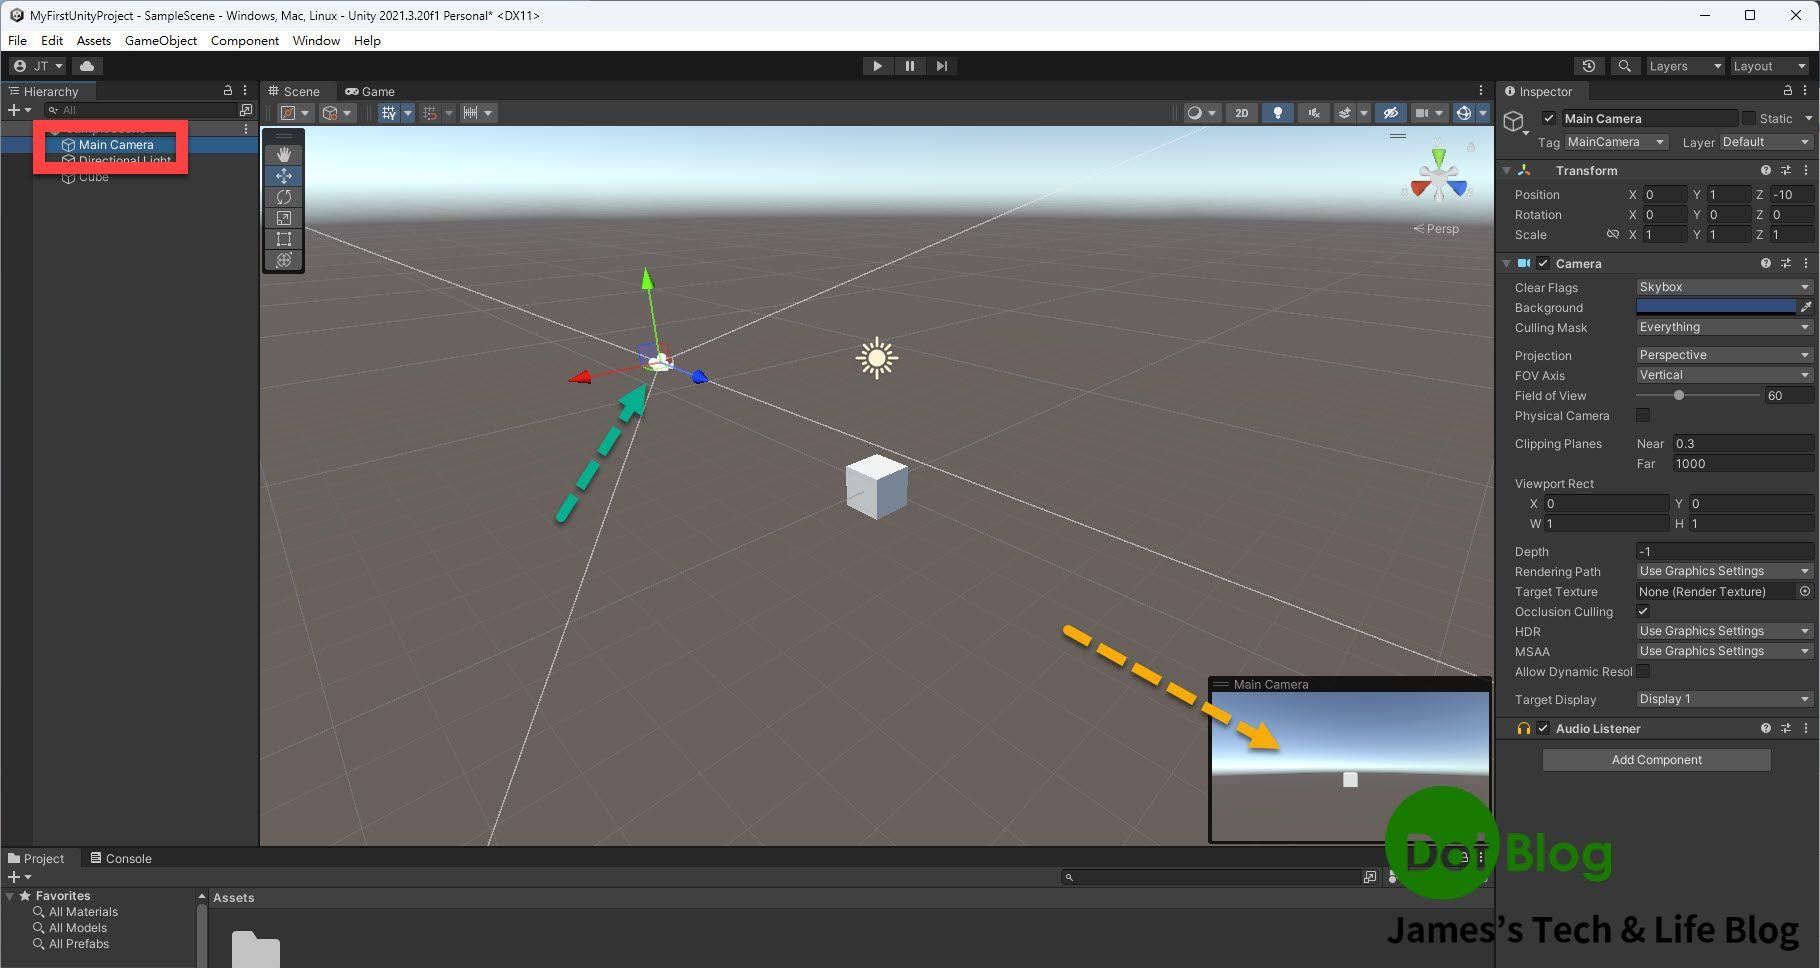
由於建立的是 Unity 3D 的專案,所以 "Scene" (場景)當中預設會有建立一個攝影機(Main Camera)跟一個光源設定(Directional Light)。
點選該 "Main Camera" 就會看出目前在此場景當中的視角所看到的視角會是如何,下圖的綠色箭頭所指的就是攝影機的所在的場景位置,看向剛剛加入的 "Cube" (立方體)所在的位置(可以透過下圖黃色箭頭所出現的預覽窗格觀看其攝影機會看到的樣子)。
在此就不討論光源的概念了。
也可以透過預覽執行的 "Game" 模式去觀看。

接著在選單列當中點選 "File",並選到 "Build Setting"。
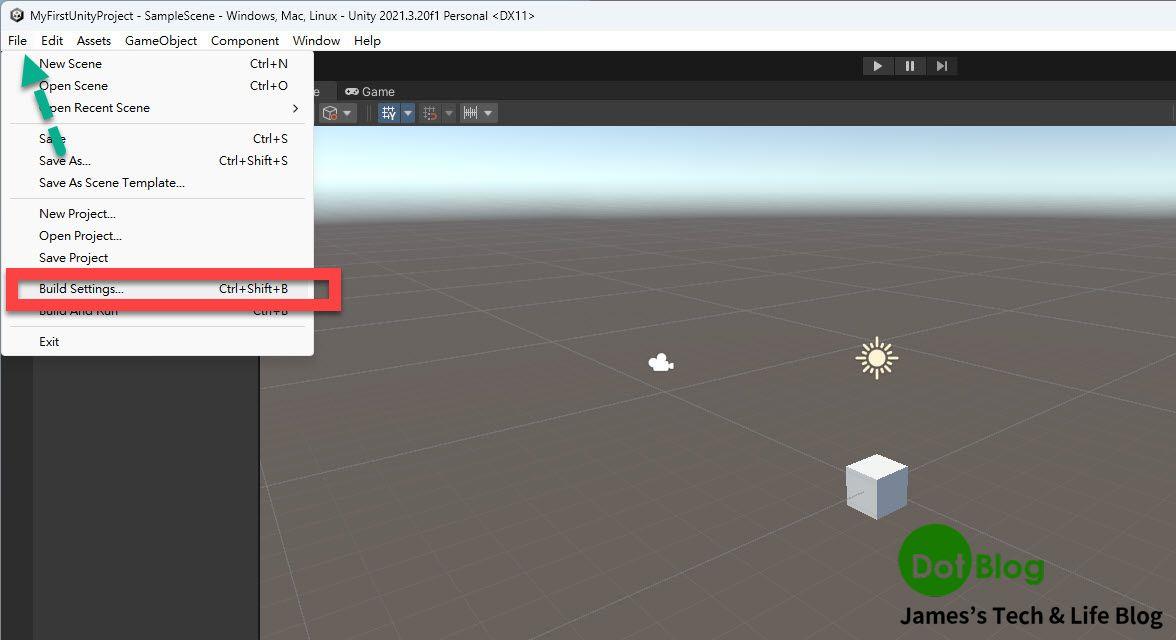
則會出現 "Build Setting" 視窗。
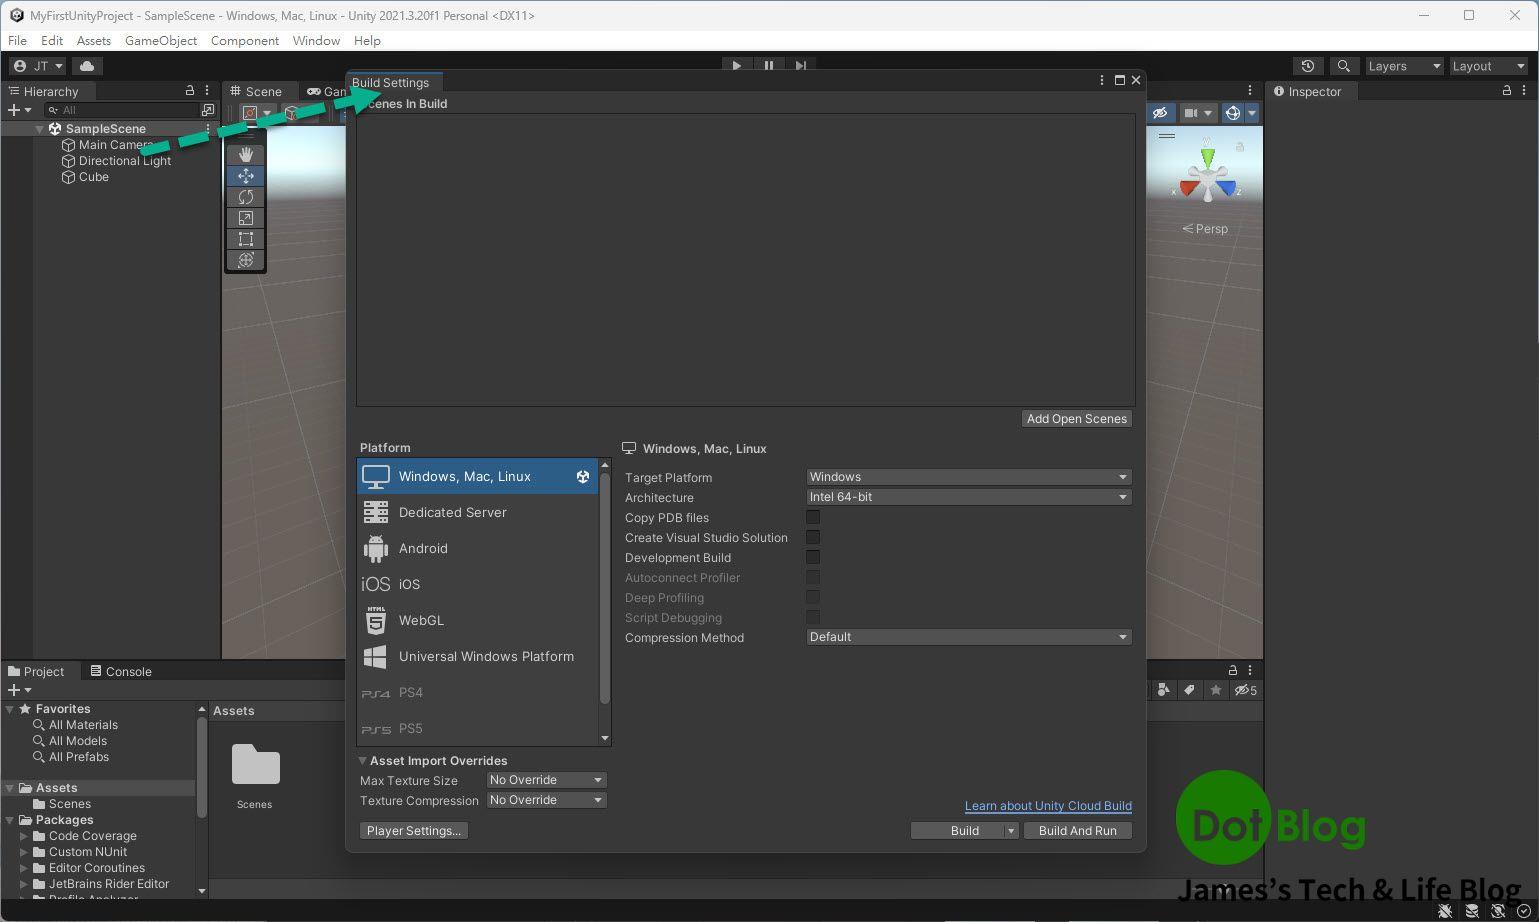
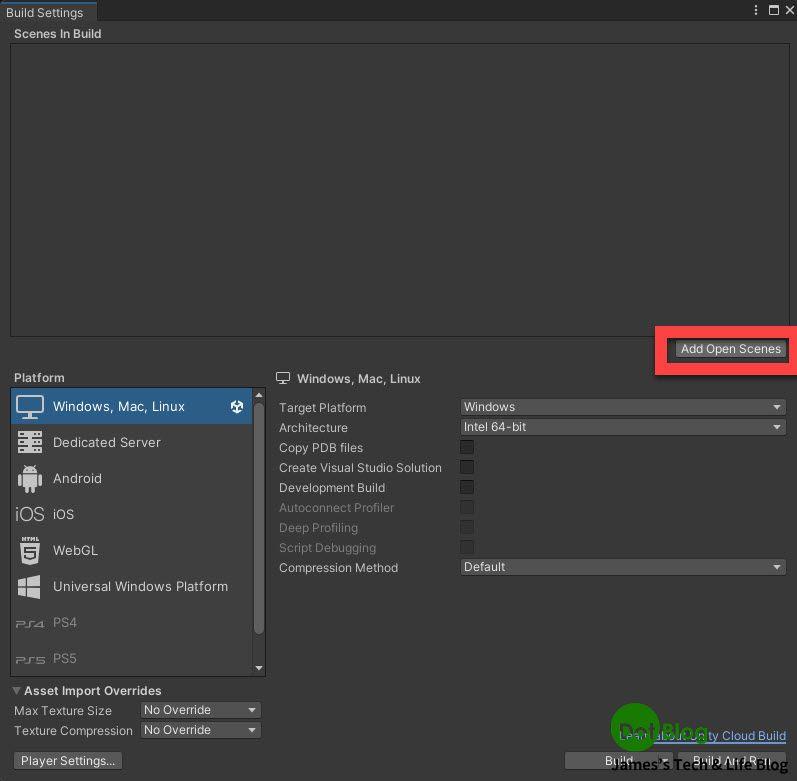
在 "Build Setting" 視窗當中,點選 "Add Open Scenes"。
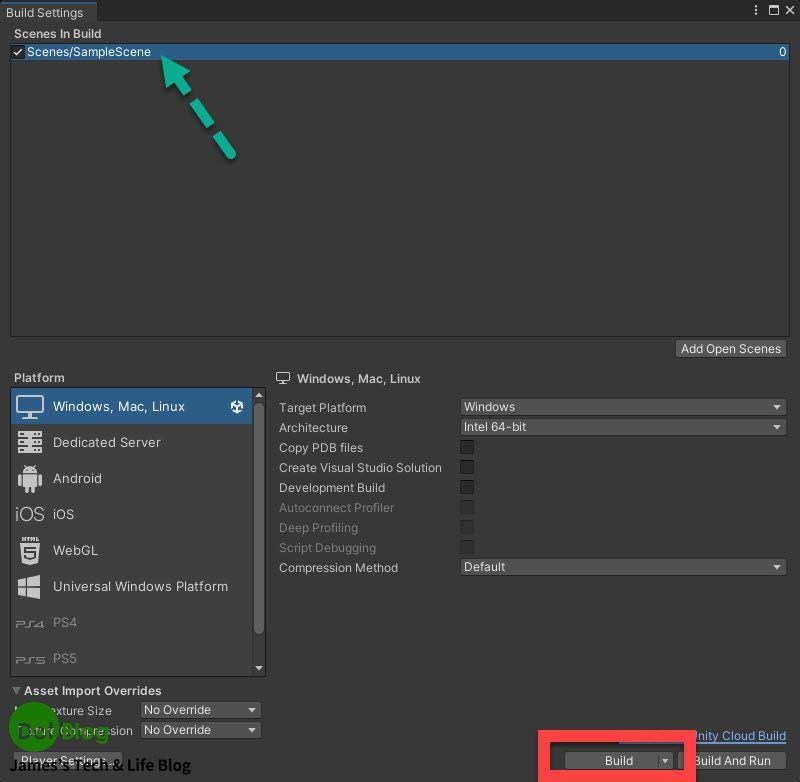
選取剛剛編輯的 "SampleScene" 後,再點選 "Build" (建置)。
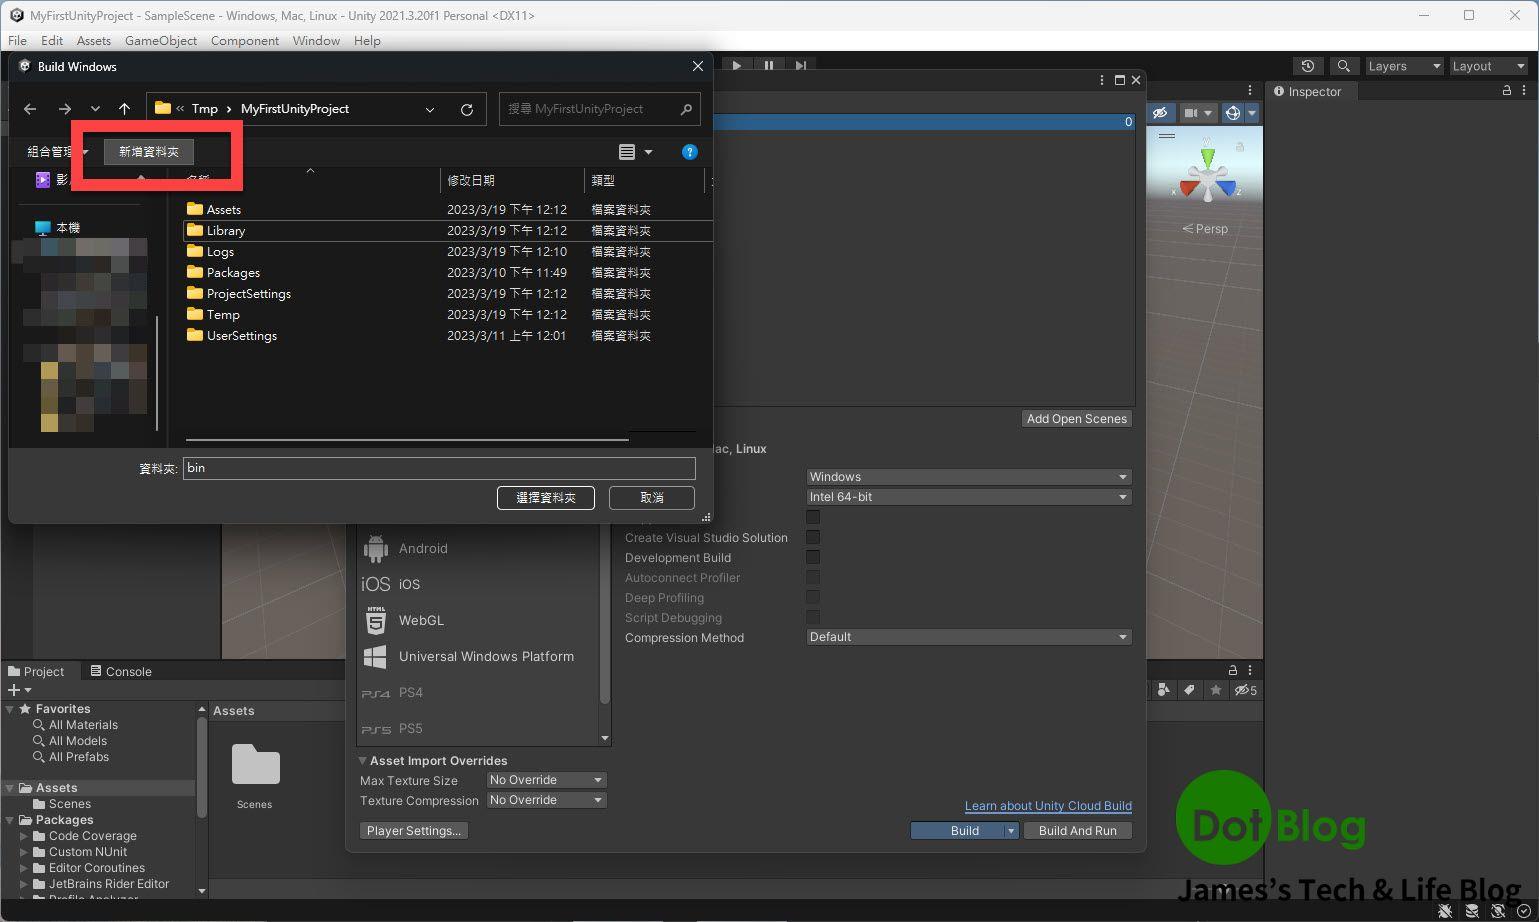
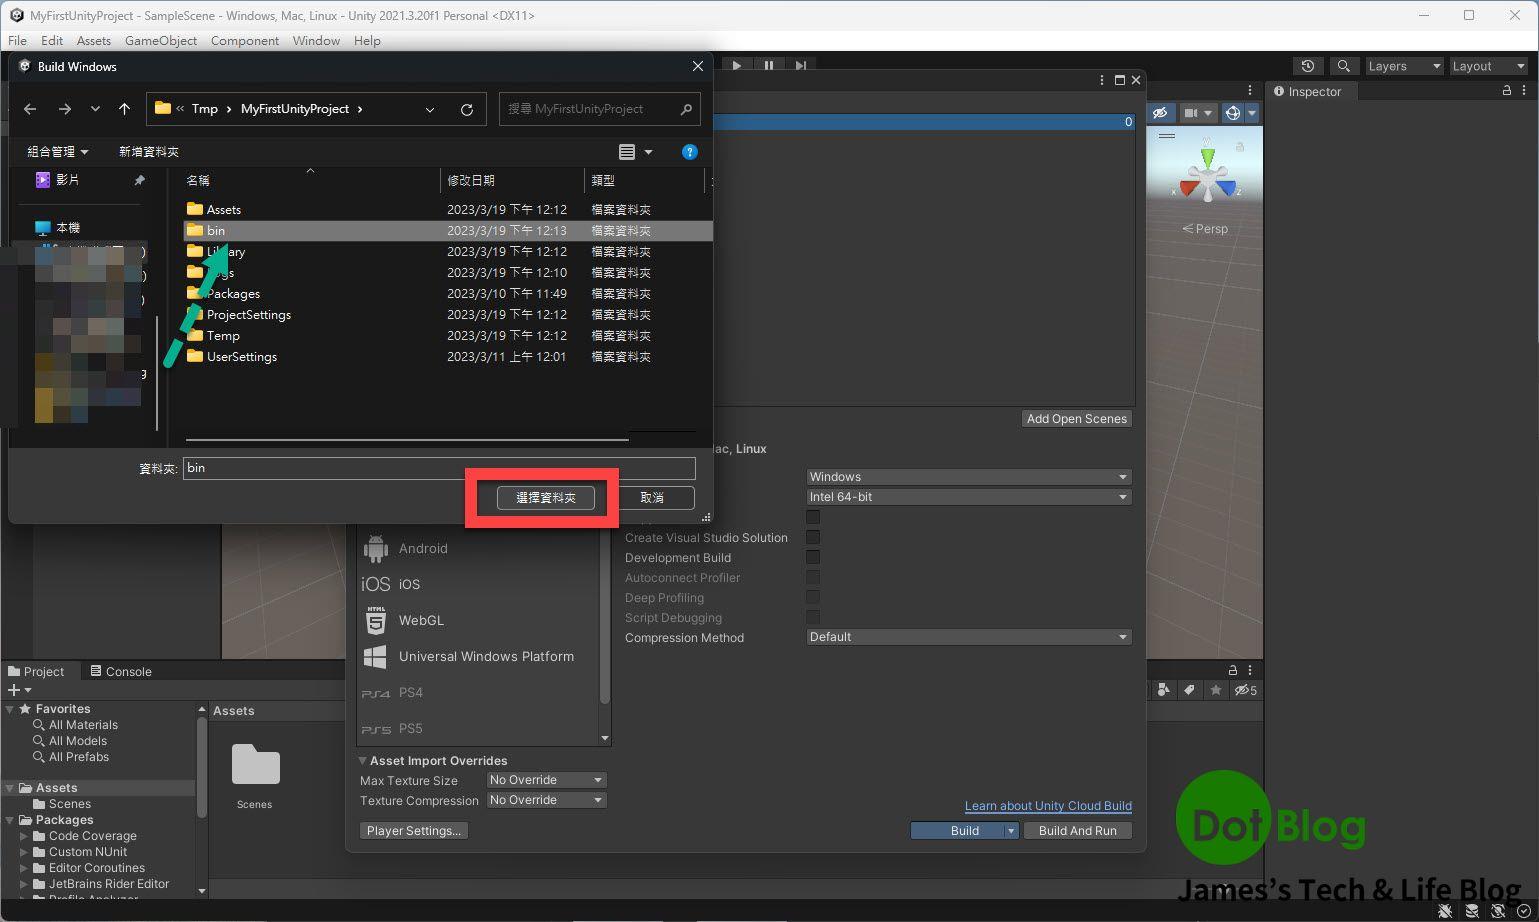
Unity Editor 第一次 "Build" (建置) 專案時,Unity Editor 會詢問要把所建置的東西放到電腦的哪裡去,通常就在該專案資料夾中,再建立一個資料夾來放置,最後記得點選 "選取資料夾"。
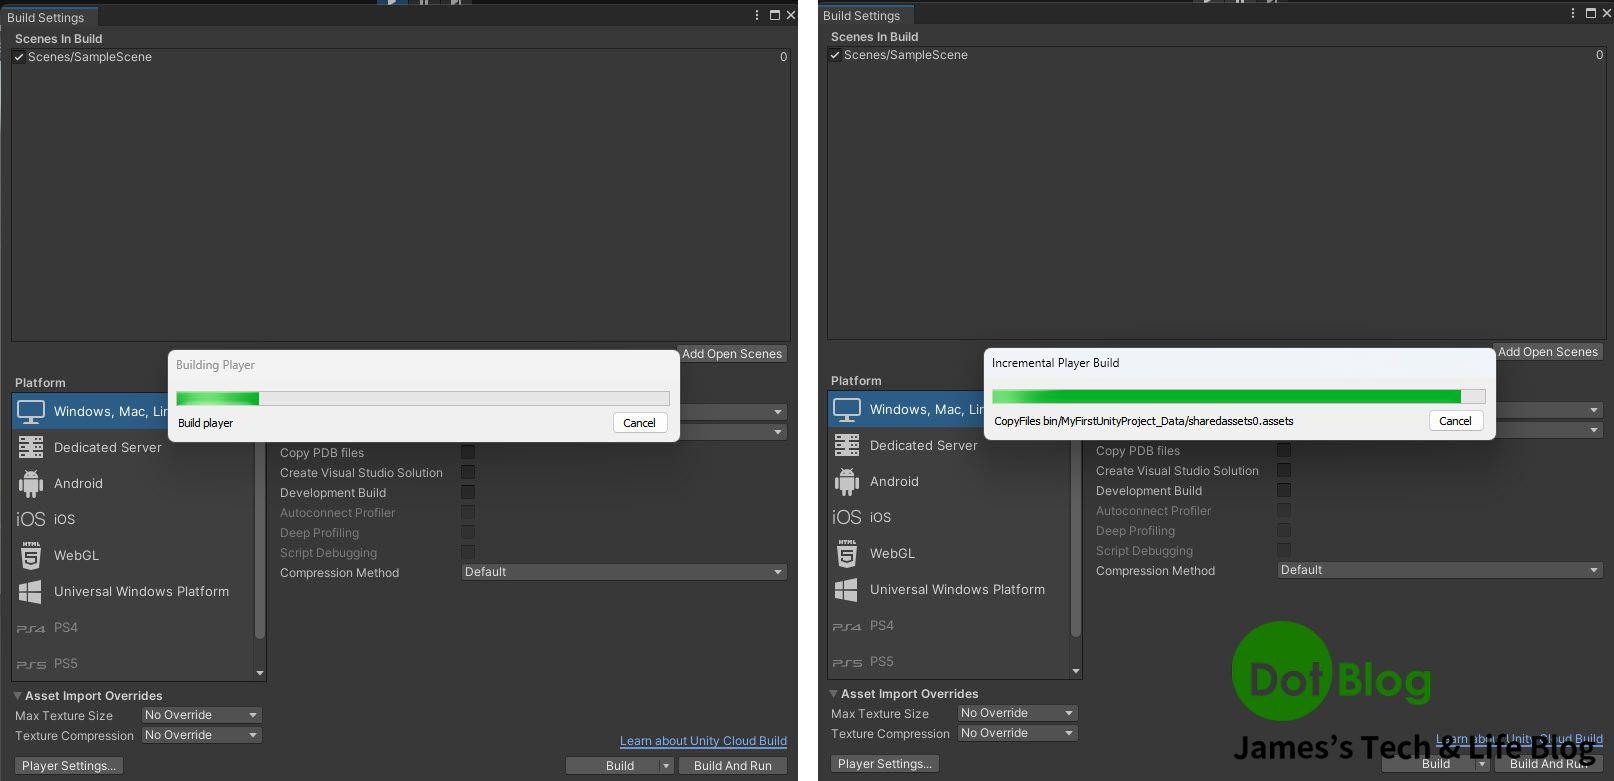
建置的過程。
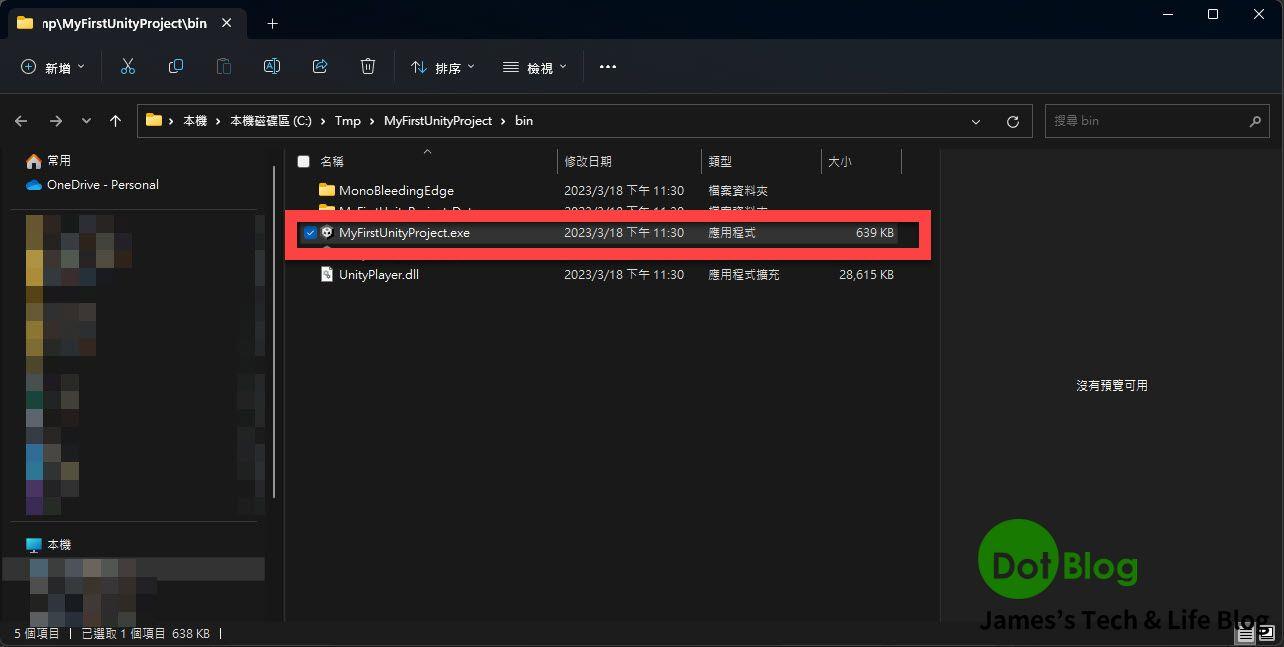
完成後,可以看到剛剛選取的資料夾下出現 "MyFirstUnityProject.exe" 這個 Windows 用的執行檔,當然在 Mac 上編譯的結果會是適合 Mac 用的執行檔。
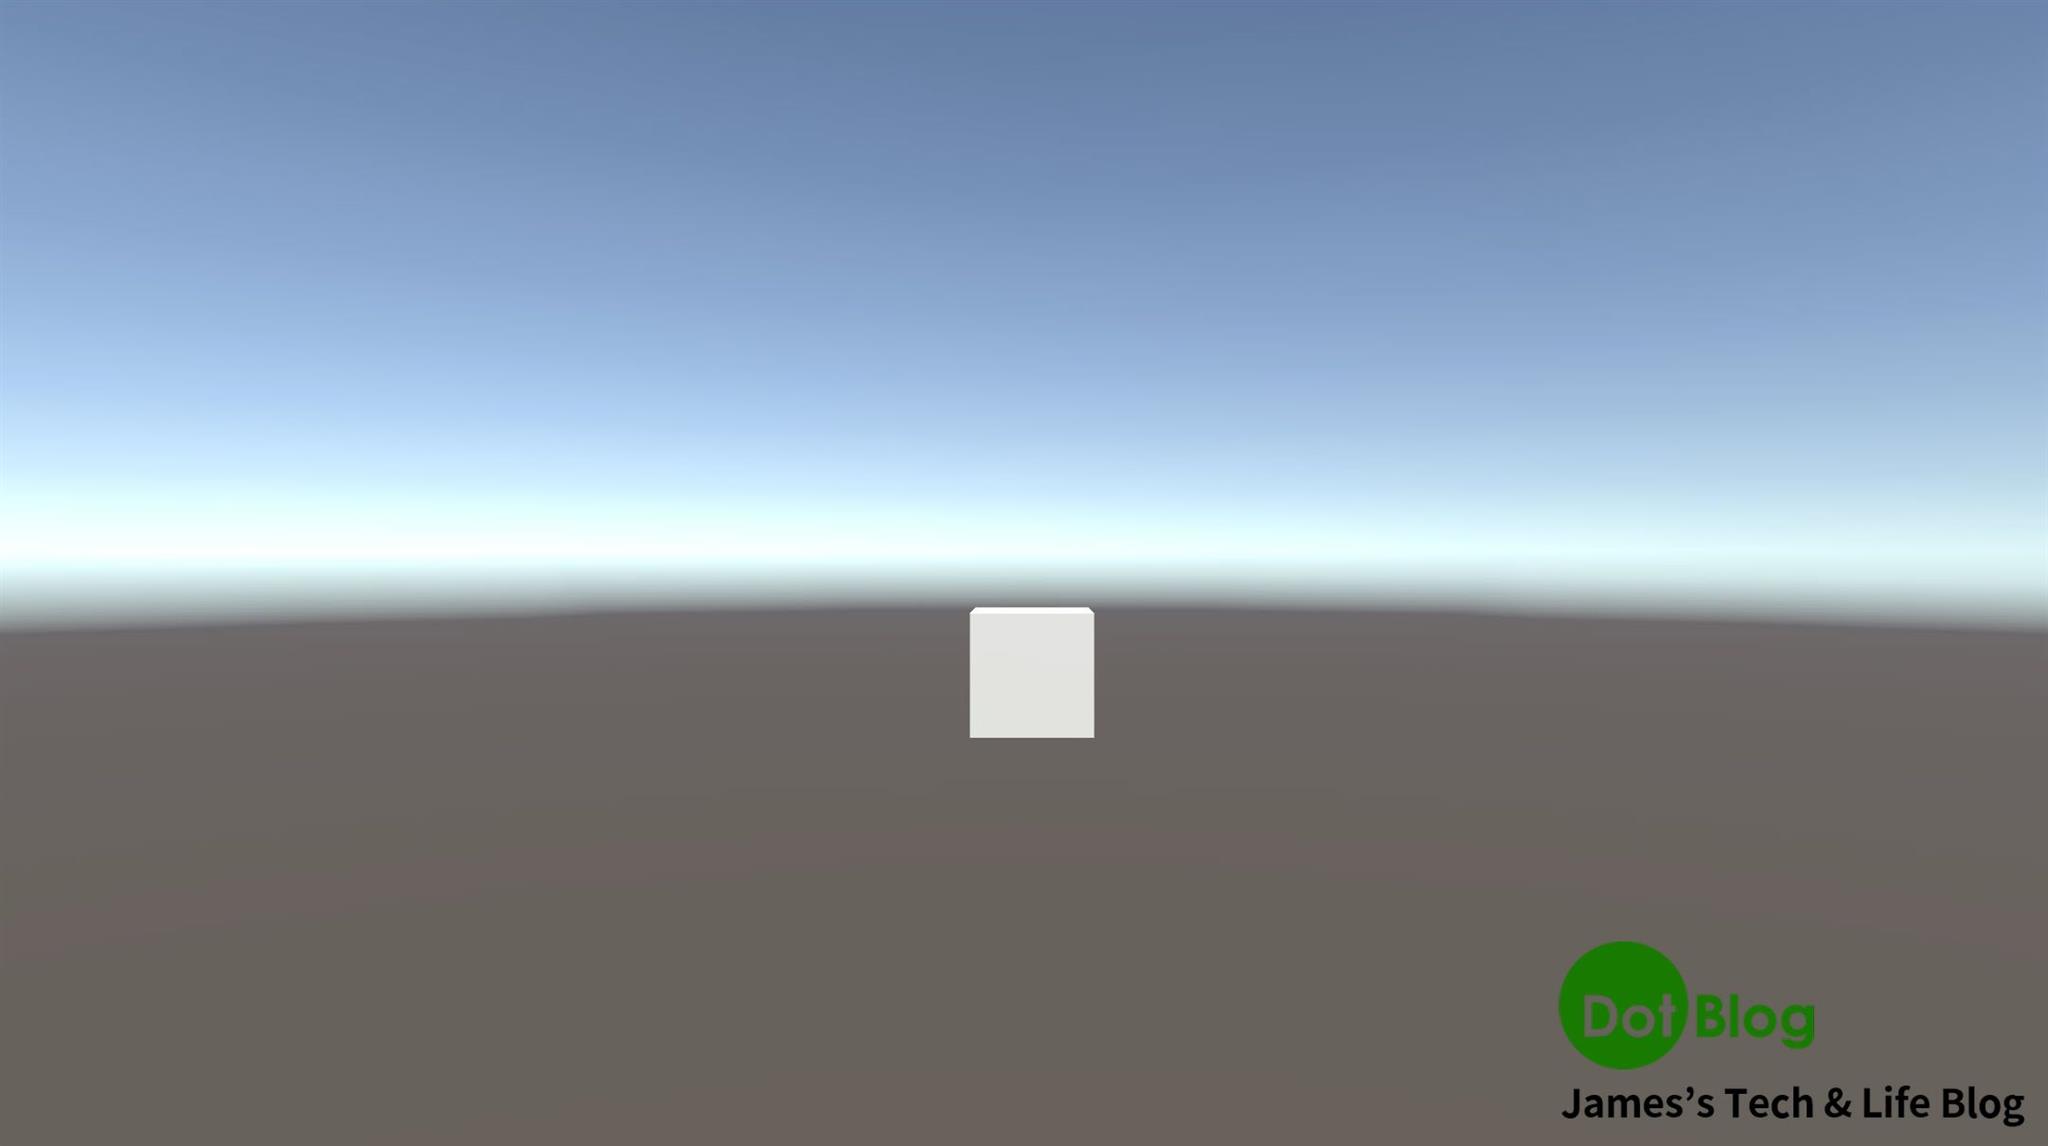
點選執行後,就會出現下面畫面 (Unity 預設的過場畫面)。

隨後就進入剛剛設計的 "Scene" (場景)當中,並出現放置的 "Cube" (立方體)。
基本的 Unity 3D 專案的運用完成~~~
終於…
能進入使用 MRTK 的介紹了🫠🫠🫠
I'm a Microsoft MVP - Developer Technologies (From 2015 ~).
I focus on the following topics: Xamarin Technology, Azure, Mobile DevOps, and Microsoft EM+S.
If you want to know more about them, welcome to my website:
https://jamestsai.tw
本部落格文章之圖片相關後製處理皆透過 Techsmith 公司 所贊助其授權使用之 "Snagit" 與 "Snagit Editor" 軟體製作。