利用 Agm-Direction 套件補足 AGM 尚未提供的路線規劃服務
本篇使用 Angular 2+ 進行 Google Map API 的開發操作,
但是這篇不是要分享如何操作基本功能,
如果要參考基本功能的朋友,
也許可以看看這篇:
Angular4 - 不再踢鐵板的 Google Map 操作(AGM)
一、前言(跳過)
本篇有關地圖操作皆透過 AGM 這個套件,
開工前記得先了解悉知!
而這次要分享的是「路線規劃服務 Direction」,
想必大家在地圖上一定很常用這個功能,如下圖:

摁......
但很不幸的是,在 AGM 上,
針對路線規劃服務的組件尚未提供。
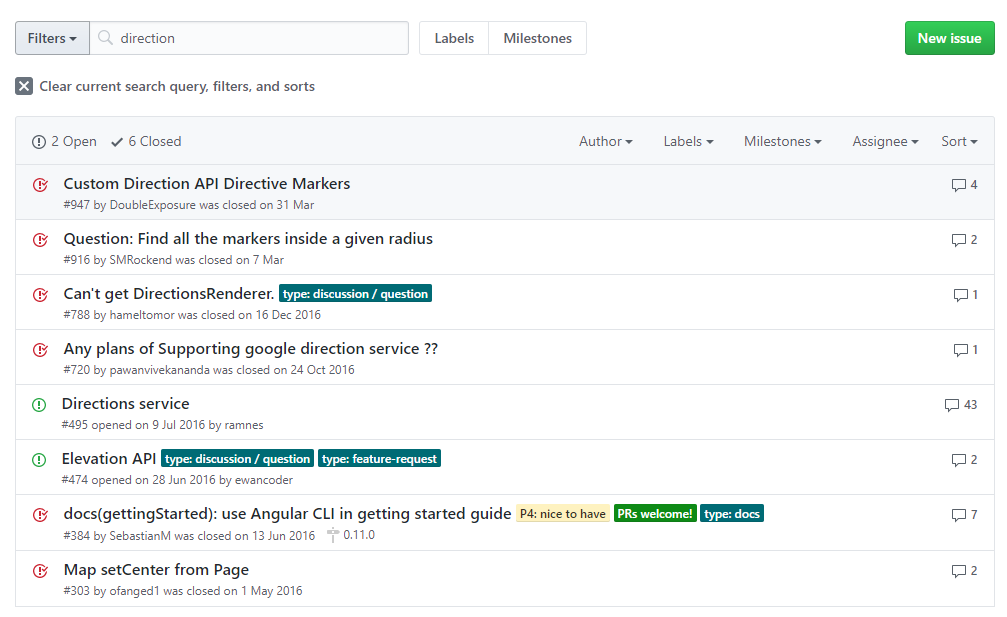
當然,在 Github Issue 上也可以看到各種需求

為了解決這個問題,爬了很多作法,
他調用 AGM 的 GoogleMapsAPIWrapper
利用原本 Google Map API 的方式,自幹組件。
如果你覺得 OK,你可以參考他的做法,
直接透過 directive,自訂組件:
ng g directive my-new-directive
... 以下省略
二、動機
但參考了他的方式,但有個缺點,
調用後的路線規劃圖層無法清除,
範例:
第一次
- 搜尋:A-B
- 顯示:A-B
第二次
- 搜尋:C-D
- 顯示:A-B C-D
你的畫面會出現兩圖路徑規劃,
簡單說你有兩個自訂圖層在你的地圖上,
為什麼會這樣?
因為在提供的程式碼中,
每次調用服務都只會重新 new 一個服務:
var directionsService = new google.maps.DirectionsService;
var directionsDisplay = new google.maps.DirectionsRenderer;
而不會將原本的重新修改,
所以你當你重新指定路線,當然就會出現第二個圖層。
為了解決這個問題,
因此自己稍微修改一下組件流程,
並增加一些 Option,發佈了一個基於 AGM 的 Direction 組件
三、Agm-Direction
一個基於 AGM 的路徑規劃組件:

※. 地圖利用 AGM 載入,詳細方式請參考:
Angular4 - 不再踢鐵板的 Google Map 操作(AGM)
I、Install
npm install --save agm-direction
II、Import Module
import { AgmDirectionModule } from 'agm-direction';
imports: [
    BrowserModule,
    AgmCoreModule.forRoot({ // @agm/core
      apiKey: 'your key',
    }),
    AgmDirectionModule      // agm-direction
],
III、HTML
<agm-map [latitude]="lat" [longitude]="lng">

  <agm-direction *ngIf="dir" [origin]="dir.origin" [destination]="dir.destination"></agm-direction>

</agm-map>
別忘了地圖的高度哦:
agm-map{
  height: 500px;
}
IV、TypeScript
  lat: Number = 24.799448;
  lng: Number = 120.979021;
  zoom: Number = 14;

  dir = undefined;

  public getDirection() {
    this.dir = {
      origin: { lat: 24.799448, lng: 120.979021 },
      destination: { lat: 24.799524, lng: 120.975017 }
    }
  }
IV、Result

會發生以下錯誤訊息(Issue):
Angular v5.0.0 is not part of the compilation output. Please check the other error messages for details. #20091
此問題屬 Angular5 問題,大多數 Angular4 依賴都會炸開QQ
四、結語
以上組件專案可至 Github - Agm-Direction 查看
或是到 npm 查看
如果有使用上問題,歡迎發 issue
如果覺得可以,✶ 是你的好選擇 =]
有勘誤之處,不吝指教。ob'_'ov
