文、意如
上一篇我們 建立第一個Angular專案後,這篇要帶大家認識Angular中的路由(Routing)與元件(Component),就讓我們繼續看下去吧!
任務一:認識Angular中的路由(Routing)
1.1.認識路由
1.2.認識路由插座<router-outlet></router-outlet>
1.3.測試路由是否運作成功


任務二:實作應用
2.1.建立三個元件(Component)
2.2.建立路由規則
任務一:認識Angular中的路由(Routing)
1.1.認識路由
一開始在專案建立時可以直接先新增路由。
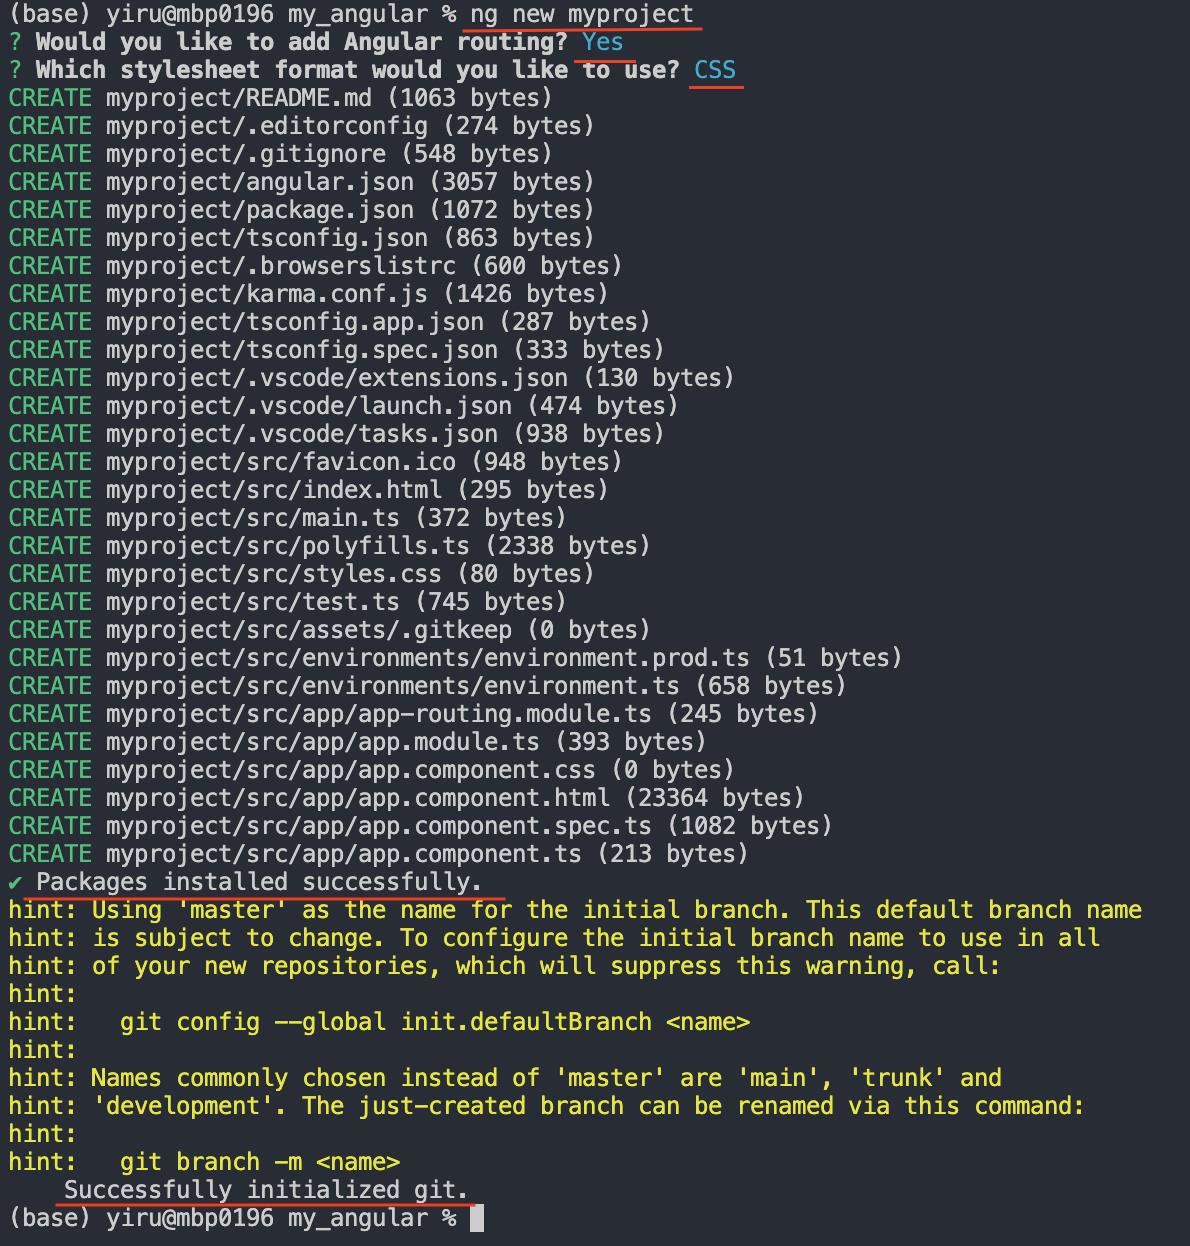
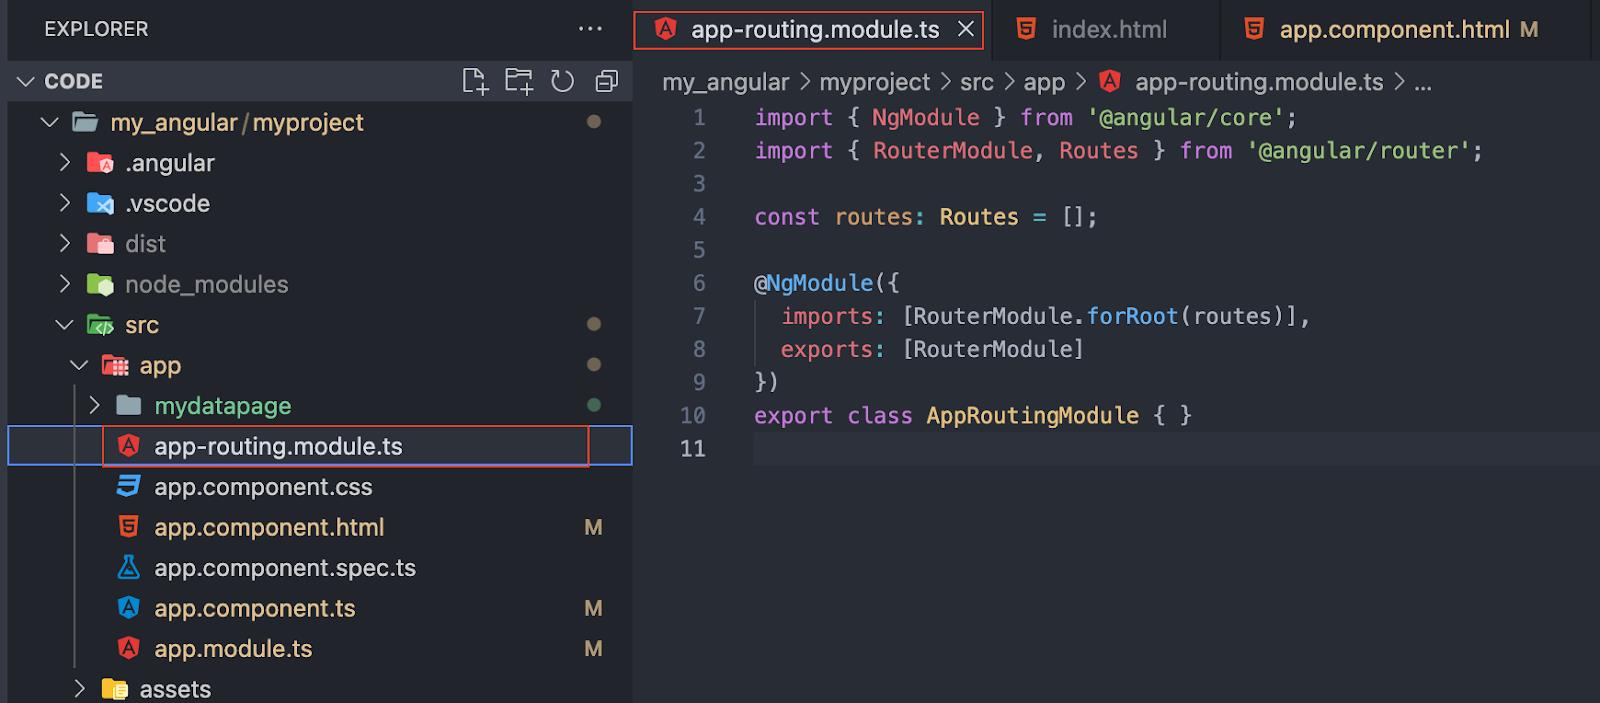
接下來在app 路徑下會自動新增一個src/app/app-routing.module.ts
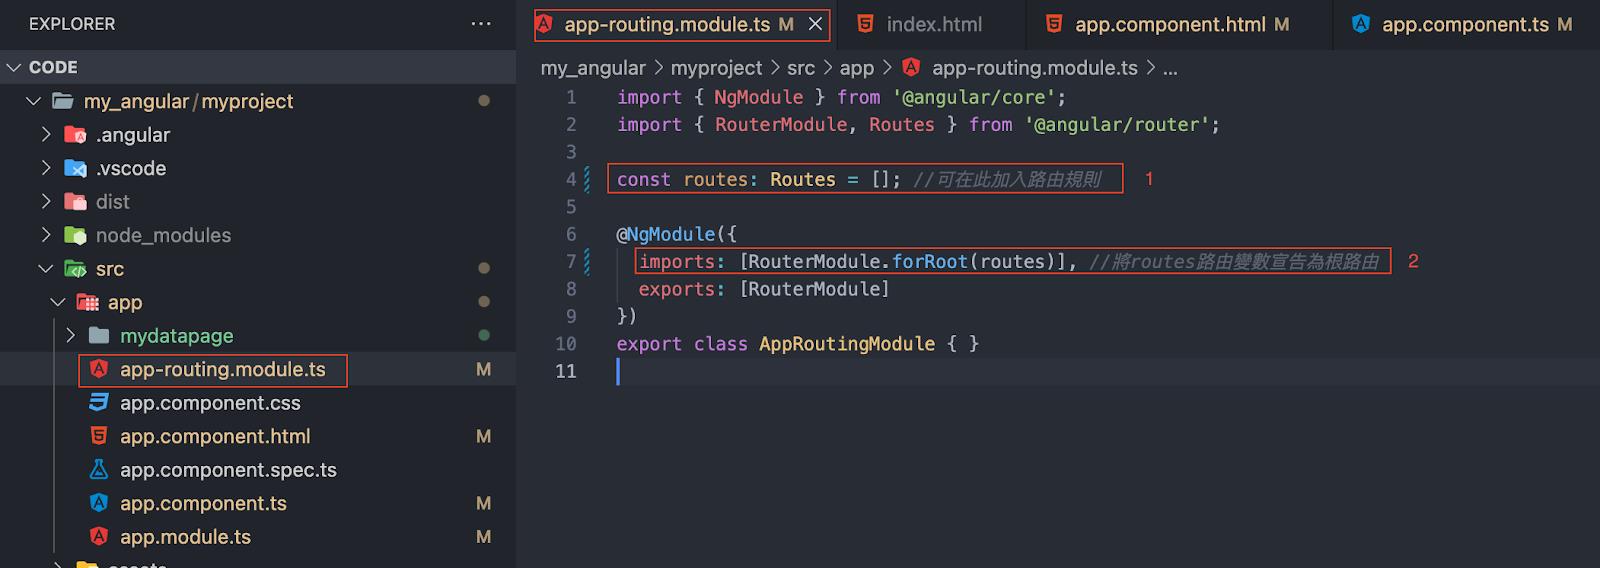
1.在routes變數加入路由規則:const routes: Routes = [];
2.將routes路由變數宣告為根路由:[RouterModule.forRoot(routes)]
接著開啟路徑:src/app/app-routing.module.ts
- 當Component註冊到模組時需要加在
NgModule的declarations - 當
NgModule要註冊到另一個NgModule時,則須加到imports屬性內
1.2.認識路由插座<router-outlet></router-outlet>
可以把路由插座<router-outlet></router-outlet>當作是Component(元件)中的標籤,當Angular運作路由時會找到這個<router-outlet></router-outlet>去指定Component。
運作流程:
1.index.html → 2.main.ts→ 3.app.module.ts→ 4.app.component.ts→<router-outlet></router-outlet>
1.3.測試路由是否運作成功
路徑:src/app/app.component.html
1.刪除先前的程式碼,只需要打上路由插座標籤:<router-outlet></router-outlet>
2. 執行ng serve --open
3. 出現空白頁面即代表路由是通的。
任務二:實作應用
2.1.用三種方式建立三個元件(Component)
第一種方式:
使用輸入指令建立元件,指令為ng generate component [name],
另外也可以使用縮寫,指令為ng g c [name]
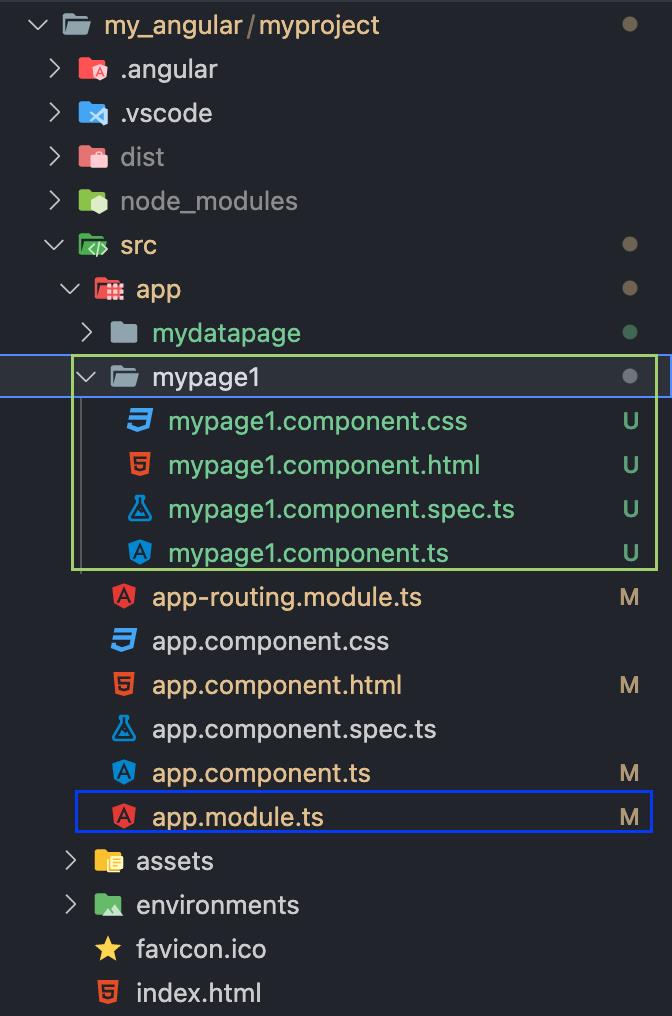
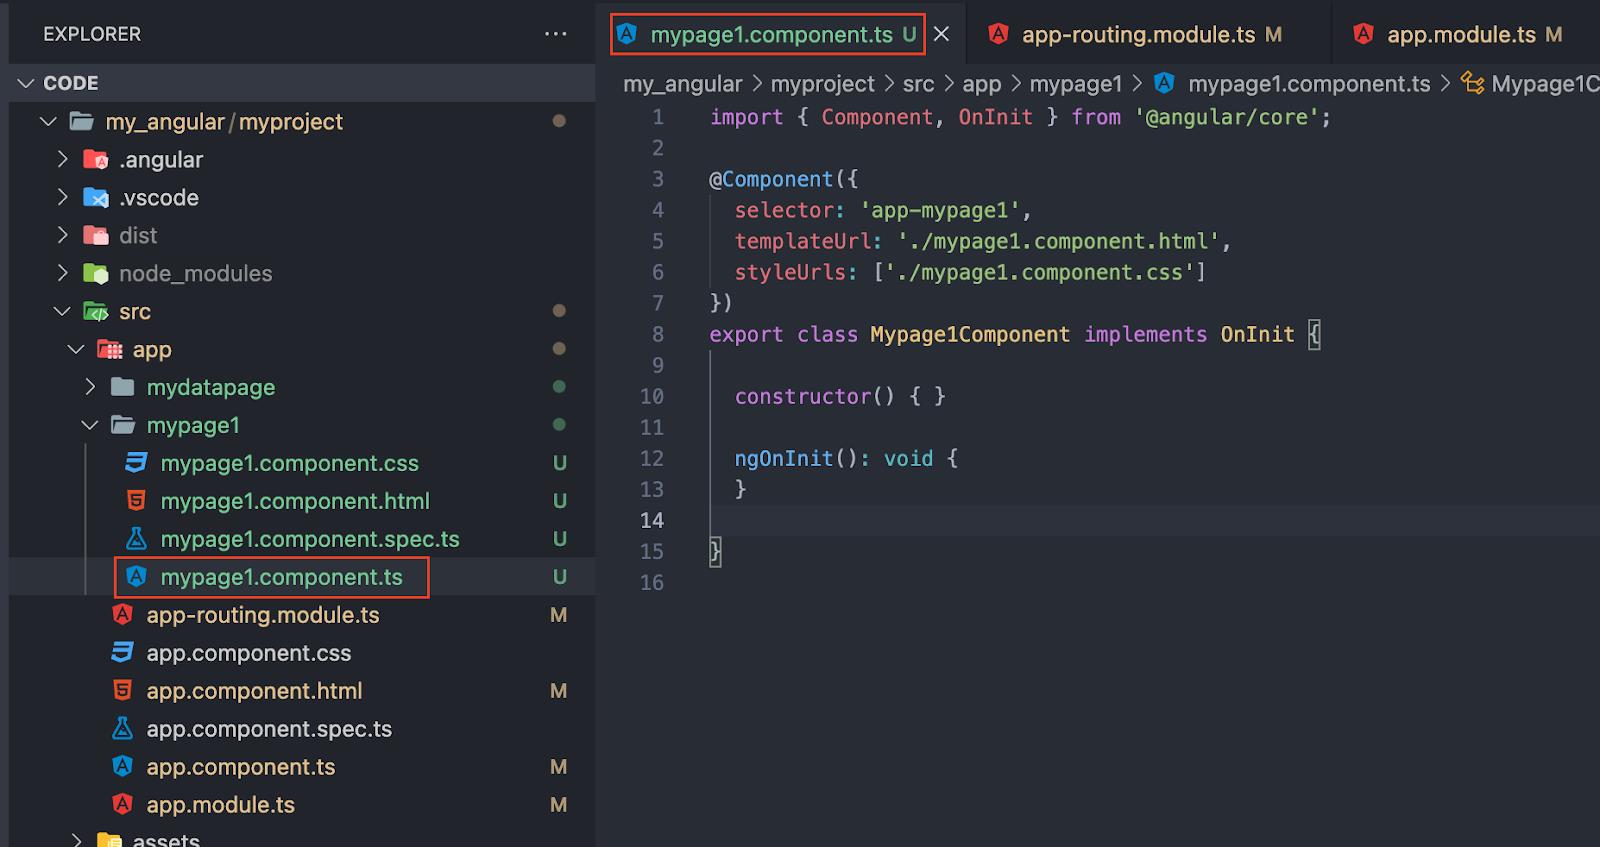
接下來建立一個 mypage1的元件,指令為ng g c mypage1
ng g c mypage1會自動建立一個與元件同名(mypage1)的資料夾,並在資料夾內產生4個檔案,最後再更新 AppModule(src/app/app.module.ts)。
1.頁面設定:寫程式區
路徑:src/app/mypage1/mypage1.component.ts
此檔為主要程式撰寫的地方,這裡已自動宣告@Component 裝飾器的類別(Mypage1Component)。
2.頁面:對應的樣板
路徑:src/app/mypage1/mypage1.component.html
此檔為html撰寫的地方
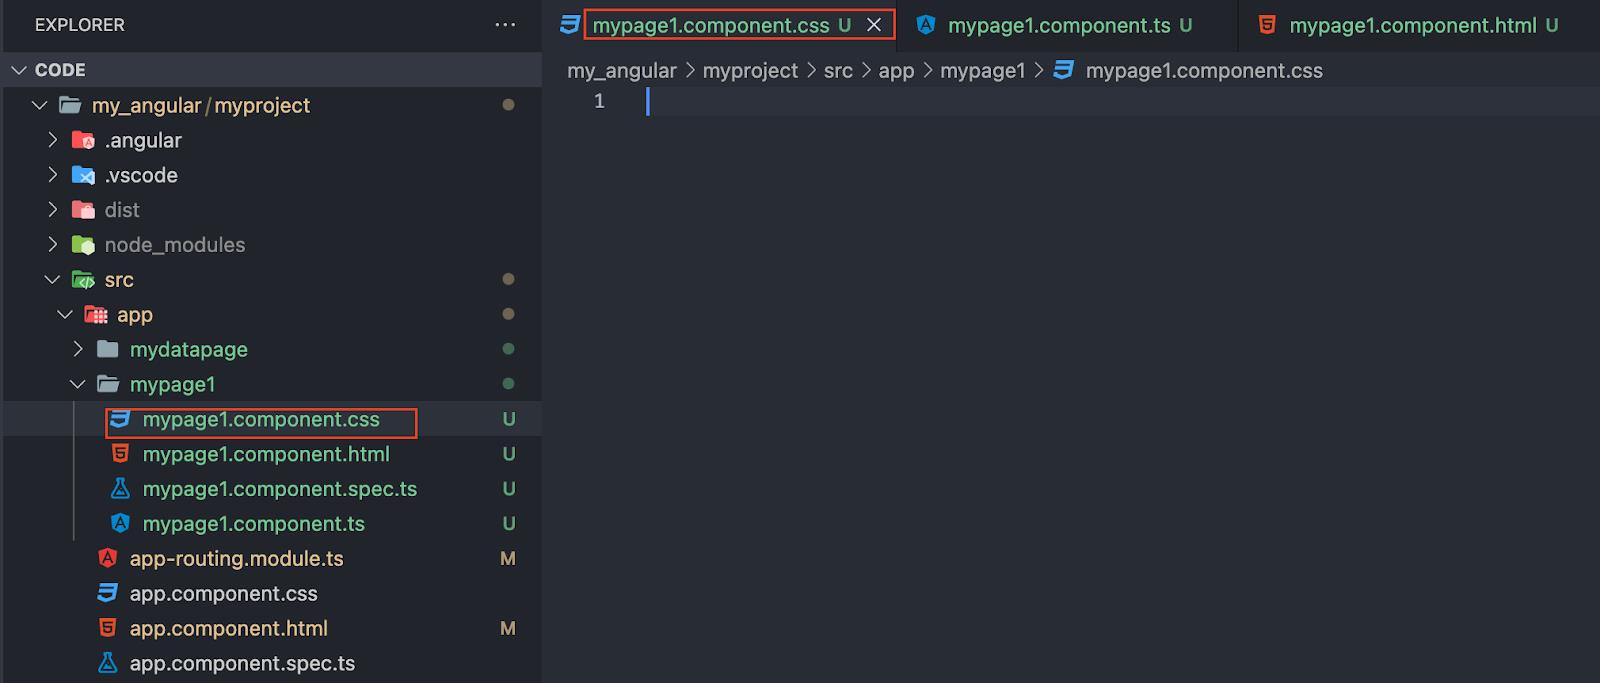
3.頁面:樣板對應的樣式(CSS)
路徑:src/app/mypage1/mypage1.component.css
樣板所對應的樣式,預設為空白。
4.頁面:單元測試
路徑:src/app/mypage1/mypage1.component.spec.ts
單元測試相關的程式碼,可以寫在此區。
5.頁面:註冊到 AppModule
元件(Component)無法單獨存在,因此必須要註冊到NgModule的 declarations 屬性中。
路徑:src/app/app.module.ts
可以發現已經自動將Mypage1Component引入並註冊至app.module.ts中。
第二種方式:客製化建立mypage2的元件
如果方式一中自動建立的資料夾都不需要,可以在建立專案時加上 --flat 參數。
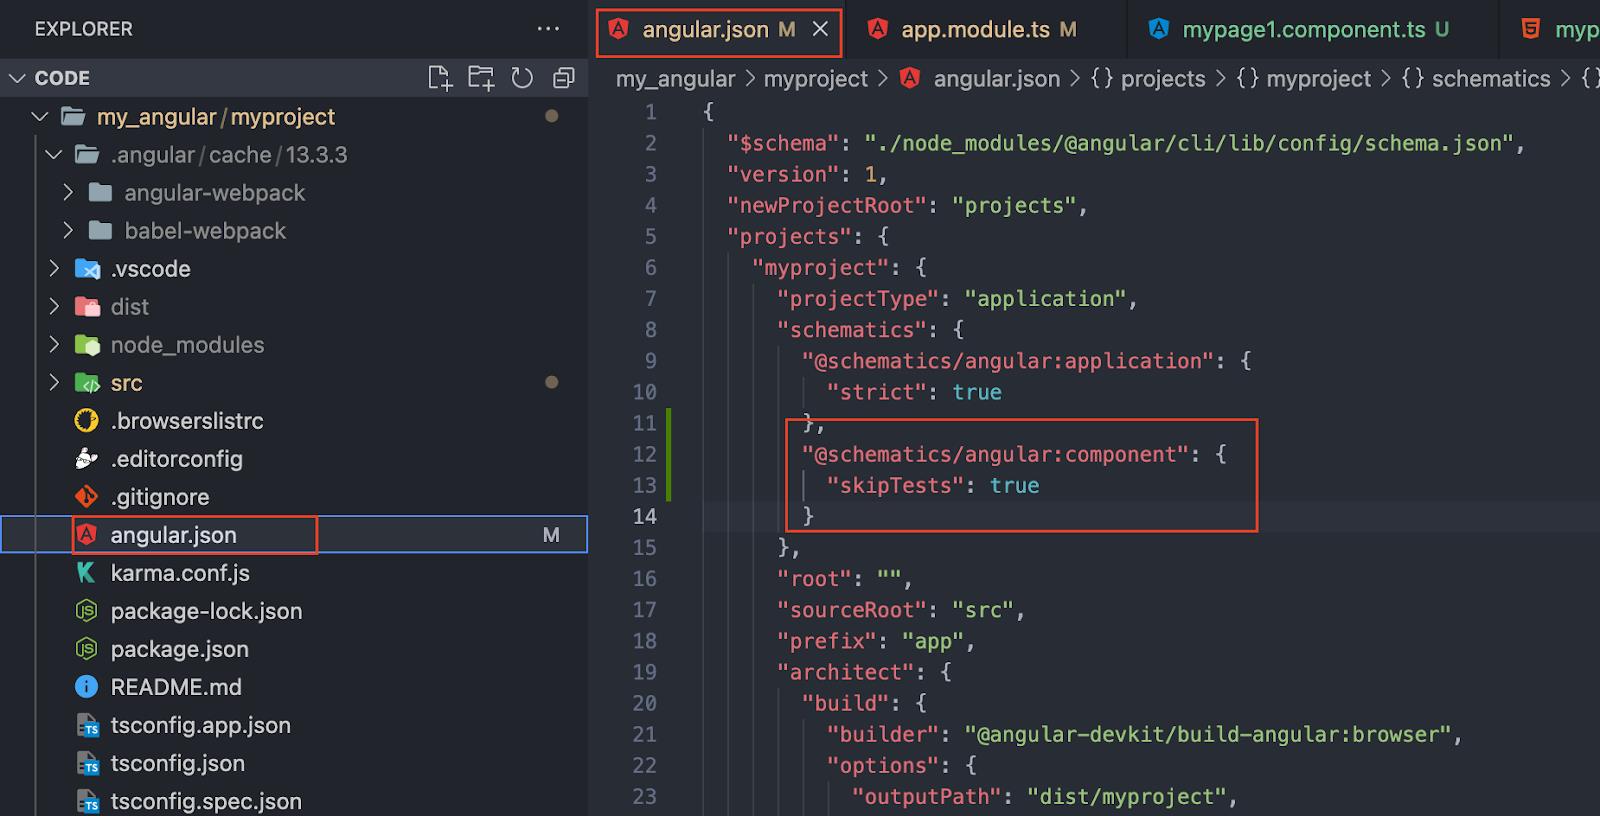
若不需要建立 style 樣式css檔,可以加上 -is 參數。
若不需要建立 template樣板檔html,可以加上 -it 參數。
若不需要建立 unit testing 單元測試檔spec.ts,可以在 angular.json 內的 schematics加上此段程式碼
"@schematics/angular:component": {
          "skipTests": true
}
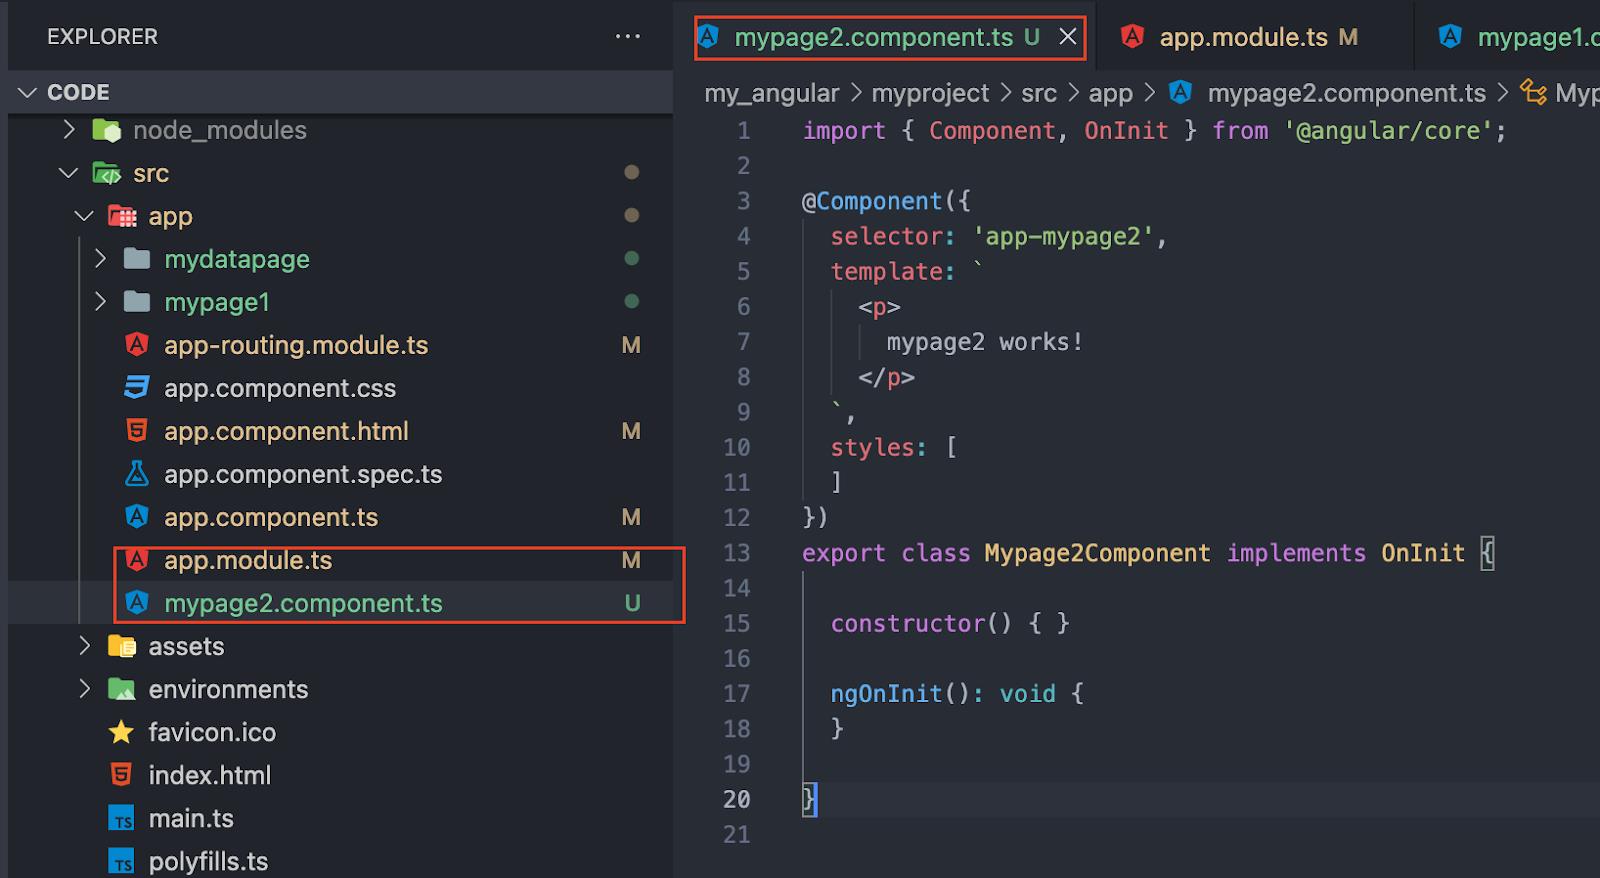
接著馬上來建立一個mypage2的元件,指令為ng g c mypage2 --flat -is -it
此時只會自動建立src/app/mypage2.component.ts檔案
及更新 AppModule(src/app/app.module.ts)。
方式一與方式二的差別
主要是 @Component 內 templateUrl 被取代成 template ,styleUrls 被取代成 styles ,如果是只是少量的內容就可以使用此方法寫在 template 屬性中、把樣式內容填寫在 styles 屬性。
第三種方式:純手動建立mypage3的元件
步驟一:直接點選app資料夾新增檔案,命名為:mypage3.component.ts
路徑:src/app/mypage3.component.ts
目前是一個沒有內容的空檔案
步驟二:mypage3.component.ts中輸入a-,選擇a-component 。
則會自動產生基本程式架構。
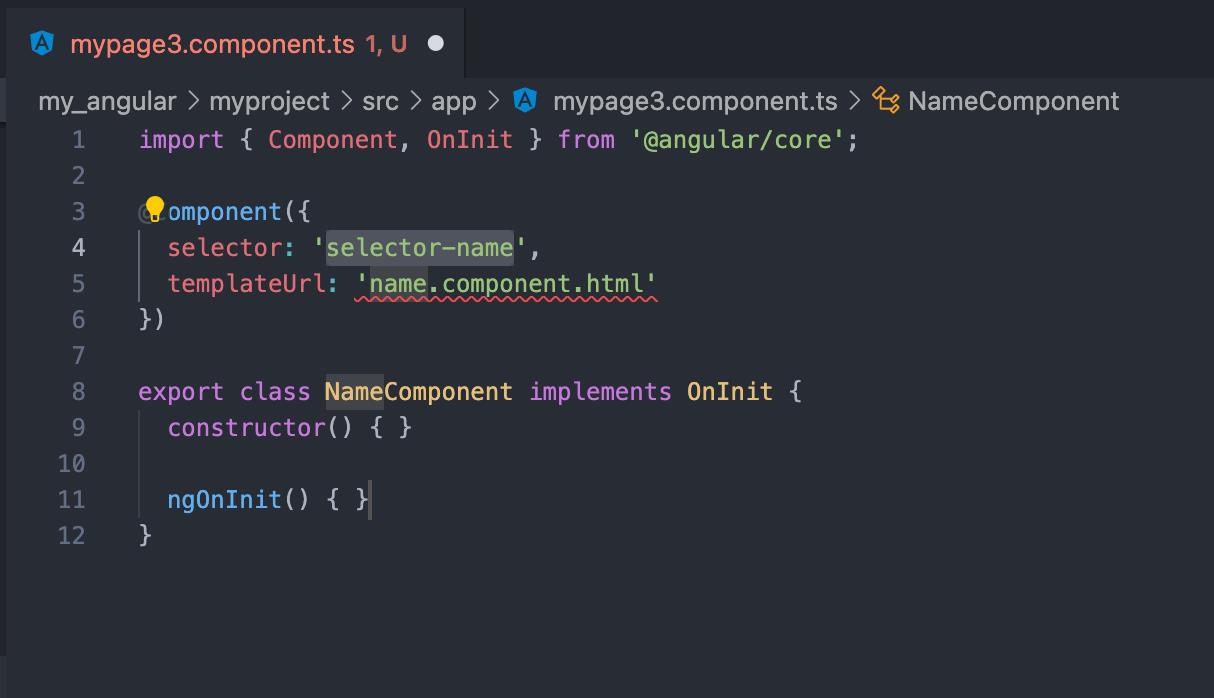
步驟三:手動修改部分程式碼
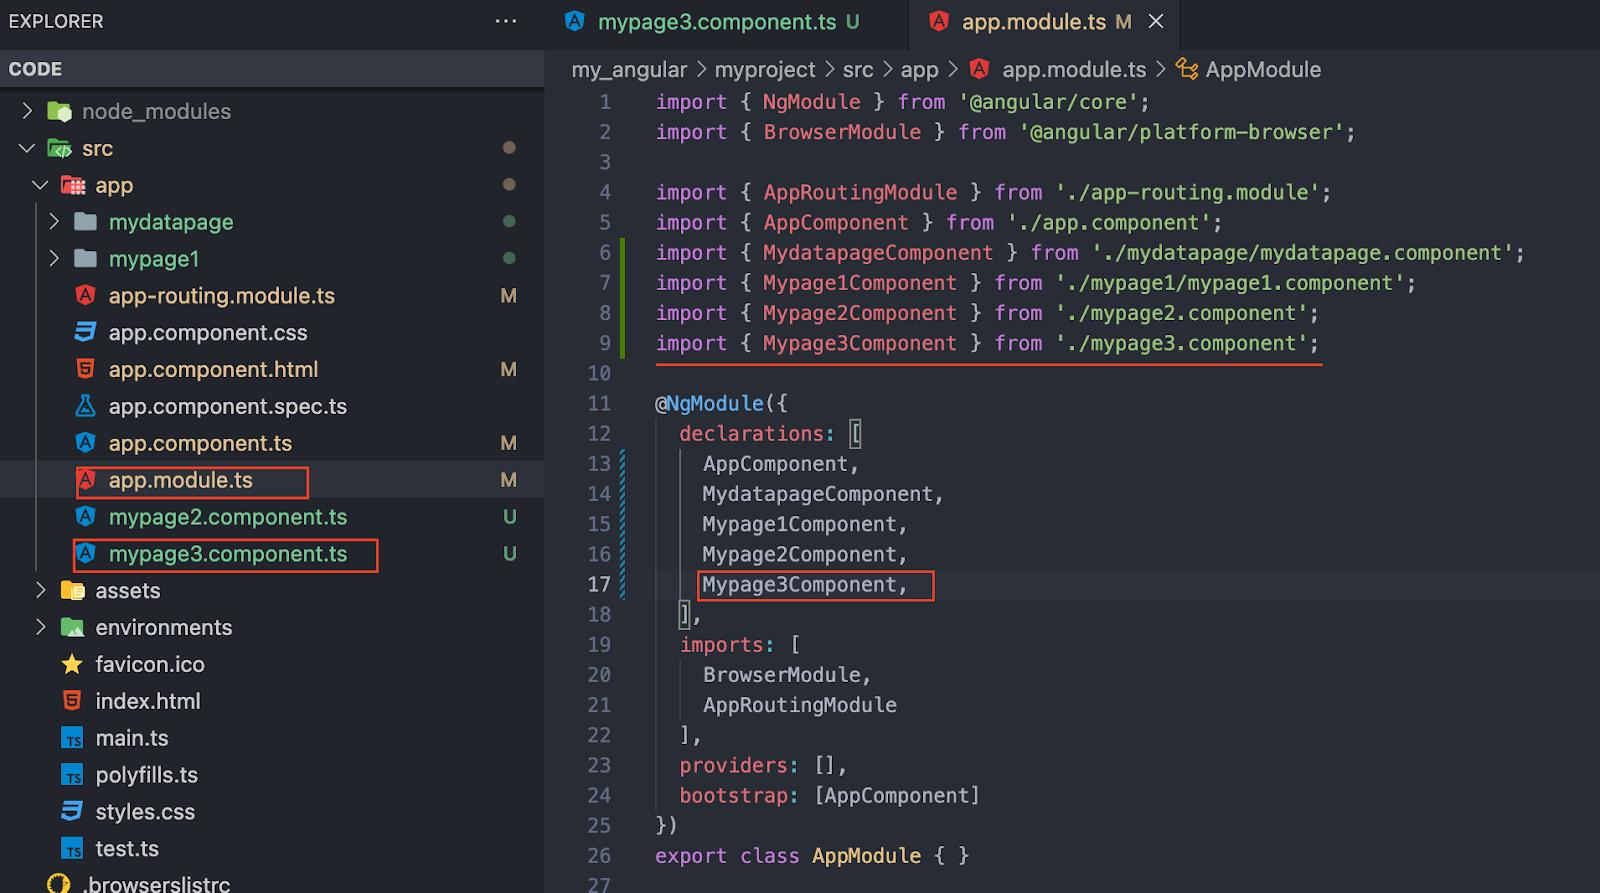
最後步驟:
開啟路徑 src/app/app.module.ts
將 mypage3Component元件註冊到 AppModule模組上即可完成。
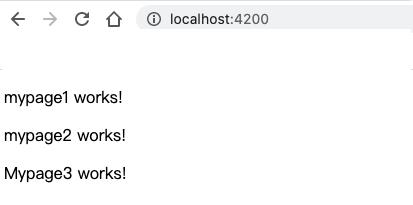
重啟專案並套用這三個元件
開啟路徑 src/app/app.component.html ,
1.加入這三個元件:
<app-mypage1></app-mypage1>
<app-mypage2></app-mypage2>
<app-mypage3></app-mypage3>
2.執行指令 ng serve
3.透過瀏覽器輸入:http://localhost:4200/ 看顯示結果。
2.2.建立路由規則
如要將這三個元件,變成三張網頁,可以建立路由規則。
開啟路徑:src/app/app-routing.module.ts,接著在此檔案中加入3個路由規則,分別對應到 Mypage1Component、Mypage 2Component、Mypage 3Component。
path:設定導覽的相對路徑
component:設定要載入的 Component
最後記得在此路徑加上路由插座
src/app/app.component.html
<router-outlet></router-outlet>
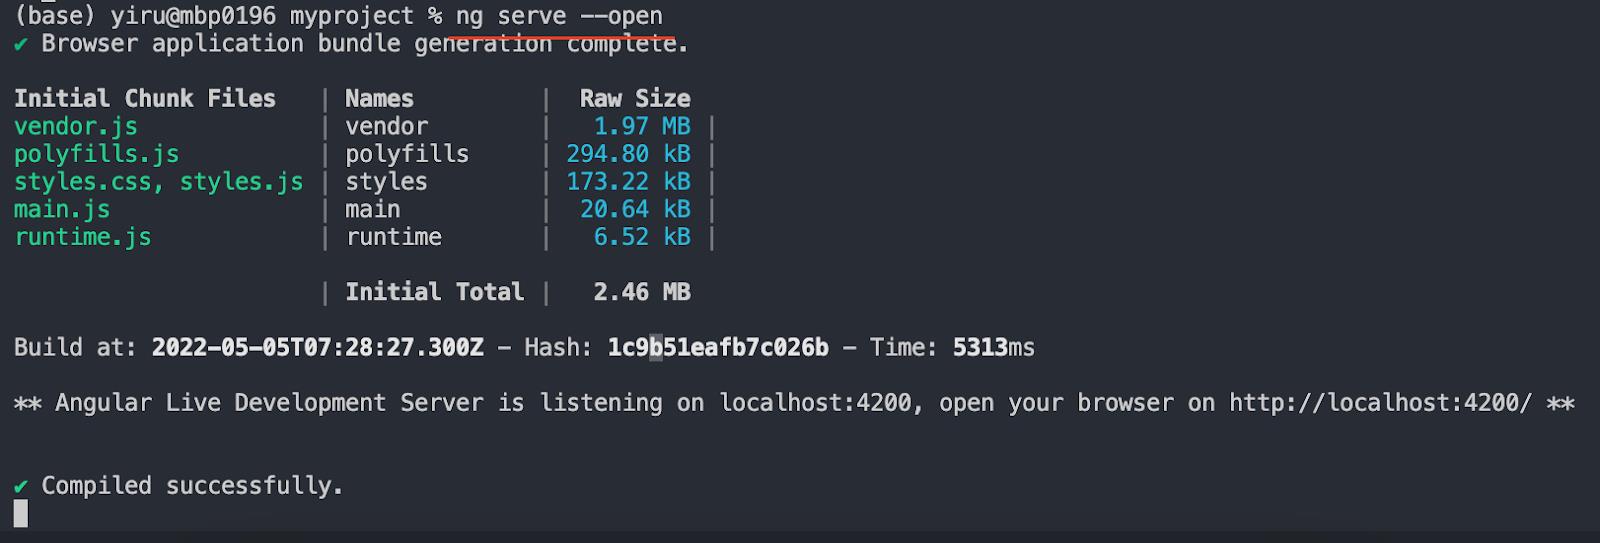
啟動專案指令為:ng serve --open
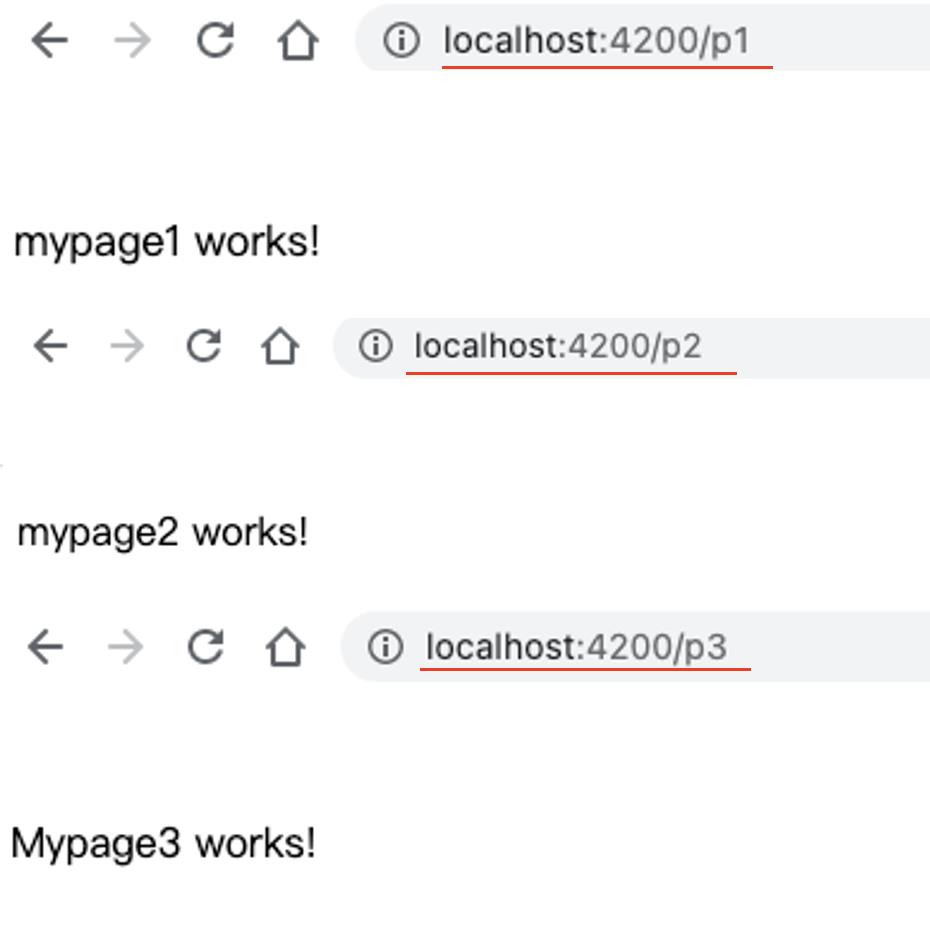
最後打開瀏覽器,分別輸入
顯示結果如下圖:
下一篇將會詳細的介紹Angular中的路由導覽(Nav)
Yiru@Studio - 關於我 - 意如