使用spring boot搭建JSP頁面
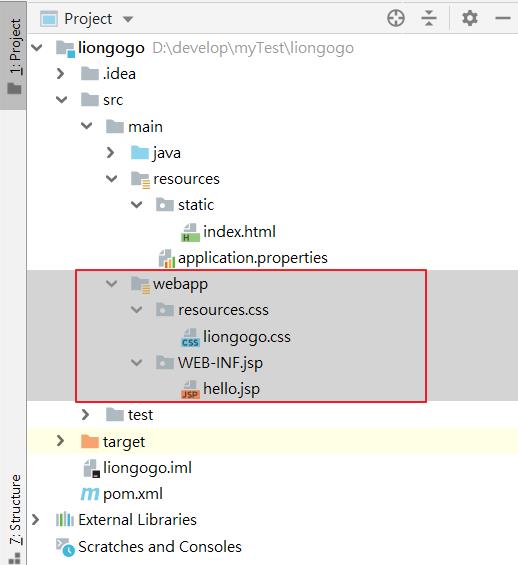
1.添加以下檔案
2.application.properties加入
#context path
server.servlet.context-path=/demo

#view
spring.mvc.view.prefix=/WEB-INF/jsp/
spring.mvc.view.suffix=.jsp
3.hello.jsp
<%@ page language="java" contentType="text/html; charset=UTF-8"
pageEncoding="UTF-8"%>
<!DOCTYPE html>
<html>
<head>
<meta http-equiv="Content-Type" content="text/html; charset=UTF-8">
<title>Hello</title>
</head>
<link rel="stylesheet" href="${pageContext.request.contextPath}/resources/css/liongogo.css">
<body>
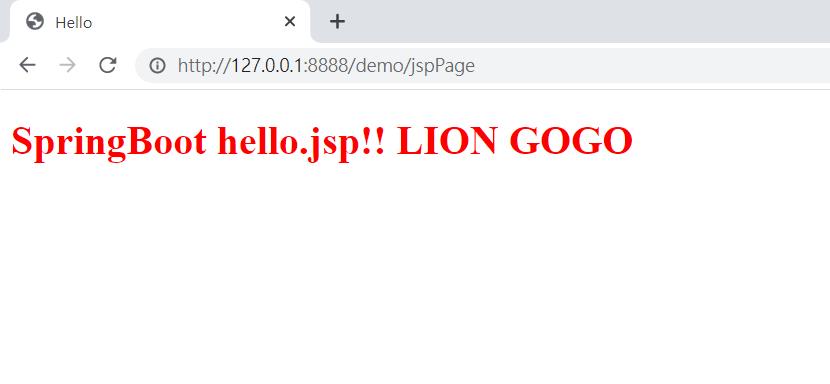
<h1 class="color-red">SpringBoot hello.jsp!! ${message} </h1>
</body>
</html>
4.增加一個controller
package com.liongogo.controller;

import org.springframework.stereotype.Controller;
import org.springframework.web.bind.annotation.RequestMapping;
import org.springframework.web.bind.annotation.RequestMethod;
import org.springframework.web.servlet.ModelAndView;

import java.util.Map;

@Controller
public class DemoController {

    @RequestMapping(value="/jspPage", method = RequestMethod.GET)
    public ModelAndView hello(Map<String, Object> model) {
        model.put("message", "LION GOGO");

        // mapping到/WEB-INF/jsp/hello.jsp
        return new ModelAndView("hello");
    }
}
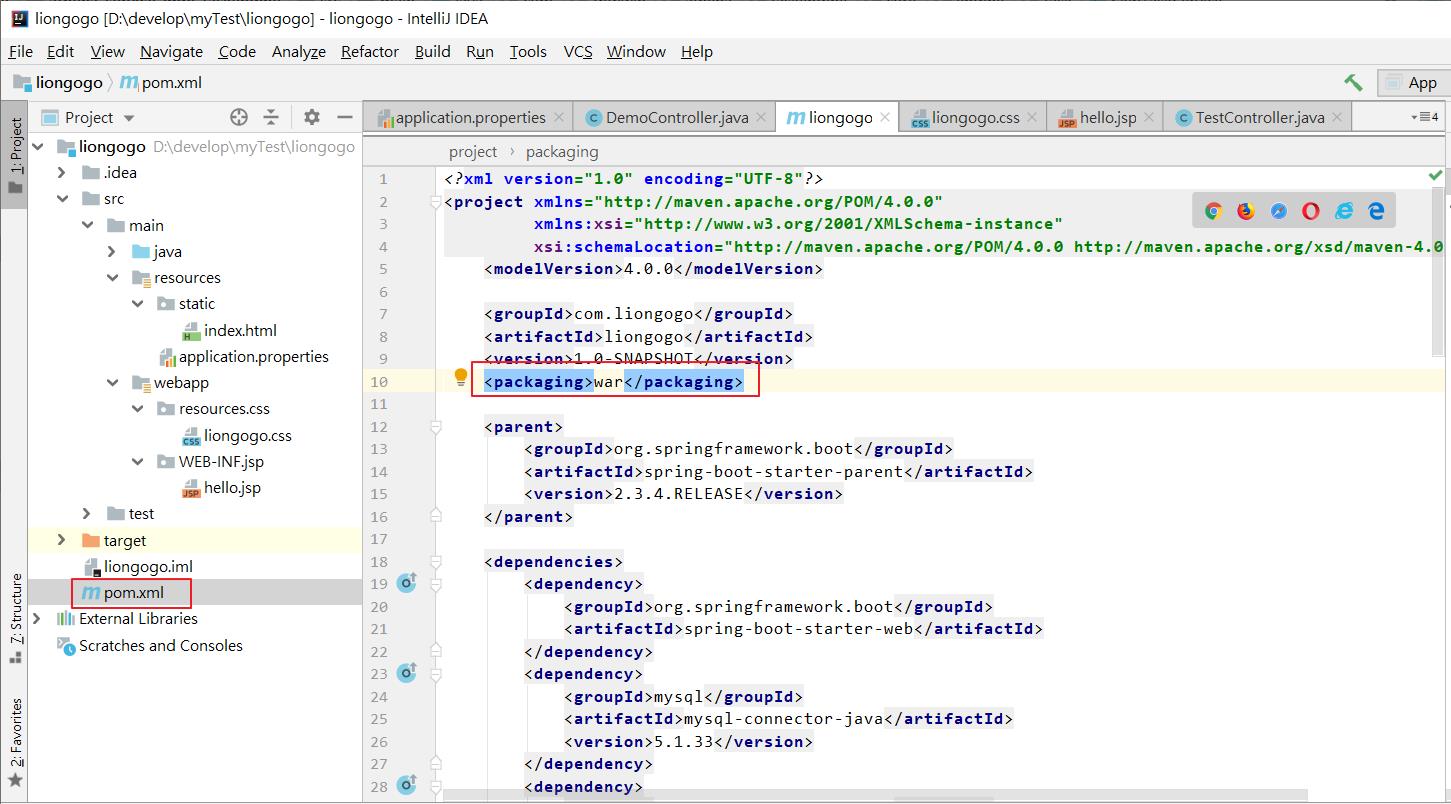
5.pom.xml增加<packaging>war</packaging>
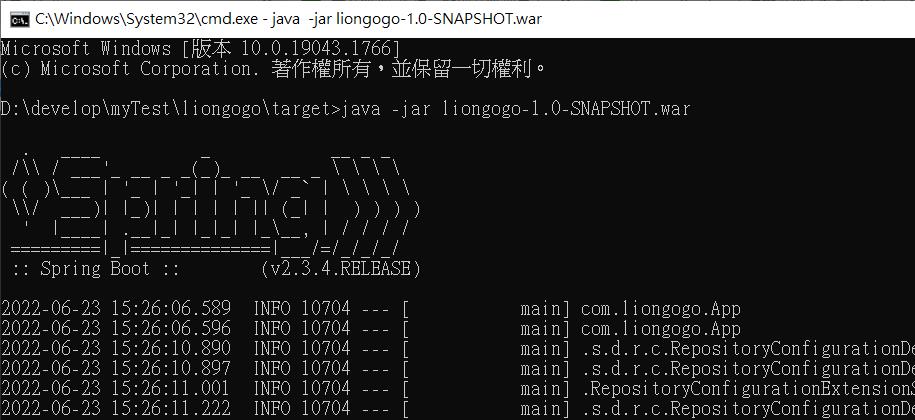
6.打包成war用java -jar liongogo-1.0-SNAPSHOT.war啟動
7.進入頁面 http://127.0.0.1:8888/demo/jspPage