Retrieve tesla charger point using geohash based method.
geohash、tesla charger、plugshare.com
Reference:https://github.com/jillesvangurp/geogeometry、https://www.movable-type.co.uk/scripts/geohash.html
剛好遇到User需要取得特斯拉充電站的資訊,請我幫忙從https://www.plugshare.com/tw取得相關資訊,我原本以為這種資訊應該會跟openstreetmap一樣屬於開放資訊,沒想到居然是要收費的https://developer.plugshare.com/docs/,無奈在沒有經費的狀況下只好研究其他做法。
觀察
plugshare這個網頁可以依據當下顯示在畫面上的區域以及地圖放大的程度,吐回充電站資訊。
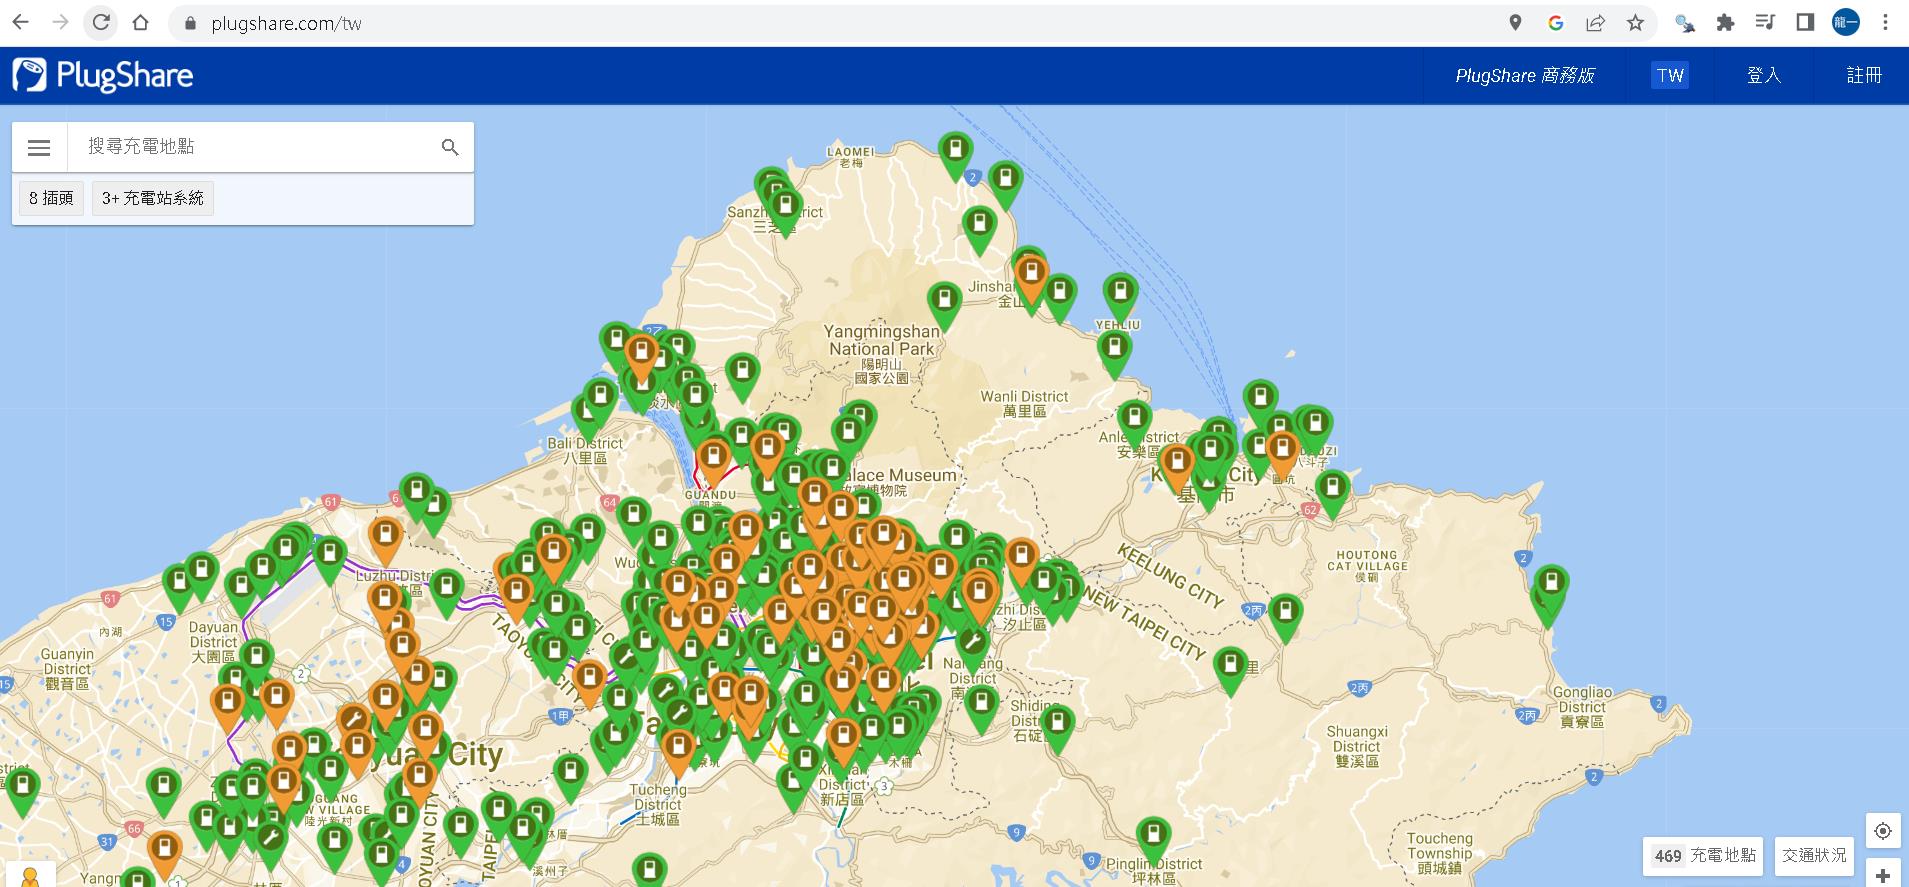
於是心生一計,我何不針對我要的區域顯示在畫面上後,直接進瀏覽器將response的結果複製下來做parsing就好?
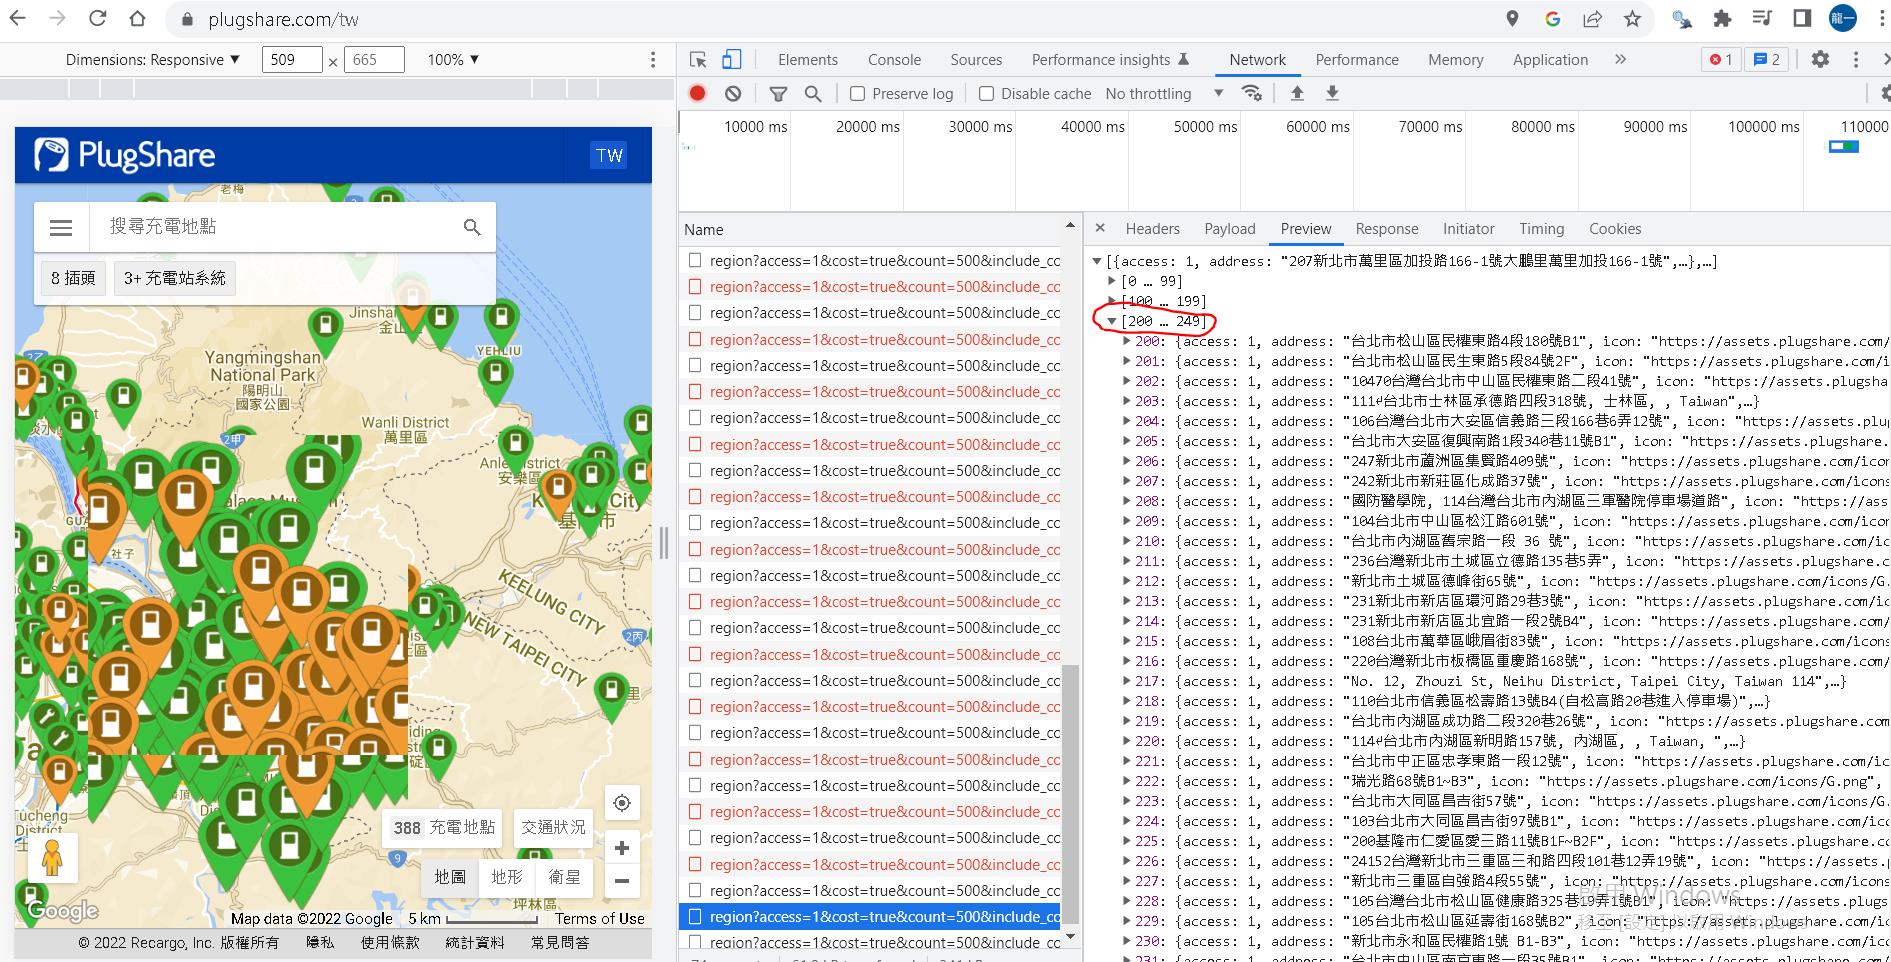
但事情往往不是憨人想的這麼簡單,仔細看了chrome開發者模式吐回來的訊息,一次最多只會回傳250個結果與畫面上顯示的數量不符。
完整做法分析
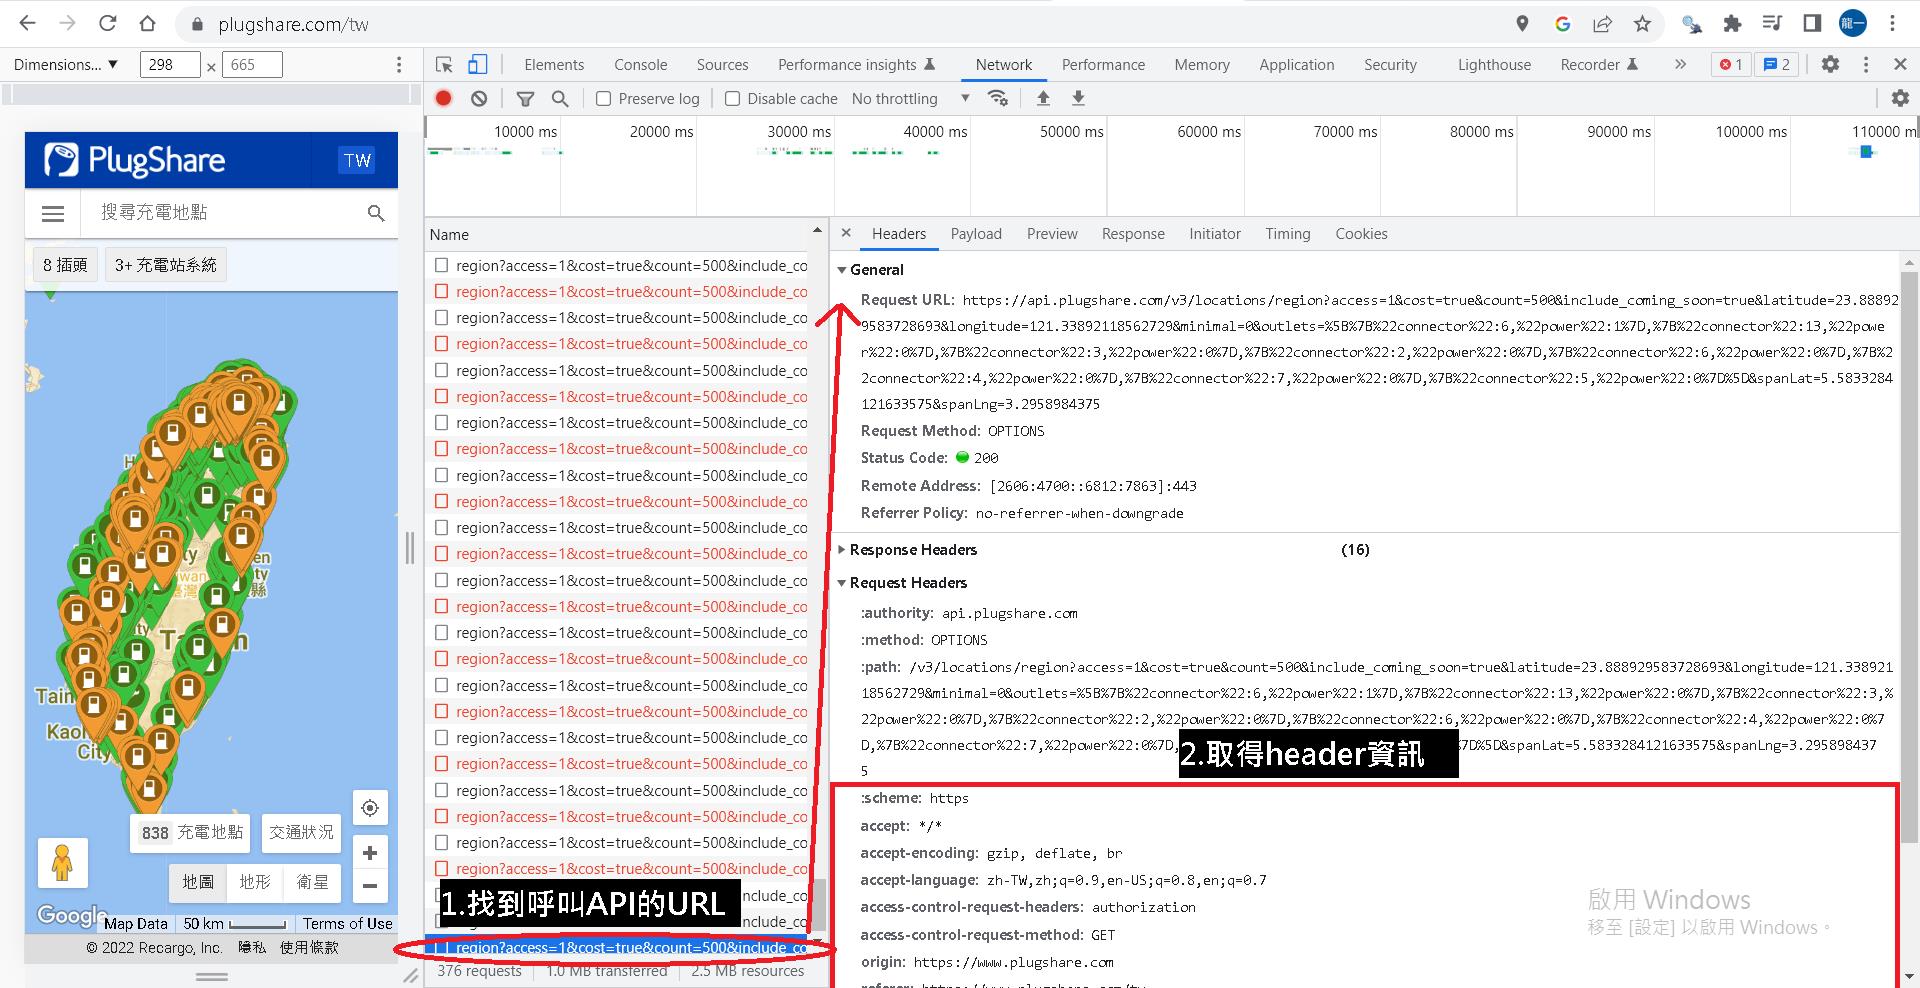
我們先將網頁上實際呼叫的URL找出來,一樣可以從Chrome 按F12取得,就如下面的sample
https://api.plugshare.com/v3/locations/region?access=1&cost=true&count=500&include_coming_soon=true&latitude=25.122517931330474&longitude=121.59993785218444&minimal=0&outlets=[{"connector":6,"power":1},{"connector":13,"power":0},{"connector":3,"power":0},{"connector":2,"power":0},{"connector":6,"power":0},{"connector":4,"power":0},{"connector":7,"power":0},{"connector":5,"power":0}]&spanLat=0.37052687064651124&spanLng=0.350189208984375
其中latitude和longtitude就是你要尋找範圍的中心點。
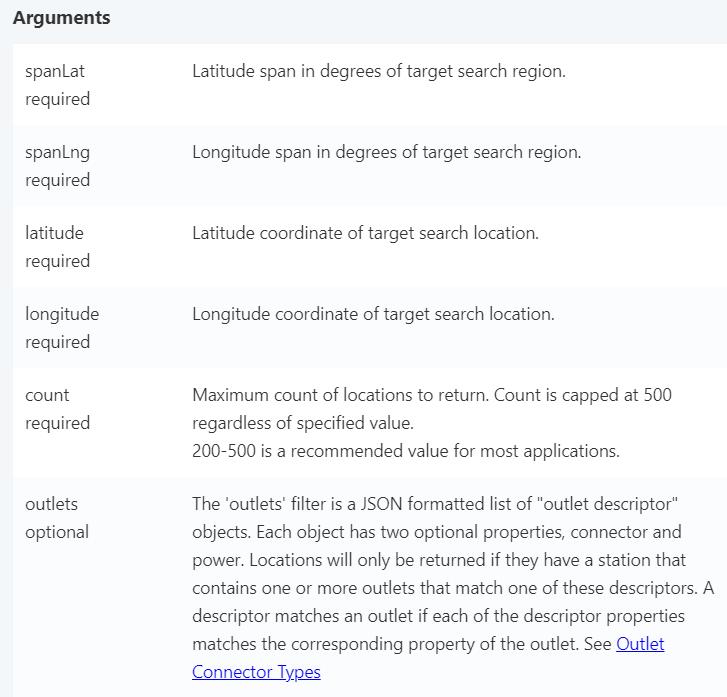
spanLat和spanLng就是你要從這個中心點分別往左往右往上往下幾度(這兩個數值該用多少我後面會說明)。
API請參考https://developer.plugshare.com/docs/
plugshare API說明
同時我們也可以取得後面爬網時所需要的header資訊。
了解API的特性後,我們可以歸納出作法。
要能夠爬回全台灣的充電站,我需要有系統性的找出固定間隔的中心點,並決定向左向右向上向下延伸多少範圍打出去的request可以確保回傳值是在250個充電站以下。
這時我們可以使用geohash的概念(可參考https://www.movable-type.co.uk/scripts/geohash.html),地圖可分為好幾種level大小的區塊。
這裡選用geohash level 6(1.22km × 0.61km),我嘗試過約在1.2公里的範圍內,回傳數量肯定小於250個。
給定一個polygon取得geohash清單並取得每個geohash中心,可以參考https://github.com/jillesvangurp/geogeometry的方法,其他語言例如python也有已開發好的套件。
這裡是本篇的關鍵技術,取得固定間隔的經緯度後,再往周邊延伸固定的距離,使其可以覆蓋到其他經緯度中心涵蓋的範圍。
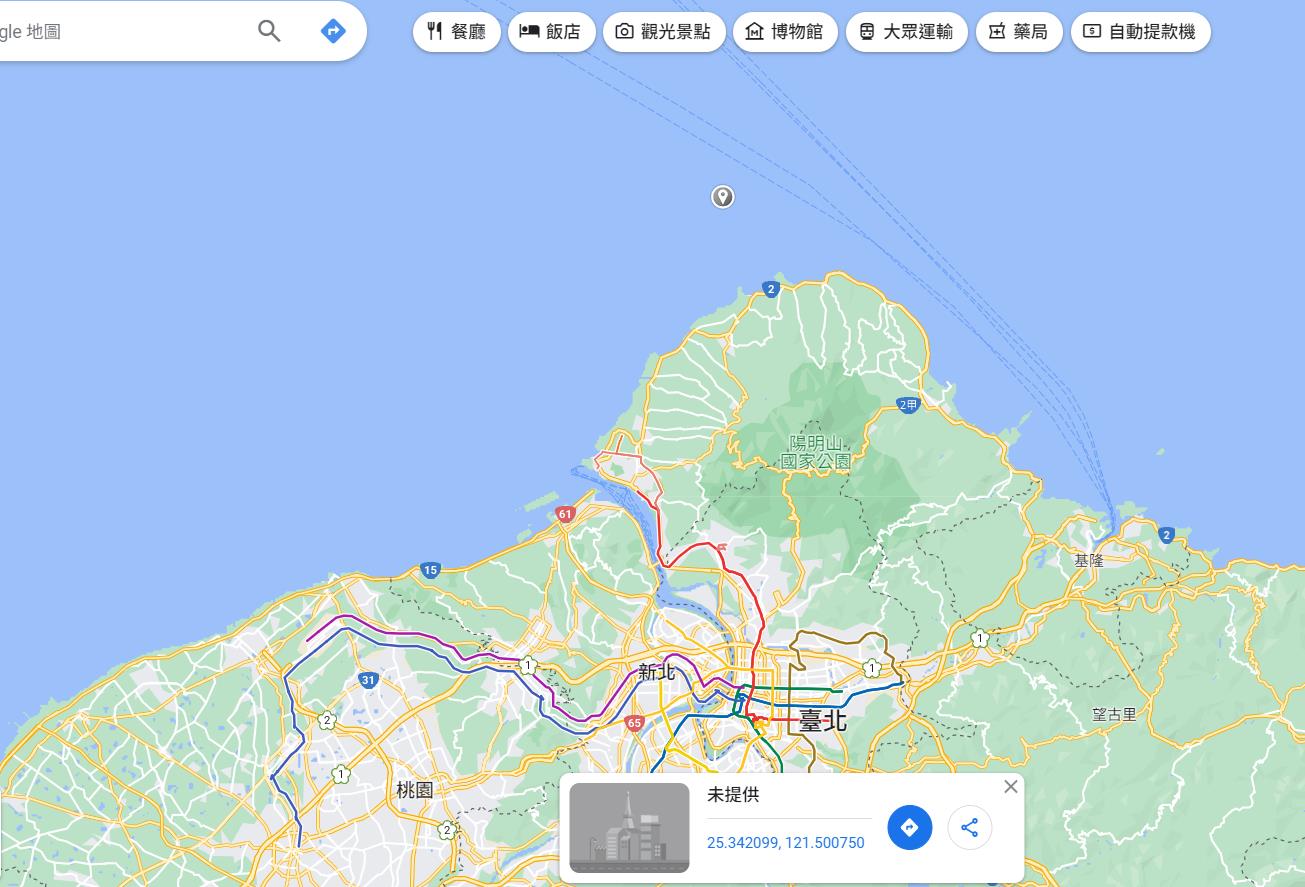
我自己是用上面提到的java套件去生成polygon內的固定間隔經緯度,python的部分可參考下面的sample code取得,polygon的經緯度點位可以自己在google map上點一點就可以記錄經緯度,或是到政府公開資訊尋找全台灣範圍經緯度的資訊。
# !pip install pygeohash
# !pip install shapely
# !pip install polygon-geohasher ->會遇到visual C++ 14以上版本安裝的問題,請先用conda install -c conda-forge python-geohash執行過一次再安裝

import pygeohash as gh
from polygon_geohasher.polygon_geohasher import polygon_to_geohashes, geohashes_to_polygon
from shapely import geometry

#輸入剛剛依序紀錄的polygon(一定要照你畫polygon的點順序)
polygon = geometry.Polygon([(-99.1795917, 19.432134), (-99.1656847, 19.429034),
                            (-99.1776492, 19.414236), (-99.1795917, 19.432134)])

inner_geohashes = polygon_to_geohashes(polygon, 6, False)#polygon轉geohash6
list(inner_geohashes)
gh.decode(list(inner_geohashes)[0])#解析出框定範圍內geohash區塊的每個中心經緯度(這裡只先解析一個,你可以自行for loop解析全部)1.2公里是經緯度上大約是多少,可以參考http://alvin-0315.blogspot.com/2011/01/blog-post.html。
1公尺約0.00000900900901度,1.2公里約是0.010810810812度。
我們將範圍擴大,spanLat和spanLng使用0.012度,當我們使用geohash中心往外擴大範圍,有中心點,有擴大範圍的數值,如此一來我們就可以產出完整的呼叫URL,如同下面的示意圖(這裡是用geohash 4呈現),每個呼叫的url也會cover到其他呼叫url的範圍,這可以避免漏抓,但最後處理清單時要去重。
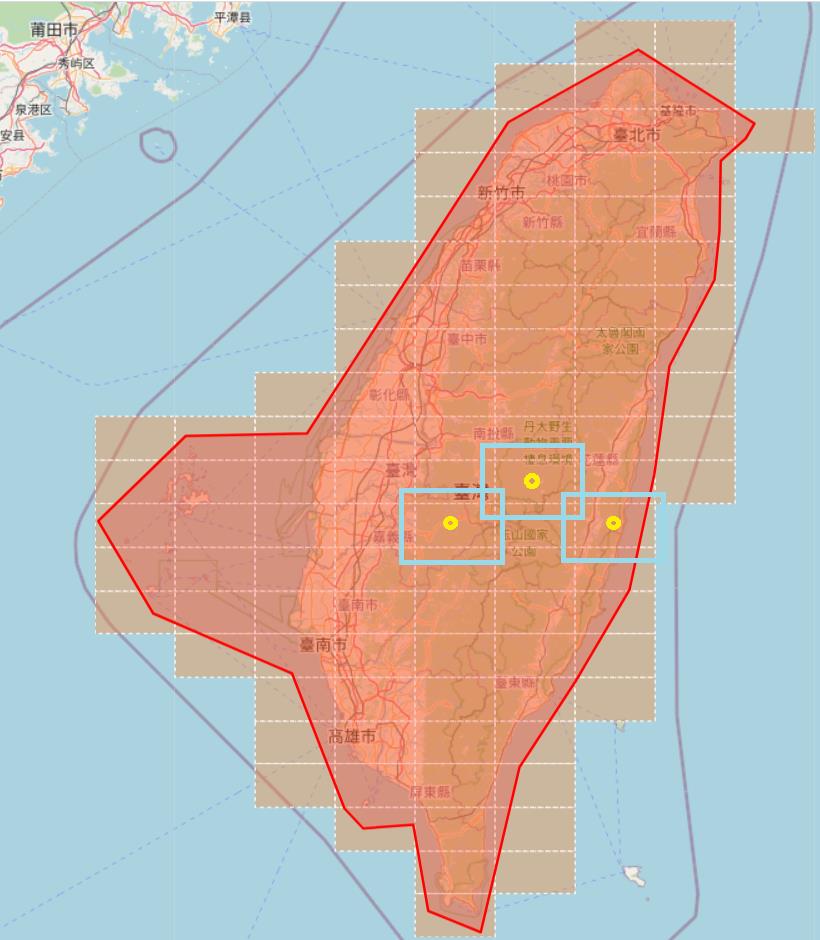
現在我們有全台灣區域固定間隔的中心點,也有需要延伸多少值後,便可以將前面API Sample中的經緯度與延伸值參數換掉。
中心點很多,因此你會需要打這個API很多次。
https://api.plugshare.com/v3/locations/region?access=1&cost=true&count=500&include_coming_soon=true&latitude=中心點緯度&longitude=中心點經度&minimal=0&outlets=[{"connector":6,"power":1},{"connector":13,"power":0},{"connector":3,"power":0},{"connector":2,"power":0},{"connector":6,"power":0},{"connector":4,"power":0},{"connector":7,"power":0},{"connector":5,"power":0}]&spanLat=0.012&spanLng=0.012
接著我們便可以撰寫python code,用python丟request的方式取得內容,但網頁有做cloudflare的防爬阻擋,需要用cloudscraper套件去爬,code如下:
我將產生出來的request URL清單存成文字檔一行一行讀取(teslaChargerAPI_little.csv),並在打完API後將回傳的字串取回存在另一個文字檔(teslaRequestAPIResult.csv)。
其中有的範圍URL打出去回傳為空,則跳過不處理,有時連續幾個小時太密集的打,還是會被plugshare這個網站回傳Access Denied擋下,這時我就會先停下過幾分鐘在重新打API。
import requests
import cloudscraper
import cfscrape
import time
import re
from datetime import datetime
import codecs

session = requests.Session()
session.headers = {
    'Accept'               : 'application/json, text/plain, /',
    'Accept-Encoding'      : 'gzip, deflate, br',
    'Accept-Language'      : 'zh-TW',
    'Authorization'        : 'Basic d2ViX3YyOkVOanNuUE54NHhXeHVkODU=',

    'Origin'               : 'https://www.plugshare.com',
    'Referer'              : 'https://www.plugshare.com/tw',
    'sec-ch-ua'            : '"Google Chrome";v="107", "Chromium";v="107", "Not=A?Brand";v="24"',
    'sec-ch-ua-mobile'     : '?0',
    'sec-ch-ua-platform'   : '"Windows"', #"Android"
    'Sec-Fetch-Dest'       : 'empty',
    'Sec-Fetch-Mode'       : 'cors',
    'Sec-Fetch-Site'       : 'same-site',
    'User-Agent'           : 'Mozilla/5.0 (Windows NT 10.0; Win64; x64) AppleWebKit/537.36 (KHTML, like Gecko) Chrome/107.0.0.0 Safari/537.36'}
scraper = cloudscraper.create_scraper(delay=10, sess=session, browser={'browser': 'firefox','platform': 'windows','mobile': False})#, browser={'browser': 'chrome','platform': 'windows','desktop': True}


current_time = datetime.now()
print('開始', current_time)

path = 'D://workSpaceReunion/dataInOutput/plugShareDataParsing/step2_requestAPIResult/teslaRequestAPIResult.csv'#把打完結果存起來
f = codecs.open(path, 'w', 'utf-8')
#f.write('\ufeff')#Utf8-BOM
count = 0
accessDenied = []

try:
    with open('D://workSpaceReunion/dataInOutput/plugShareDataParsing/step1_produceGeohashApi/teslaChargerAPI_little.csv') as fr:#讀取API request字串執行
        for line in fr:
            count = count + 1
            result = scraper.get(line).text#自帶newline
            if result.strip().__eq__('[]'):
                print('skip')
            elif 'Access denied' in result:
                print('第'+str(count)+'筆 failed request')
                accessDenied.append(line)
            else:
                print('第'+str(count)+'筆')
                f.write(result)

            time.sleep(0.25)#睡一下避免被block
except:
    a = 0
finally:
    f.close()

current_time = datetime.now()
print('共'+str(count)+'筆')
print('結束',current_time)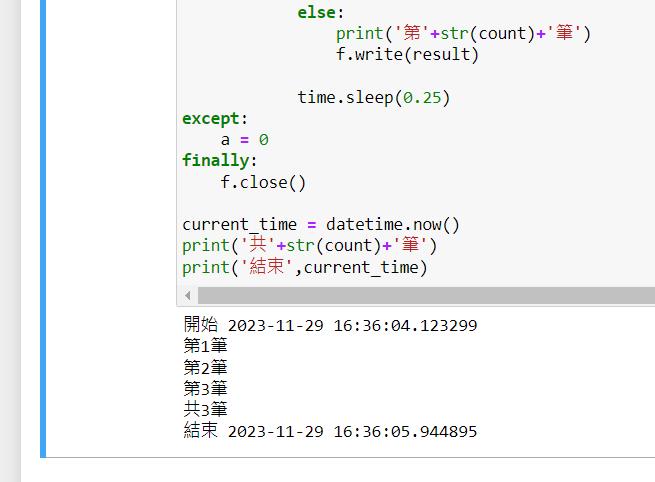
打完後,結果的檔案內容如下圖,每一行都是打出去後回傳有結果的資料:

有了這個資料,接下來就只要做字串的parsing和去重,我是用scala的code去做的,這裡一併附上實作的code:
import codecs

path = 'D://workSpaceReunion/dataInOutput/plugShareDataParsing/step3_requestAPIResultParsing/teslaRequestAPIResultParsing.csv'#把打完結果存起來
ff = codecs.open(path, 'w', 'utf-8')
#ff.write('\ufeff')#Utf8-BOM

try:
    with open('D://workSpaceReunion/dataInOutput/plugShareDataParsing/step2_requestAPIResult/teslaRequestAPIResult.csv') as fr:#讀取API request字串執行
        for line in fr:
            #轉碼
            cost_description = line.encode('utf-8').decode("unicode_escape")#.replace("\"","").replace(",","_").replace("\n","_").replace("\r","_")
            cost_description = re.sub('[\ud800-\udfff]+', '', cost_description)#print(needCost)

            #parsing
            cost_description = cost_description.replace("\n", "").replace("\r", "").replace(" ", "").replace("\"},{\"access\":1", "@@")
            cost_description_split = cost_description.split("@@")
            for chargerPointInfo in cost_description_split:
                info = chargerPointInfo.replace("\",\"icon_type\":\"", "@@").replace("\",\"id\":", "@@").replace(",\"latitude\":", "@@").replace(",\"longitude\":", "@@").replace(",\"name\":\"", "@@").replace(",\"stations\":", "@@").replace(",\"url\":\"", "@@").replace("\"}]", "").replace("\"", "")
                infoSplit        = info.split('@@')
                flag             = infoSplit[1]
                chargerId        = infoSplit[2]
                lat              = infoSplit[3]
                lng              = infoSplit[4]
                chargerName      = infoSplit[5]
                chargerDetailUrl = infoSplit[7]
                print(flag,chargerId,lat,lng,chargerName,chargerDetailUrl)
                ff.write(flag+','+chargerId+','+lat+','+lng+','+chargerName+','+chargerDetailUrl+'\n')
except:
    a = 0
finally:
    ff.close()
最後,mission accomplished~

下一篇,我會介紹如何爬取這些充電站點的細節資訊。
